
Welcome to the Weekend Workshop — a place where you can save some cash by getting your hands dirty
These tech guides aim to arm you with the necessary information and knowledge to get out there and give it a go yourself, no professionals needed, and at a price that won’t break the bank. This month we are going to teach you how to remove your old, scratched, and often illegal purple tints, and replace them with some good-quality UV-protectant tints to keep you cool and safe this summer. Tint is a film that can be overlaid onto the interior of the glass to keep harmful UV rays at bay, and keep you cool in the cabin during summer months. Other uses for tinted windows include safety and security, privacy and decoration, or signage for a business.
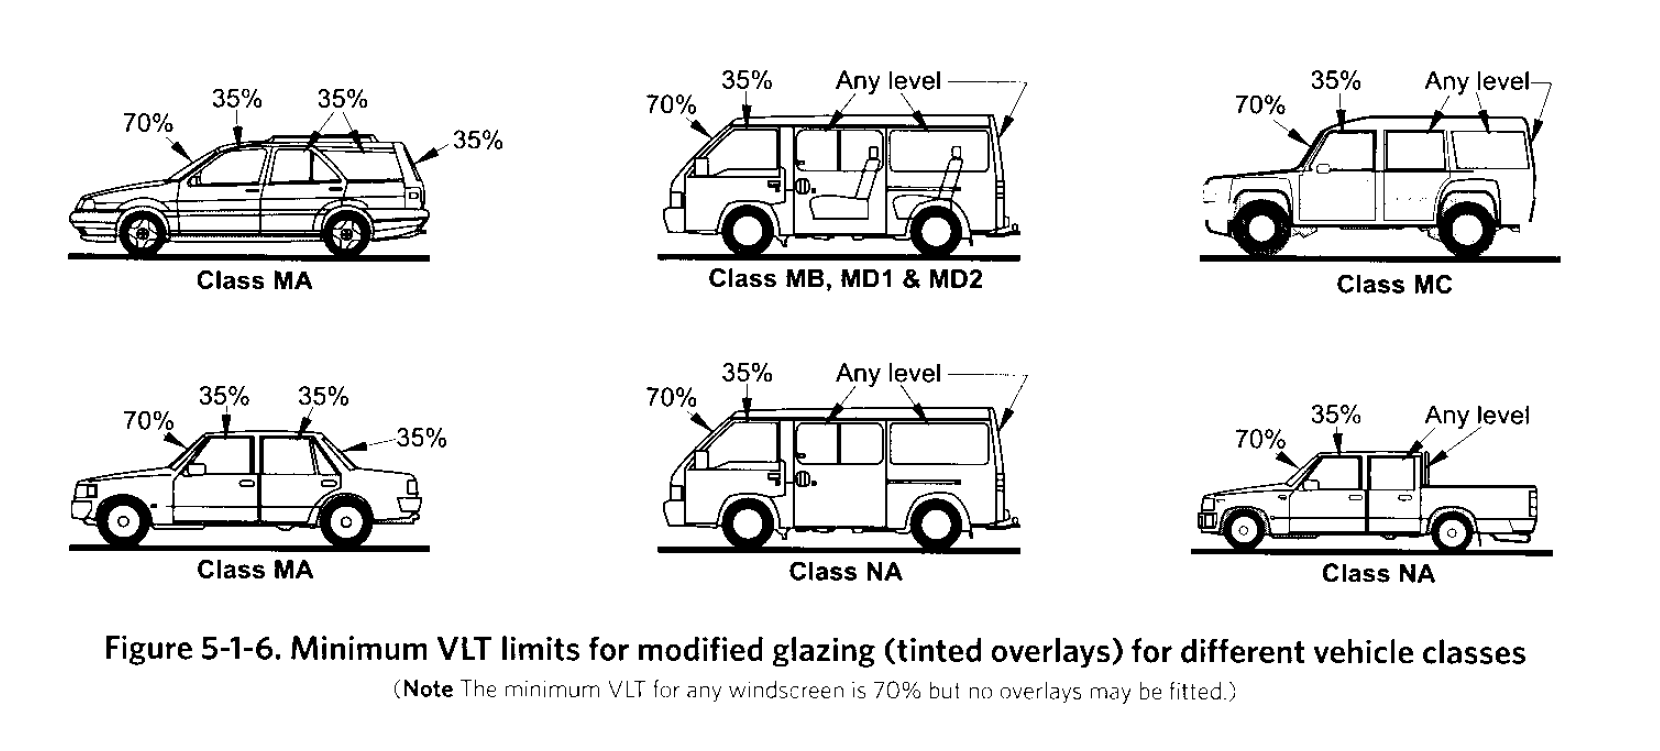
Tinted windows work by reducing the VLT (Visible Light Transmission) through car windows. Each tint available has a pre-measured VLT indicated as a percentage, so making sure you have the right tint for your application is important, as getting it wrong may result in an infringement. Decide on a tint too light and it may be ineffective, go too dark and you may have problems seeing through them at night.
Here is a guide to help you get the right VLT percentage. Remember, the lower the number, the less light transmitted through the tint, thus making it darker.
Tools of the trade
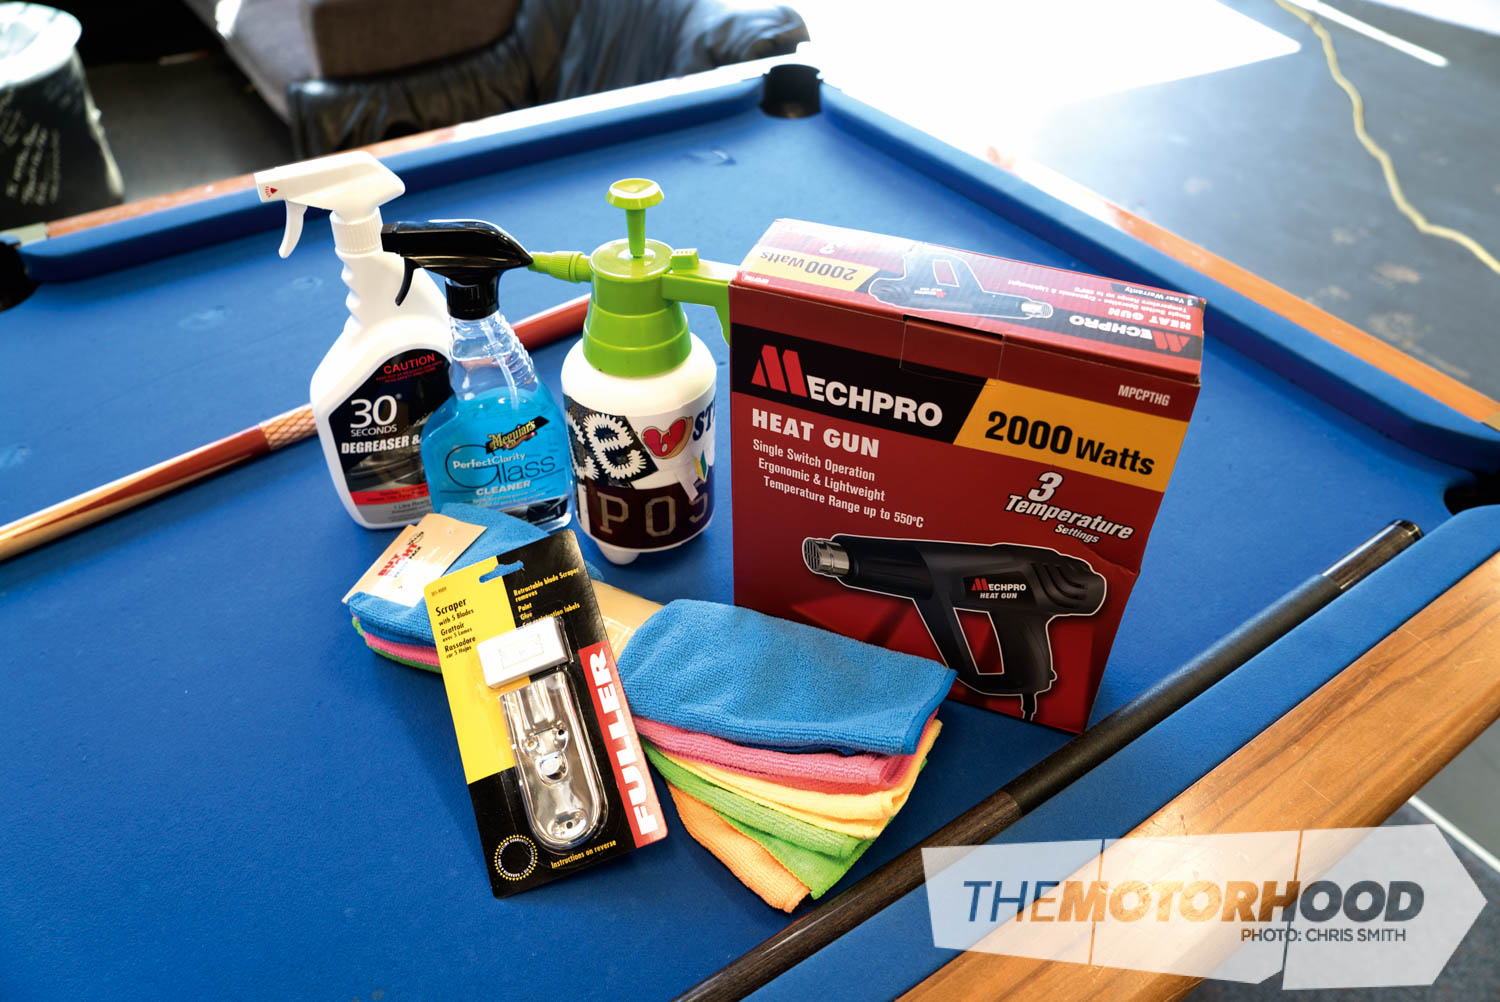
Heat gun, scraper blade with several new blade inserts, sprayer bottle with soapy water, squeegee blade, tint film in chosen percentage, heavy-duty degreaser.
Materials
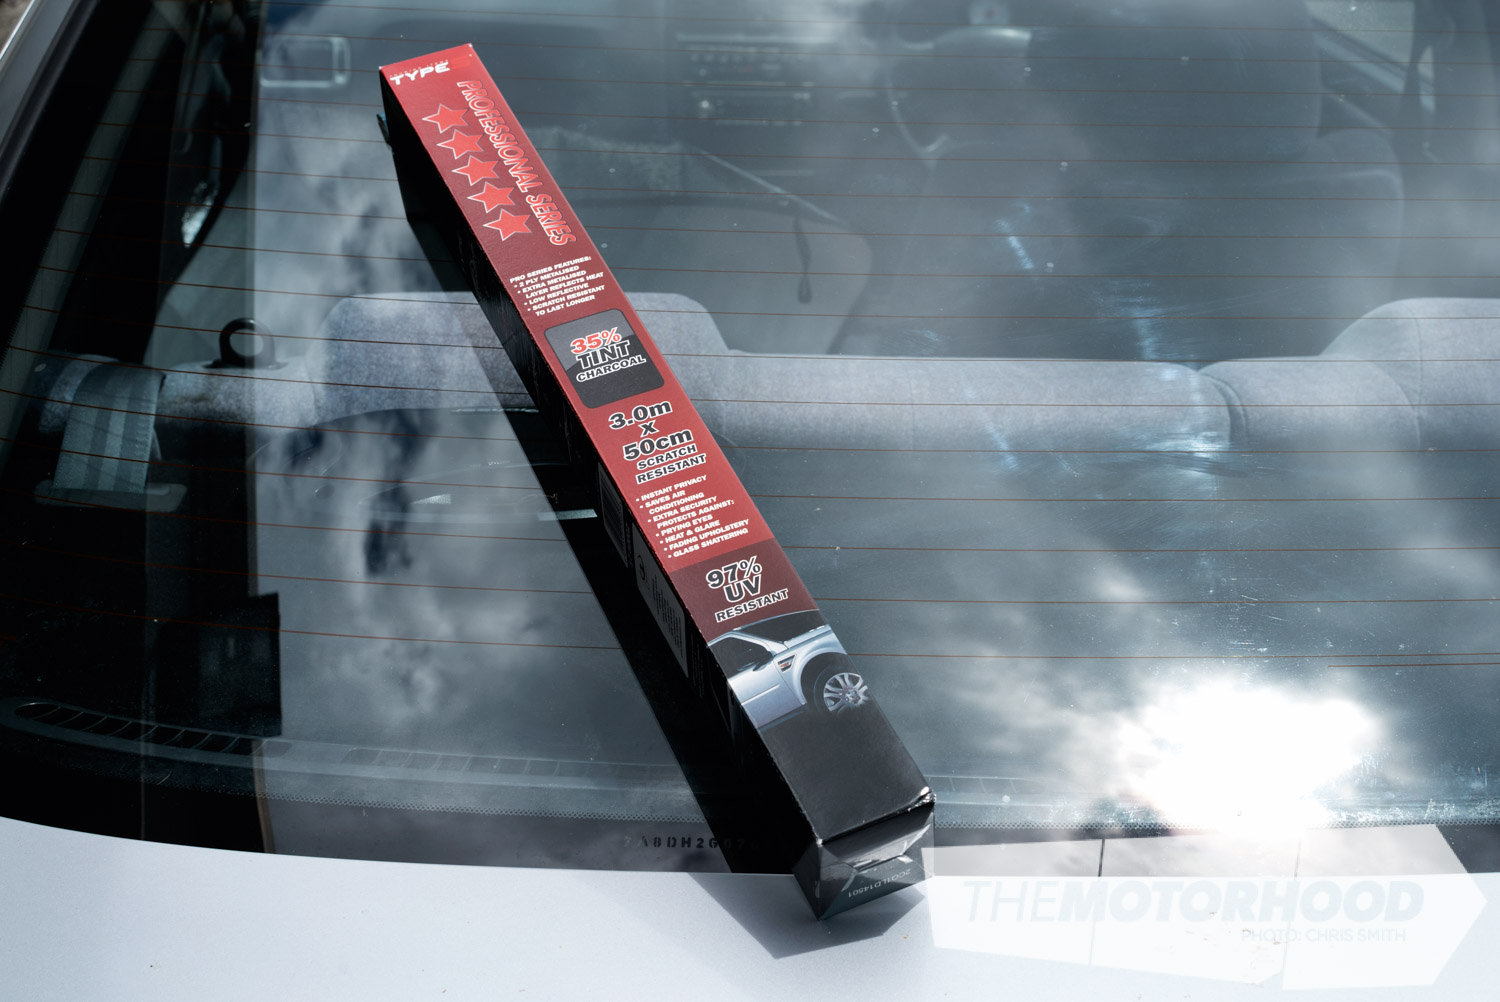
We picked up two rolls of 35-per-cent charcoal tint from Repco, this was enough to do your average four-door sedan. They stock darker- and lighter-grade film, but 35 per cent was the darkest allowed on our four-door sedan.
Time
Depending on your skills and leftover residue from old window tints, allow three to eight hours.
Tips
Have two people doing the job, it makes it a lot easier.
Tint removal
Step one: choosing your heat source
Before you can install your new tints, you will have to remove the old rubbish that is currently on there, and the leftover adhesive. This can either be really difficult, or really simple, depending on the method of removal. The best way to remove the tints is with the aid of some heat. For best results we recommend a heat gun. We acquired one cheap from Repco, and it did the job perfectly. If you don’t have a heat gun, a grunty hair dryer can work, although it’s not as effective.
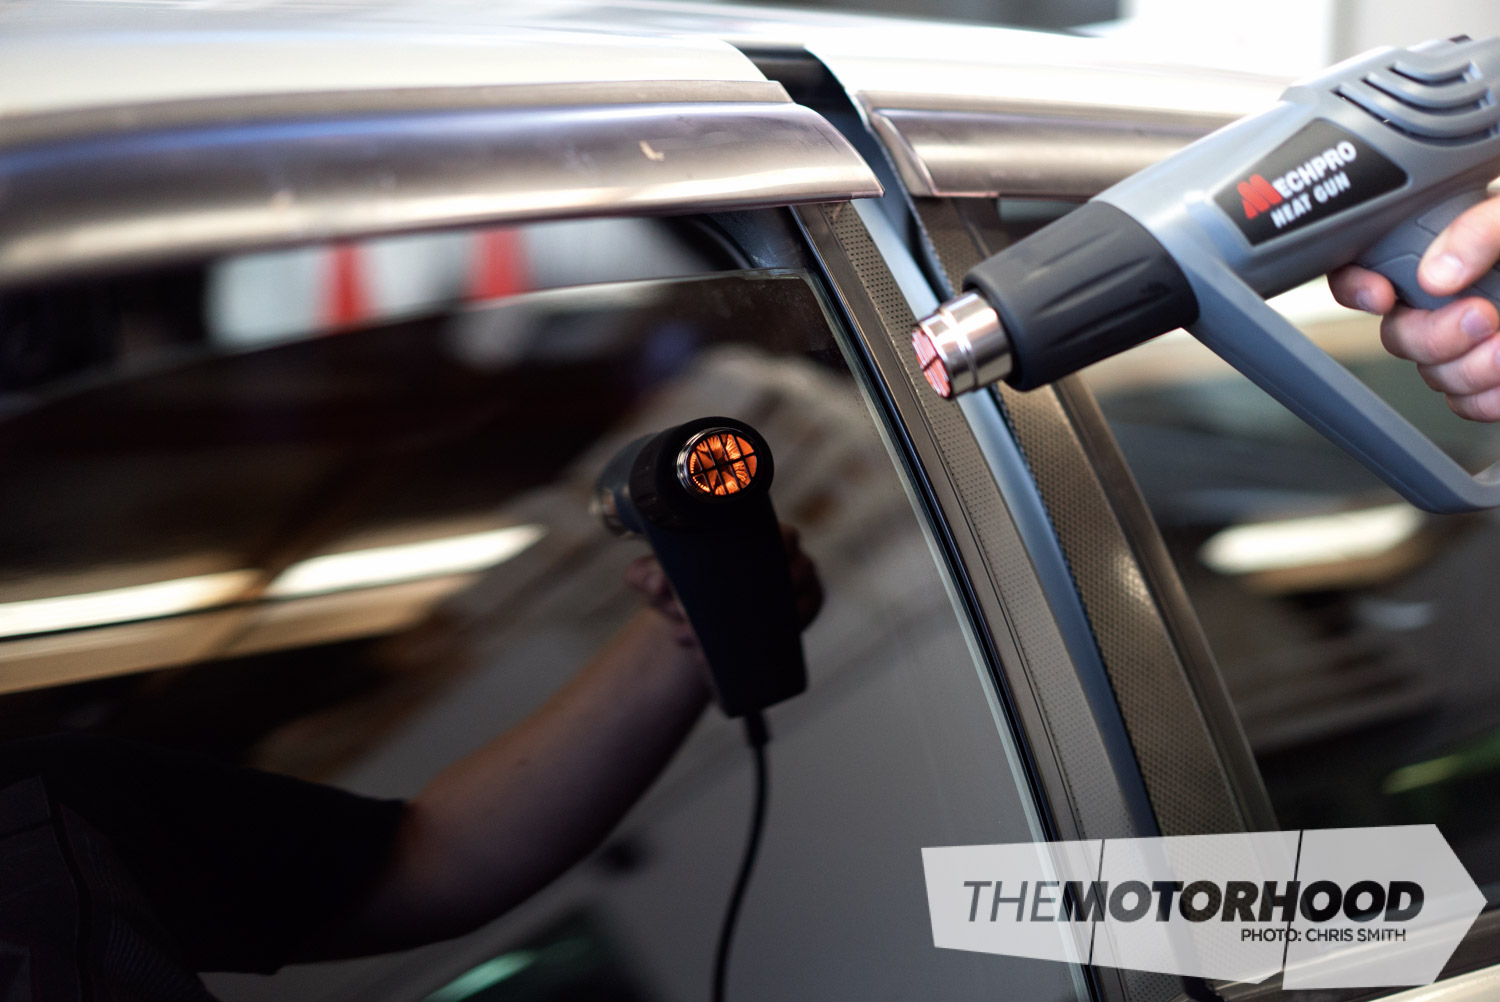
Step two: heat application and removal
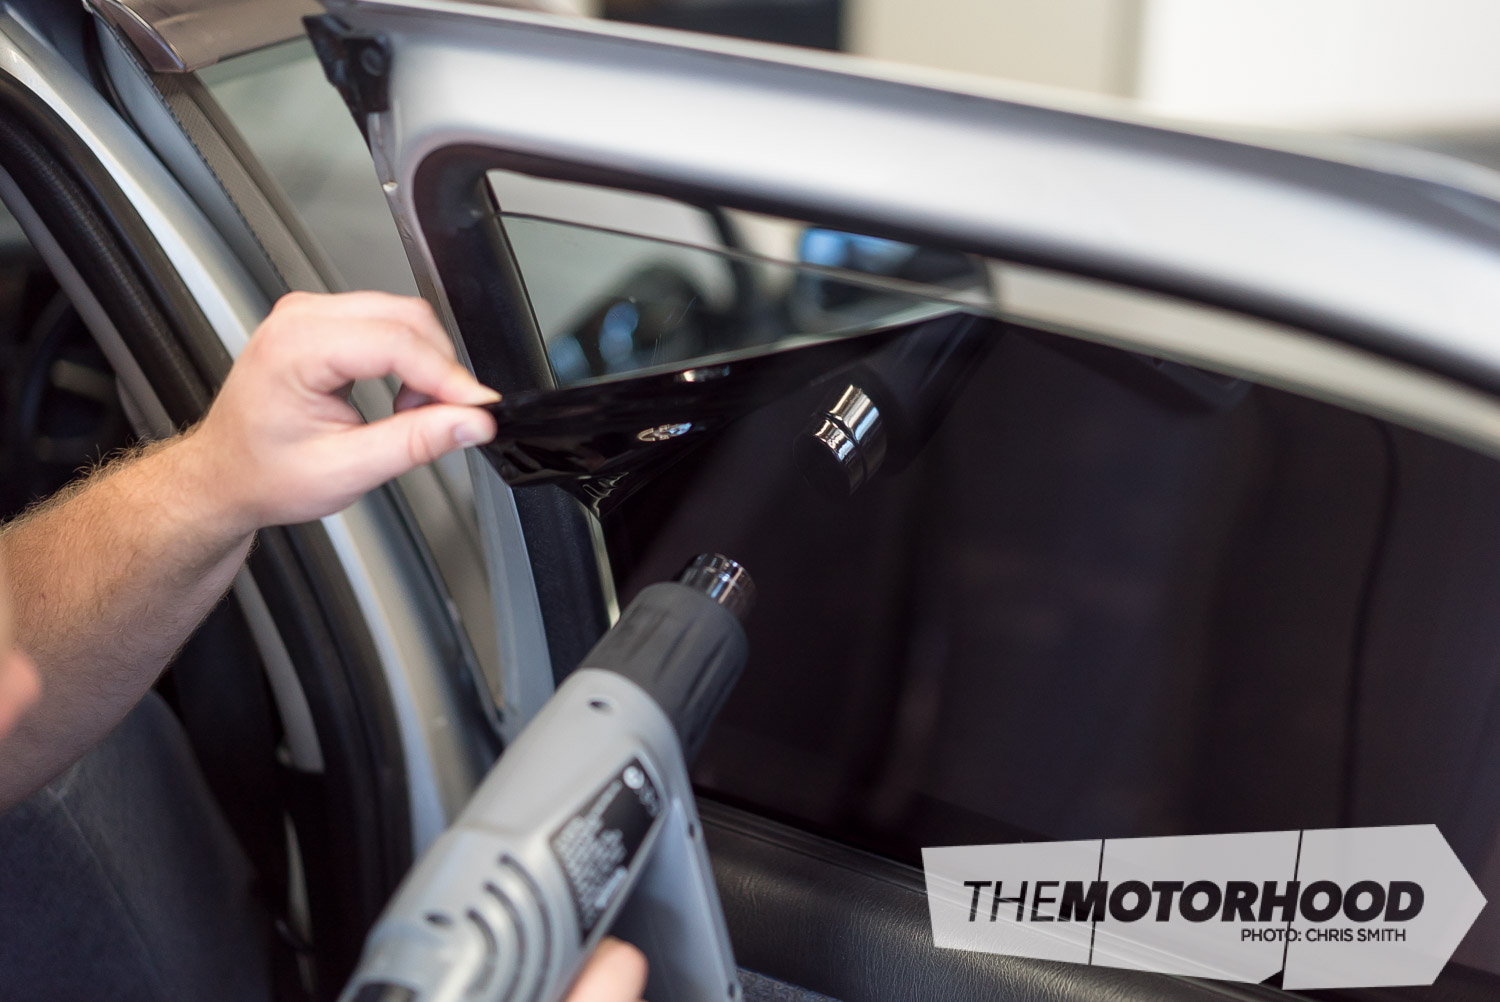
With your chosen heat source, start applying heat to the exterior side of the glass from which you are about to remove the tint. The perfect temperature is 42 degrees — this amount of heat will remove the most adhesive compound when you go to pull the tint film off. Once the glass is hot to the touch, pick at the tint film in one of the top corners, enough to grab onto with your fingers. Once you have enough to grab, move the heat source to the interior side of the window and start removing the tint, remembering to maintain heat on the film. Pull the film downward, but don’t completely pull it off the window. The tint film can now double as a protectant for your door card when you spray on your window cleaner, and remove any remaining adhesive.
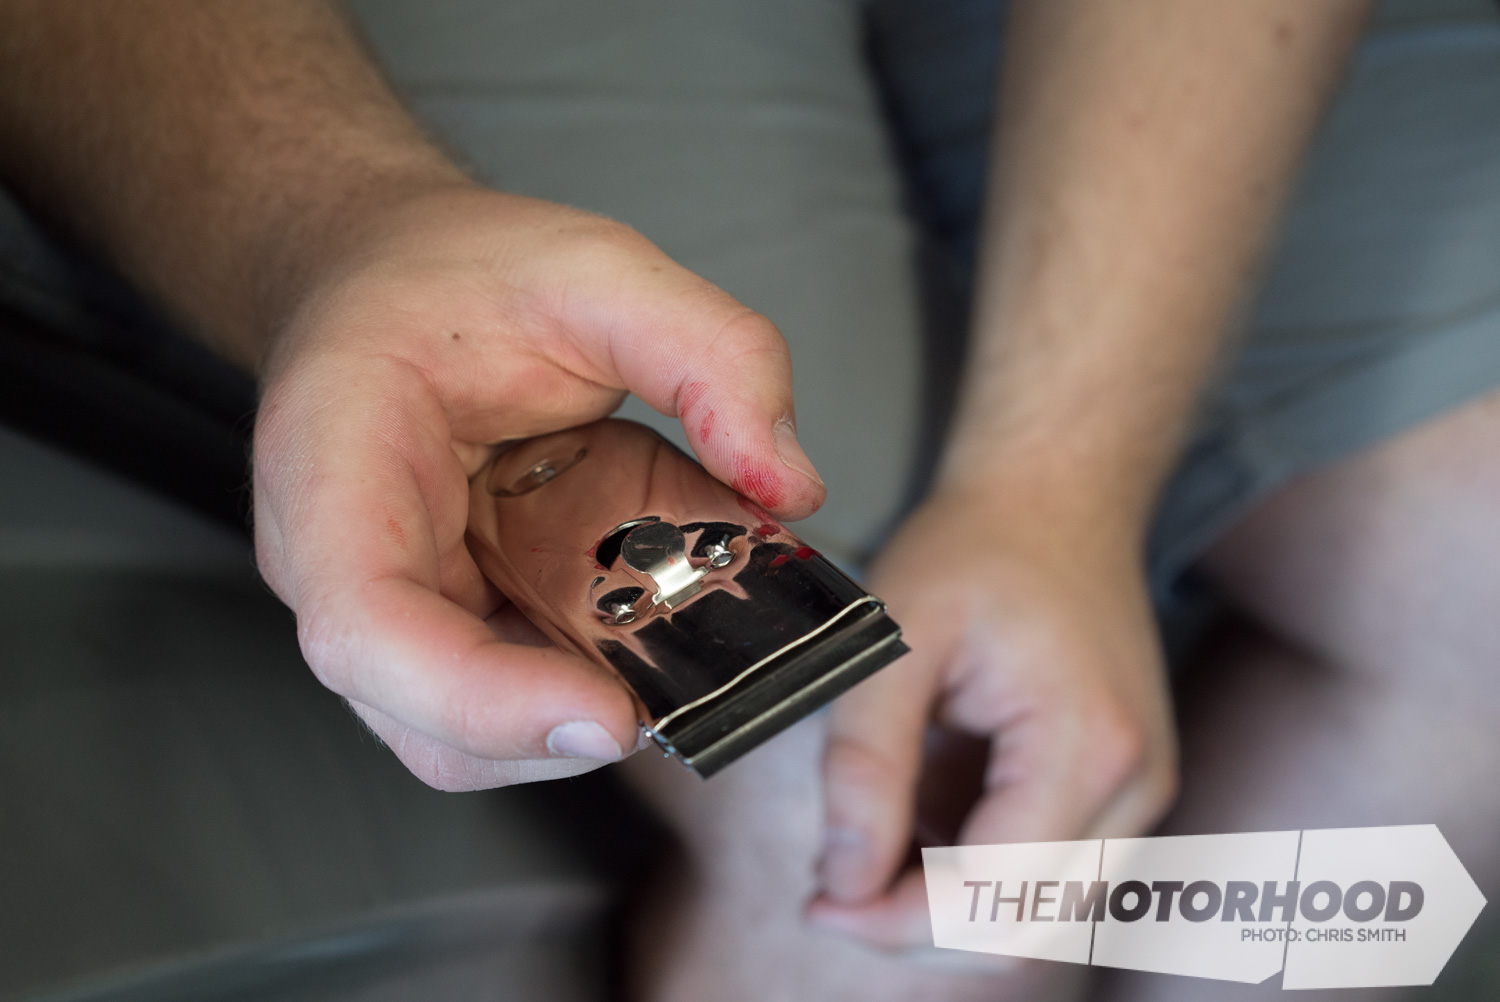
Step three: adhesive removal
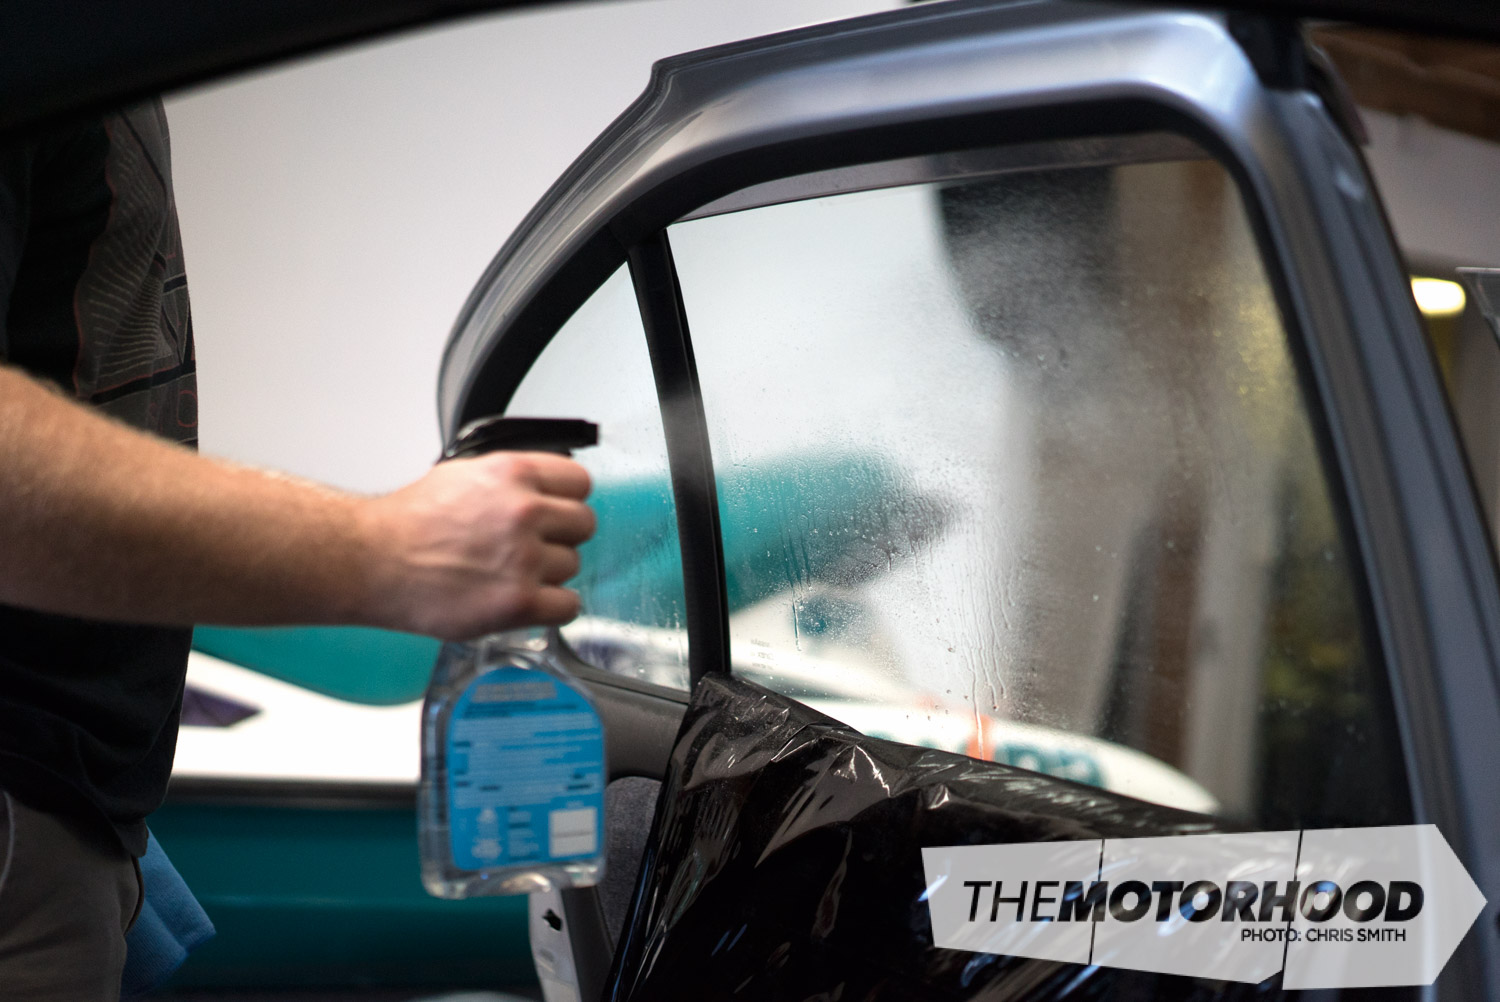
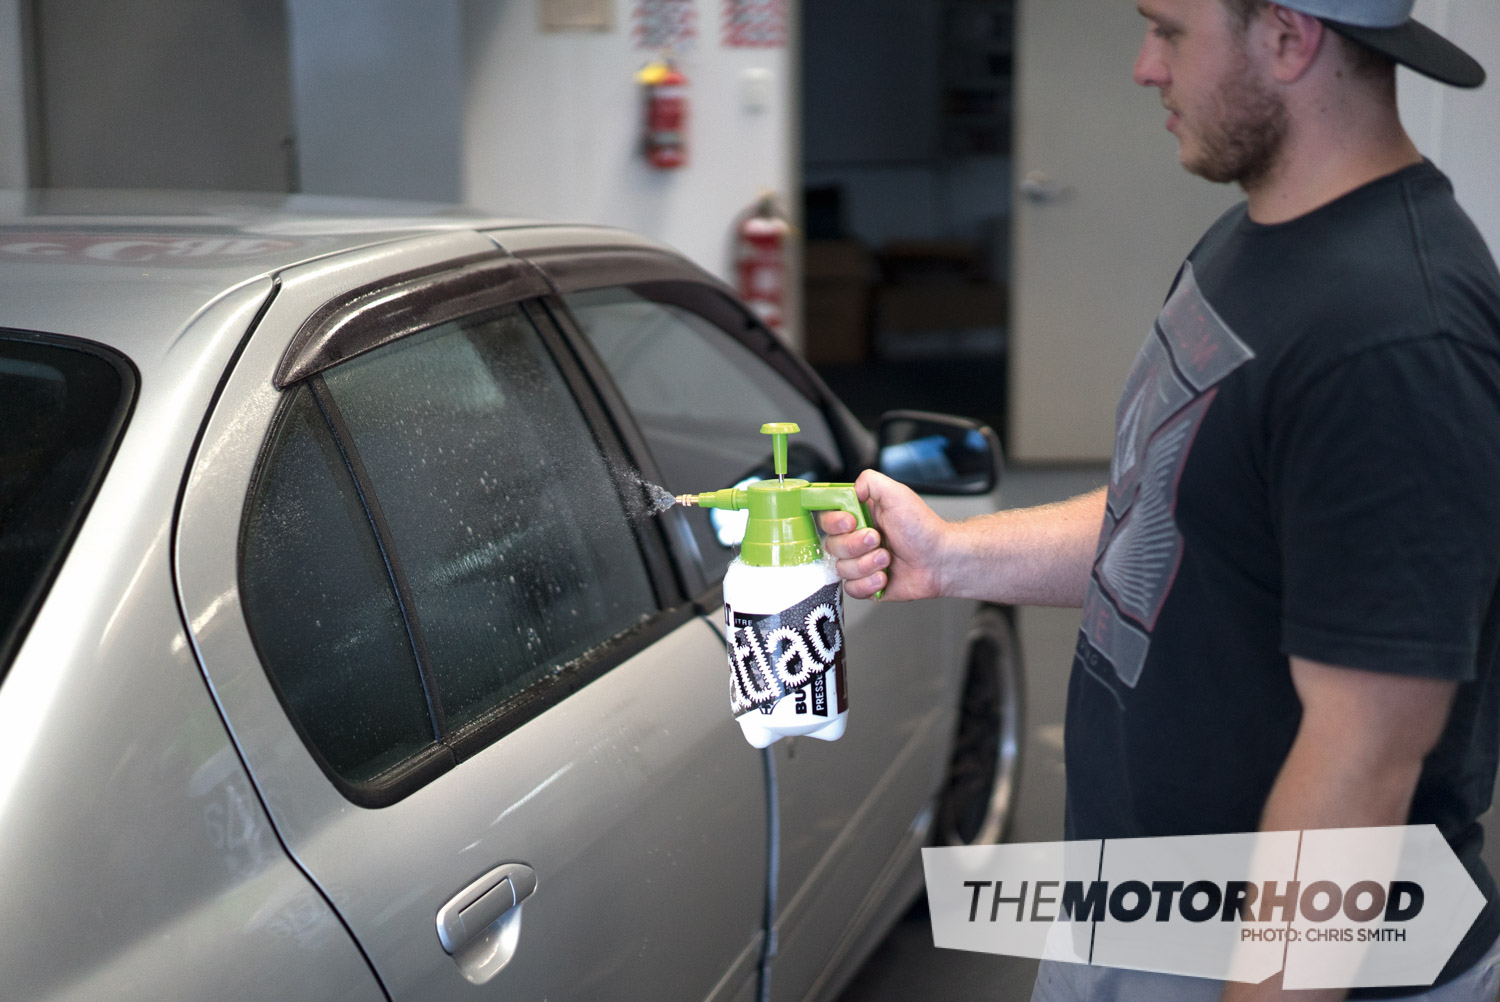
This step is extremely important, and will determine the quality of your job from the outset. Spray the window with a degreaser or soapy water, something strong enough to remove glues and adhesives. After letting it soak in for a couple of minutes, grab your scraper blade and start scraping the glue residue off. Wipe any excess adhesive build-up from your scraper onto a rag. You will want to change blades between windows to keep things clean and tidy. Obviously on your rear window you can’t go using a scraper blade, because you will damage your demister element. Once the tint has been removed on the rear window, spray it with a copious amount of heavy-duty degreaser. After letting the degreaser work its magic, start wiping off with paper towels, and then rags to get the last of it off. Work your way around the car, removing every last bit of adhesive — the prep is worth the end result.
Tint application: rear window
Step one:
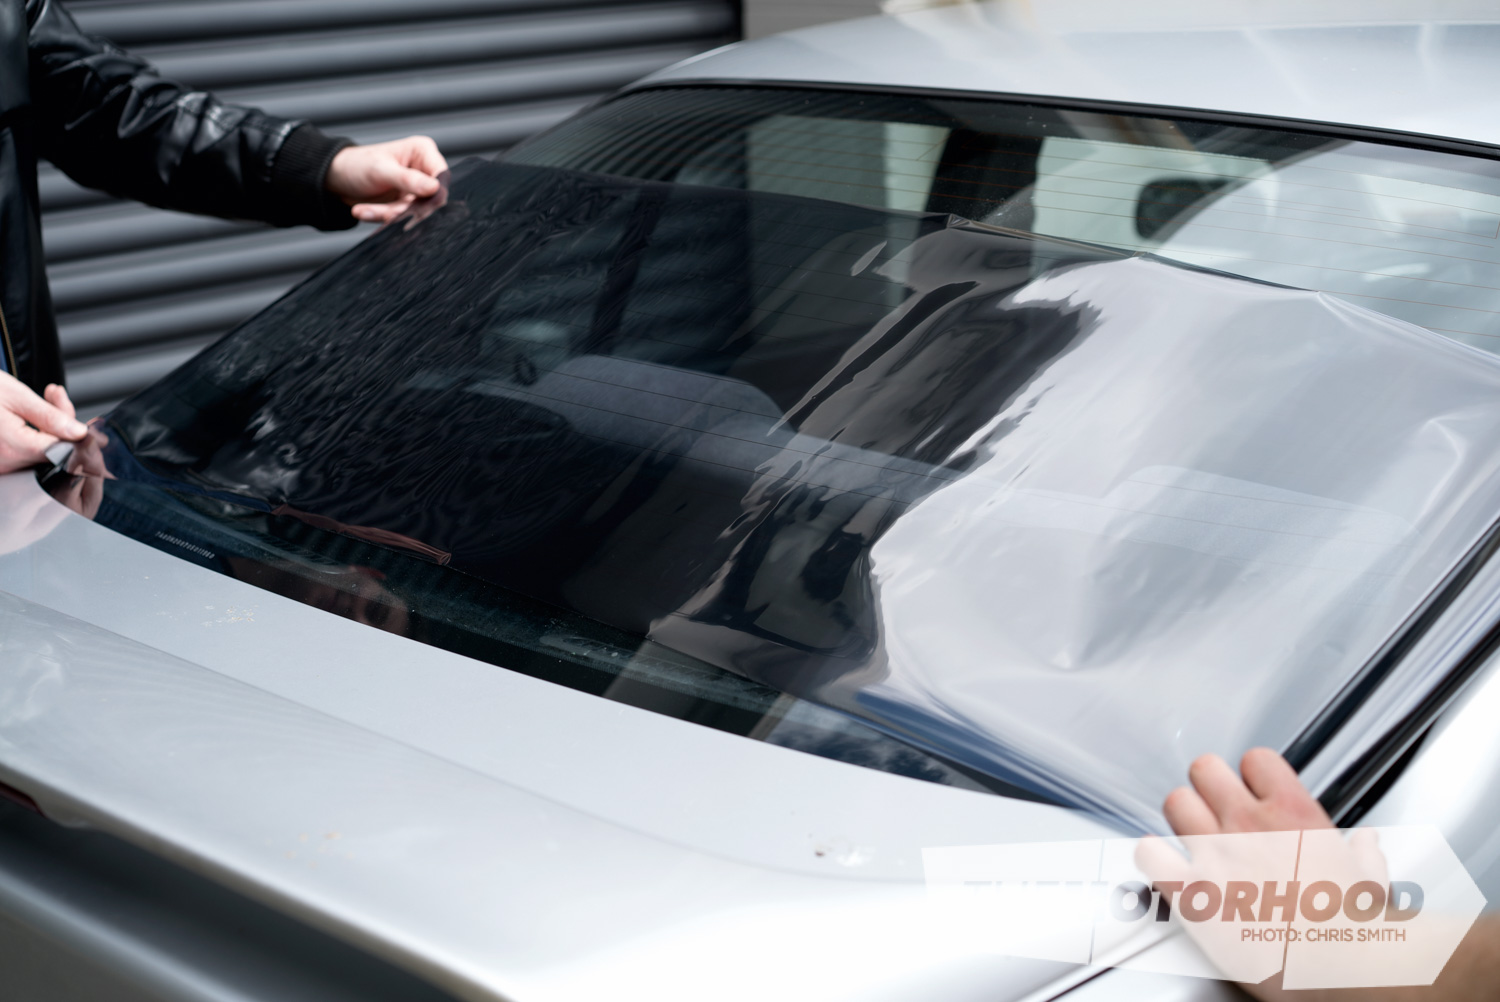
Easily the most difficult part of this process will be the rear window, it is curved and much harder to access than the door windows. Ensure the exterior side of the window is free from any dirt, and clean with glass cleaner or similar. Fill up your sprayer bottle with soapy water and spray copious amounts onto the exterior of the glass. Get a buddy to unroll the film out of the box, enough to cover the rear window, then cut more than you need off the roll. Shaping the tint to the exterior of the window is much easier than trying to do it inside the vehicle. Now that you have your window covered in soapy water, lay the tint onto the window. The soapy water allows you to slide the tint around. Once it’s in place, cut the tint film to the shape of your rear window. If your car has a high stop light, or rear window wiper, these will need to be trimmed around.
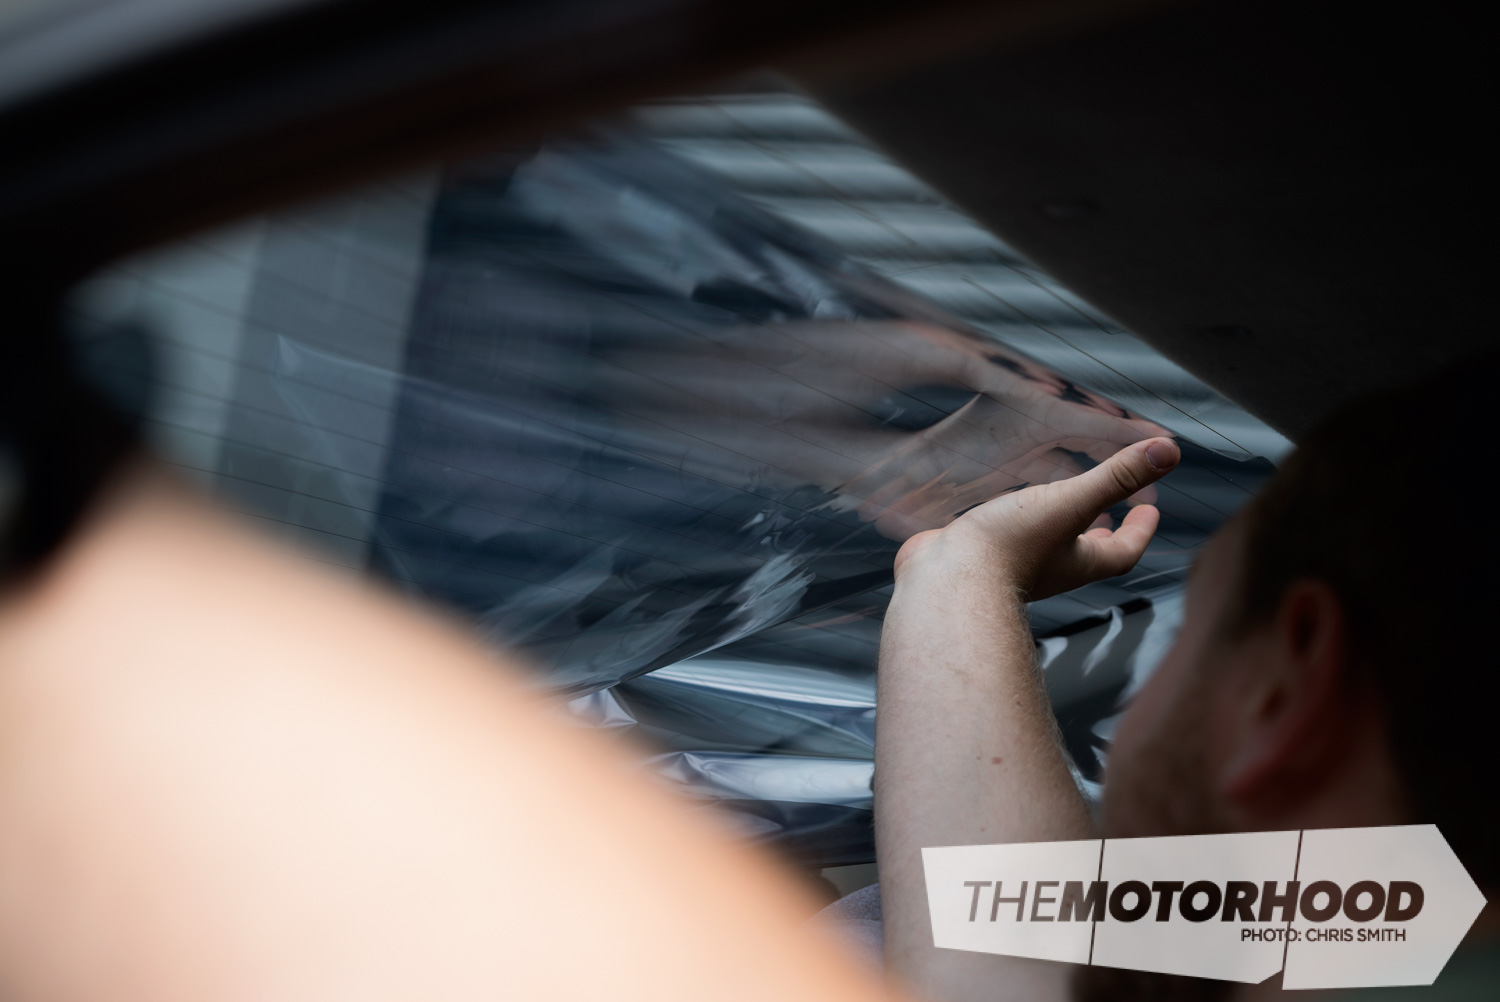
Step two:

Next up you’ll need to get the heat gun out in order to form the tint to the shape of the curved glass. Again, this needs to be done with the tint on the outside of the window. Apply heat from a good distance away, slowly working the gun closer when you find its sweet spot — too close and you’ll burn a hole through the tint. Use your squeegee blade to smooth the tint out once the heat has been applied. With the tint taking its final form, it is time to apply it on the interior side of the window. Peel off the clear plastic on the back of the tint film, which will reveal the adhesive that bonds the tint to the window. Spray copious amounts of water onto the glass and stick the tint against the window. Work your squeegee over the tint, making sure to remove any trapped water and air bubbles. The more lube used, the easier life will be.
Tint application: side windows
Step one:
The side windows are somewhat easier than the rear window — even the fact that you don’t need to crawl around on the back seats is a bonus. Providing you kept your clear plastic off the rear window tint, you can use this to cut a template for the side windows. Apply plenty of soapy water to the outside of the side window, and place the clear plastic over the top. Trim around the edges with a sharp blade to replicate the window shape, and the result will be your template. Find a flat surface like a workbench or table, and roll out a couple of metres of tint, folded on top of each other. Place your template over the top of the two layers of folded tint and carefully trim around the edges, making sure the two tint films underneath are getting cut to the exact same shape as the template. The top and back side can be trimmed once it’s laid out on the glass, but make sure you trim the bottom and front edges perfectly.
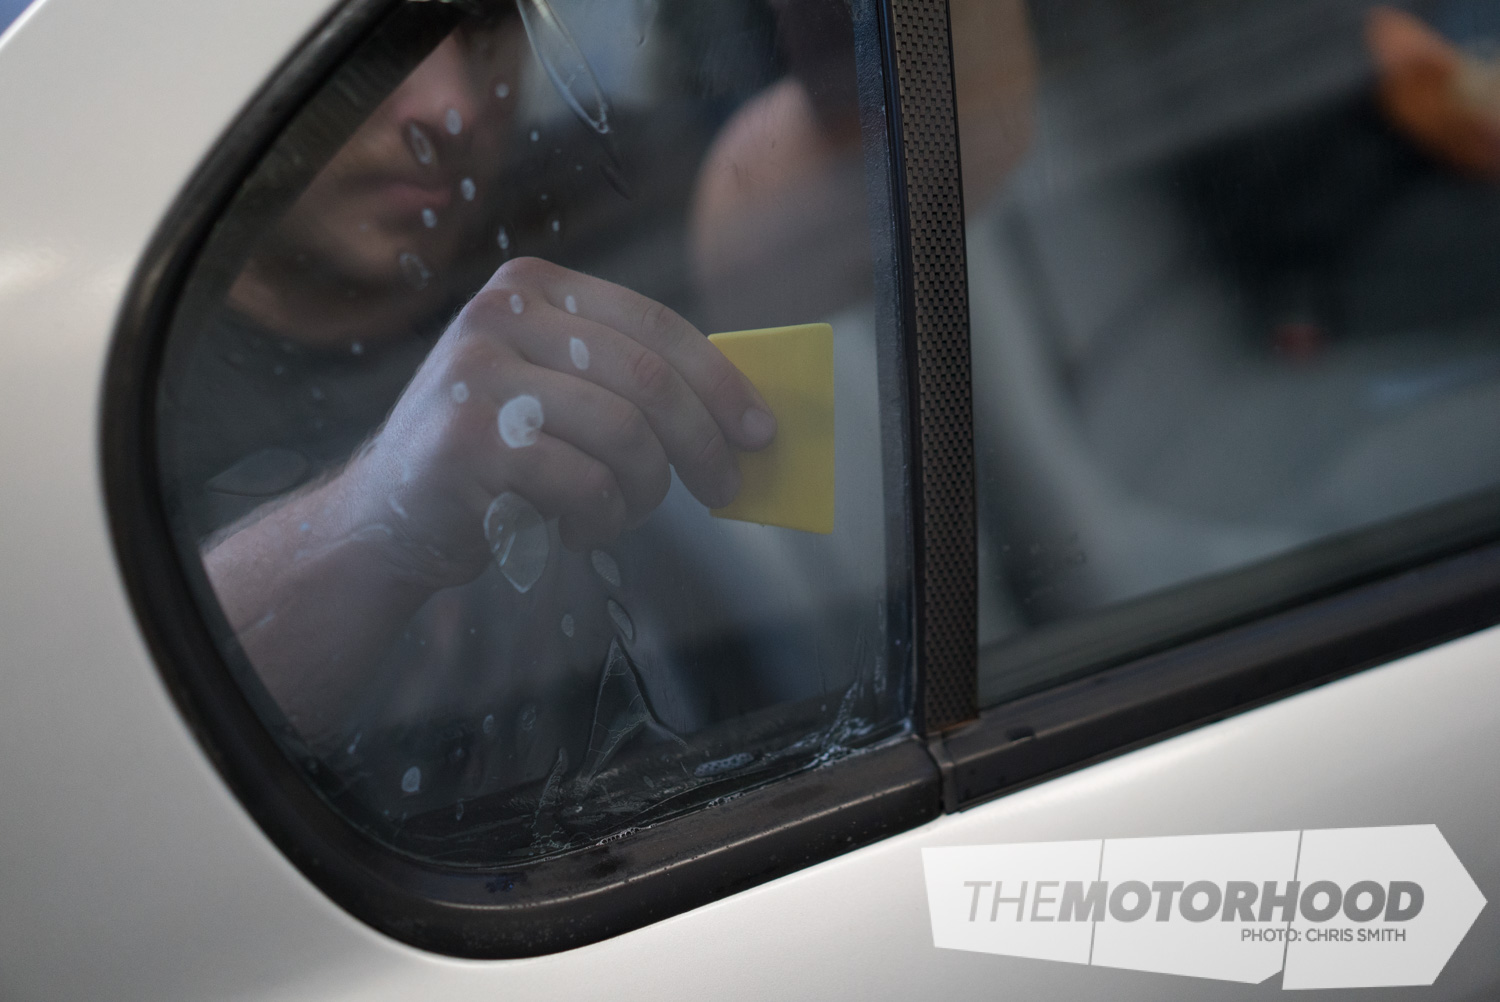
Step two:
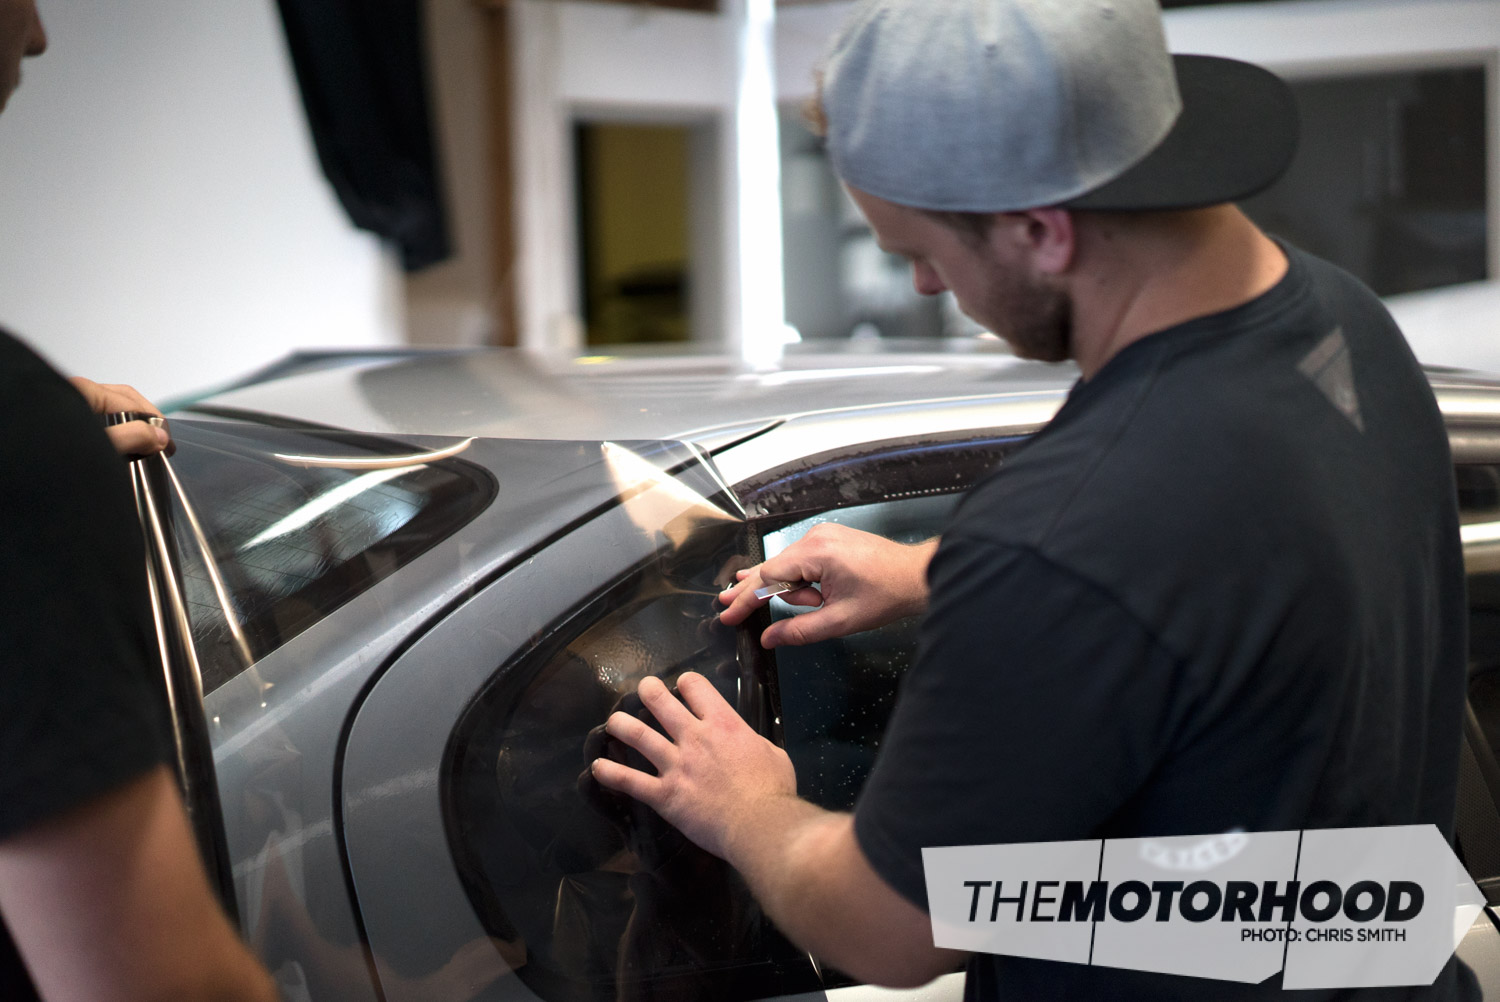
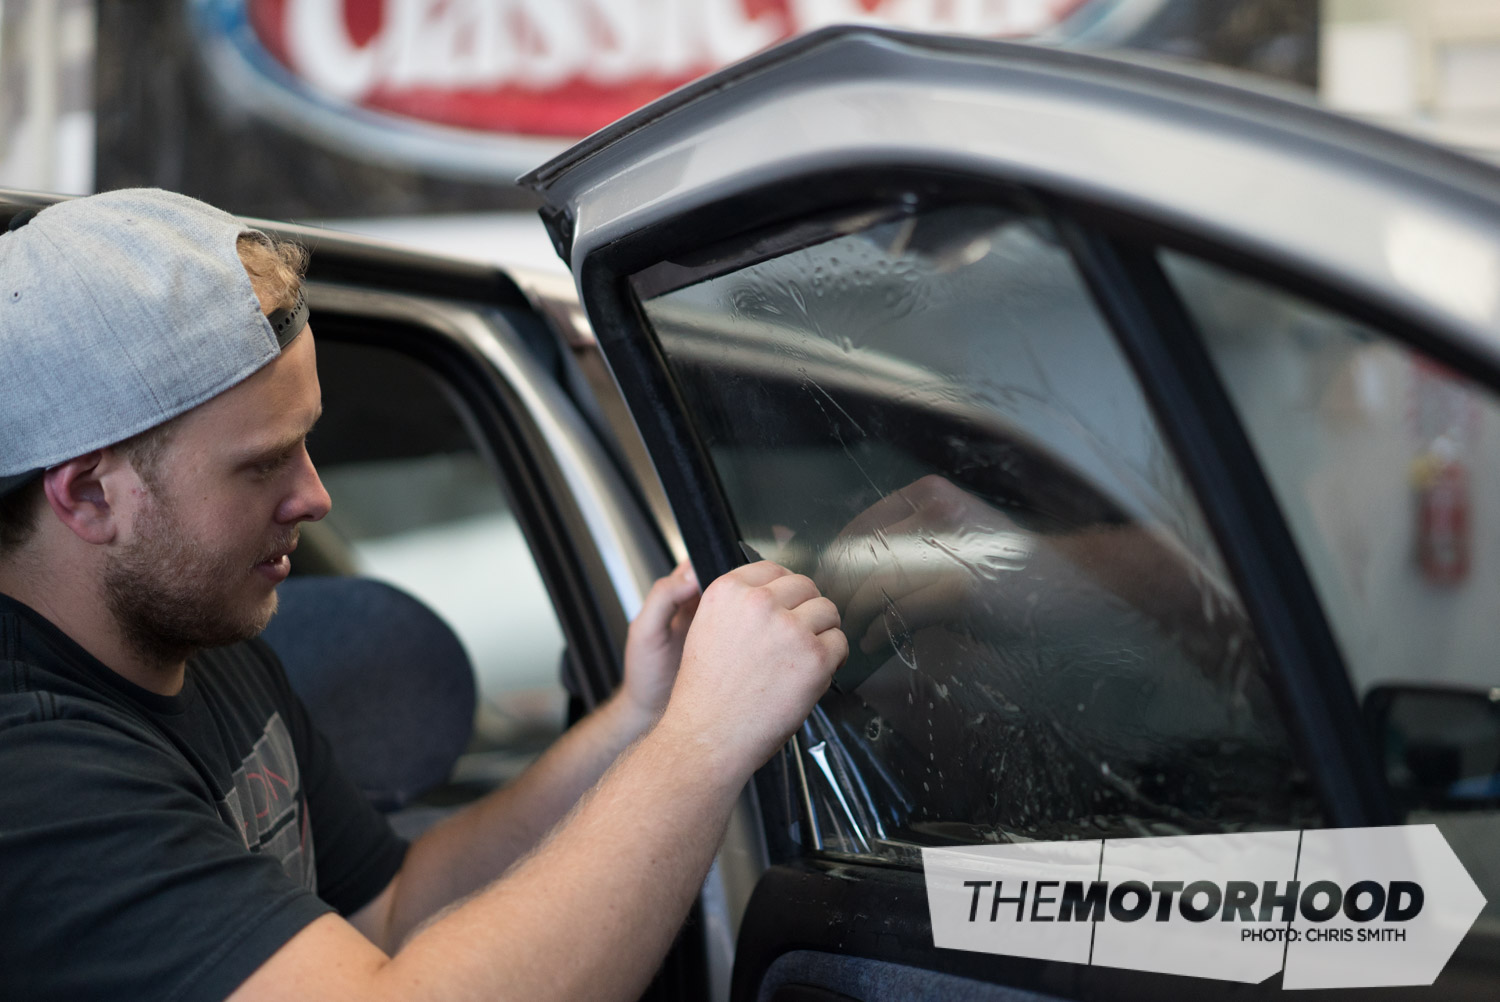
Make sure your windows are clean before you begin. Once the tints have been cut to shape, lay them on the outside of the glass and trim to fit. Ensuring there is no old adhesive still left on the window, spray soapy water onto the inside of the window. Peel the clear layer off the tint that covers the adhesive and apply the tint to the interior side of the window. The easiest way is to slide the tint around to the perfect position with the lower part of your palm, and once you have it in position, slide the tint down below the window seal at the top of the door card. Use the squeegee to once again remove the water and air bubbles out from behind the tint, working your way from the centre to the outside edges. This process can be repeated for every window.

If you find the tint is a little oversized, don’t worry, you can take your blade and trim while it’s in place, you’ll need to do this as you don’t want any edges that could catch and remove, tear, or crinkle the film.
Step three:
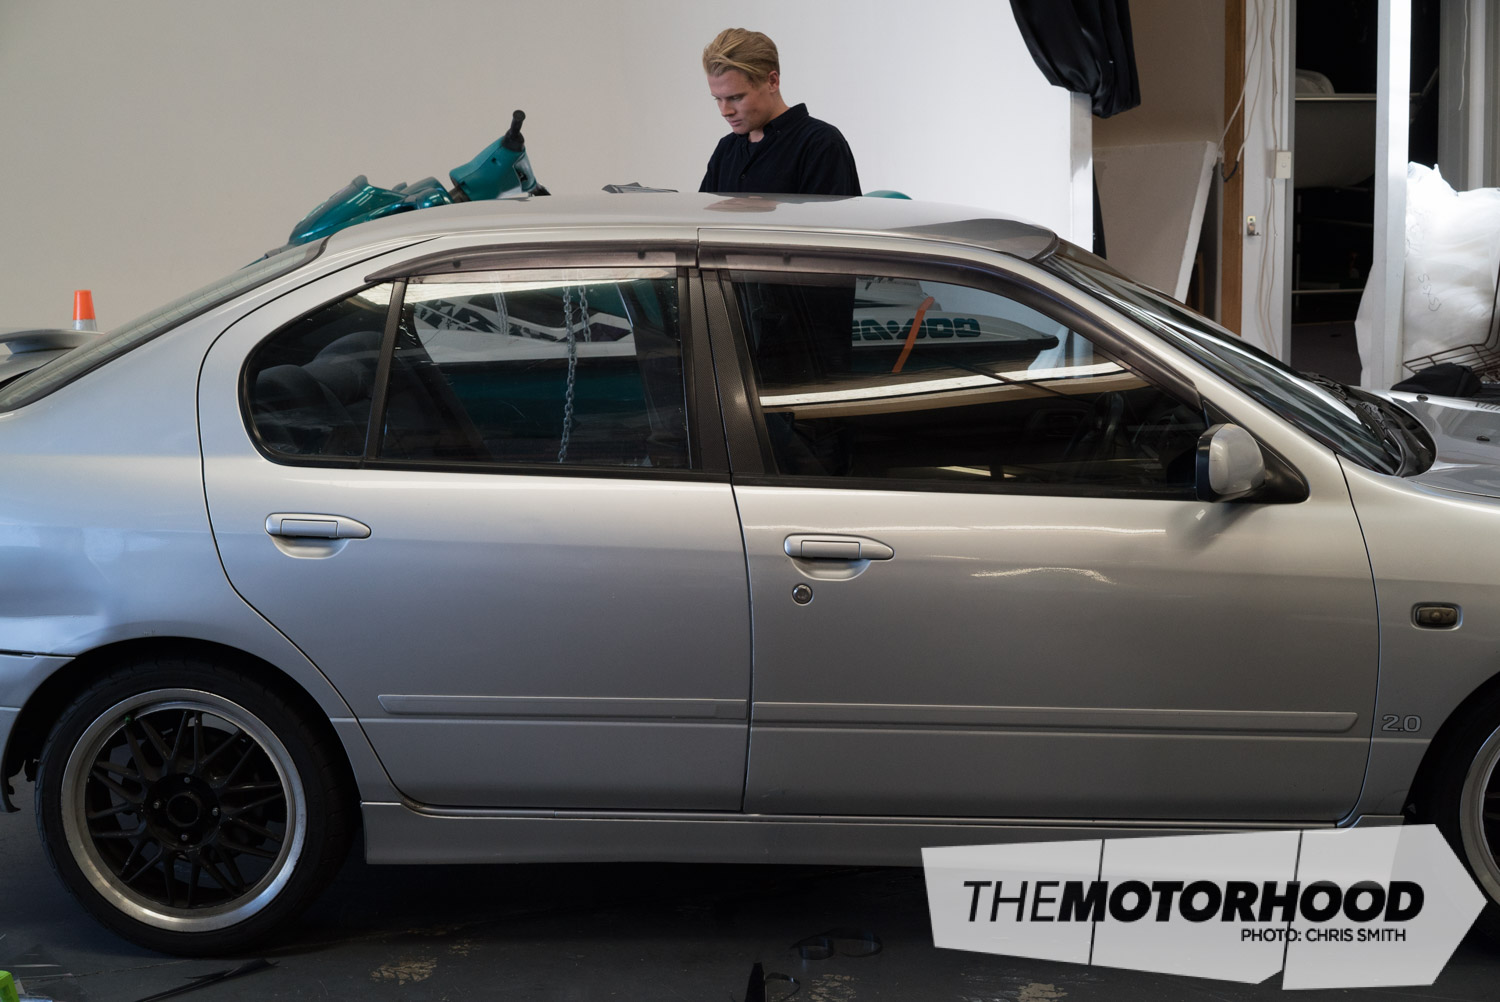
Do not wind down your windows for at least 48 hours. The adhesive needs time to set before the tint will stay in place. Some tinting kits come with warning tape that you place over the window switches inside the vehicle to prevent people from using them.
ake sure not to cut yourself while using the sharp blade.
Ensure you get every last air and water bubble out, otherwise it will look nasty once it is completed.