
Welcome to the Weekend Workshop, a place where you can save some cash by getting your hands dirty
These tech guides aim to arm you with the necessary info and knowledge to get out there and give it a go yourself, with no professionals needed, and at a price tag that won’t break the bank.
This month we check out Dynamat and show you just how simple it is to install it into your own car. It’s hard to make insulating a vehicle’s interior sound attractive. It’s also hard to encourage car builders to spend money on items that aren’t seen, nor make the vehicle faster. But ask anyone who’s installed heat insulation such as Dynamat in their vehicle if it was worth it, and the answer you’ll get every time is, “I don’t know why I didn’t do it earlier.”
Tools
You will need a very sharp craft knife, screwdrivers, trim tools, gloves and beer.
Time
This job took a lengthy two days to install. Allow at least this much time if you want it done properly.
Expert level
Easy to moderate, if you have common sense and patience you should be fine. Patience is key with laying Dynamat; taking the time to get it done right will ensure the product does what it is designed to do.
Step one: purchase Dynamat
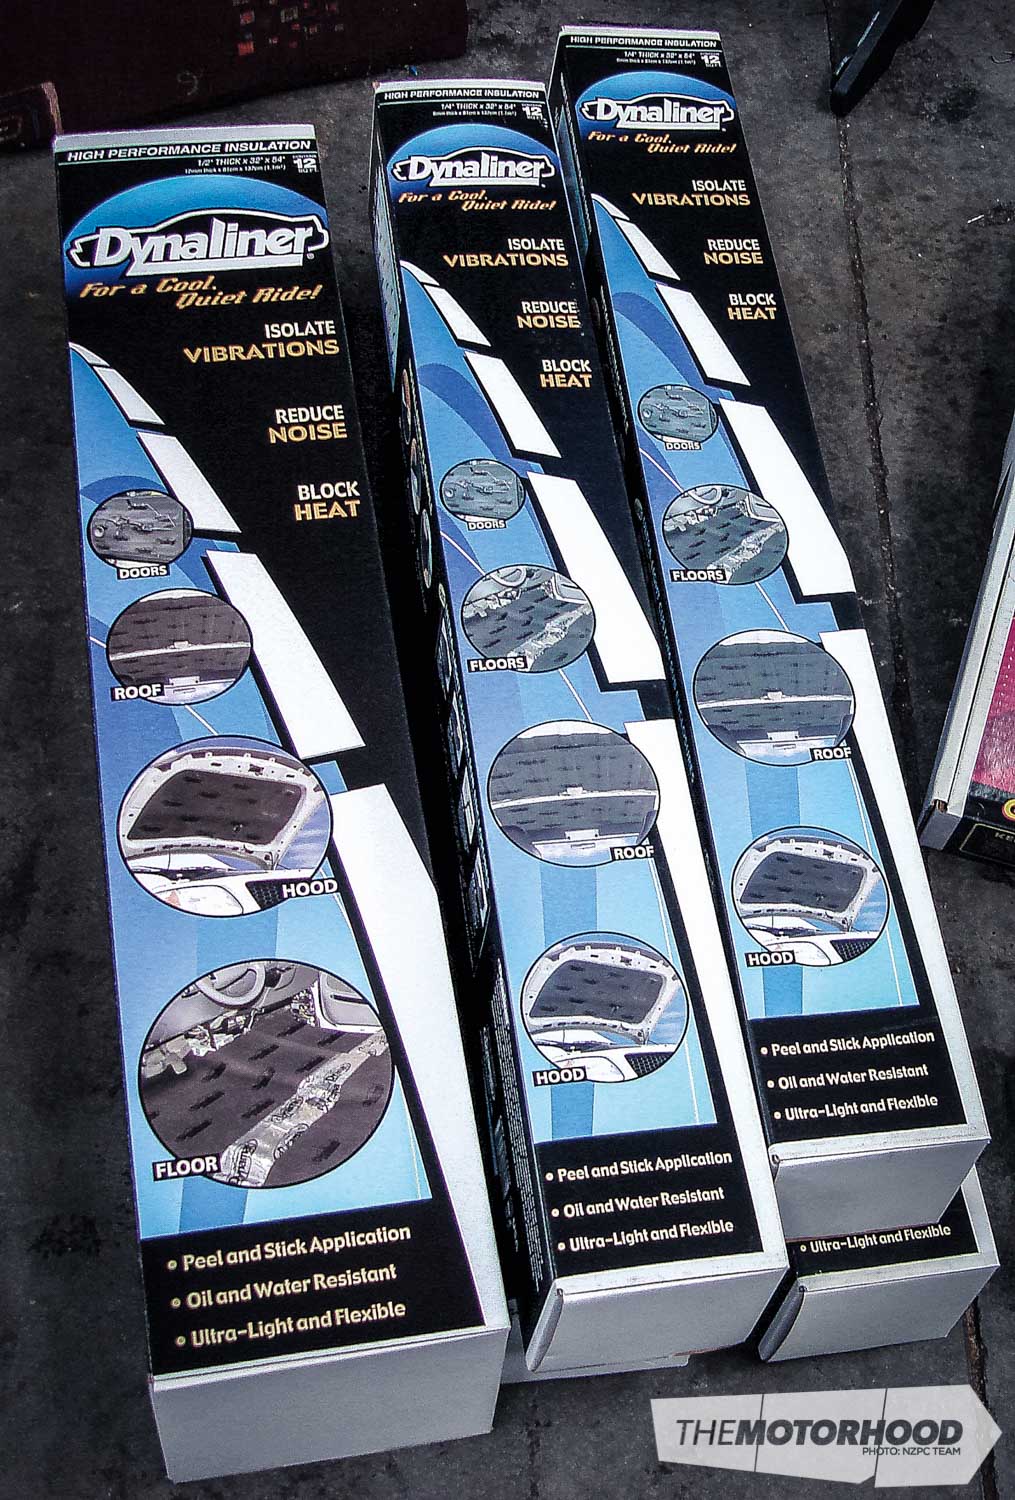
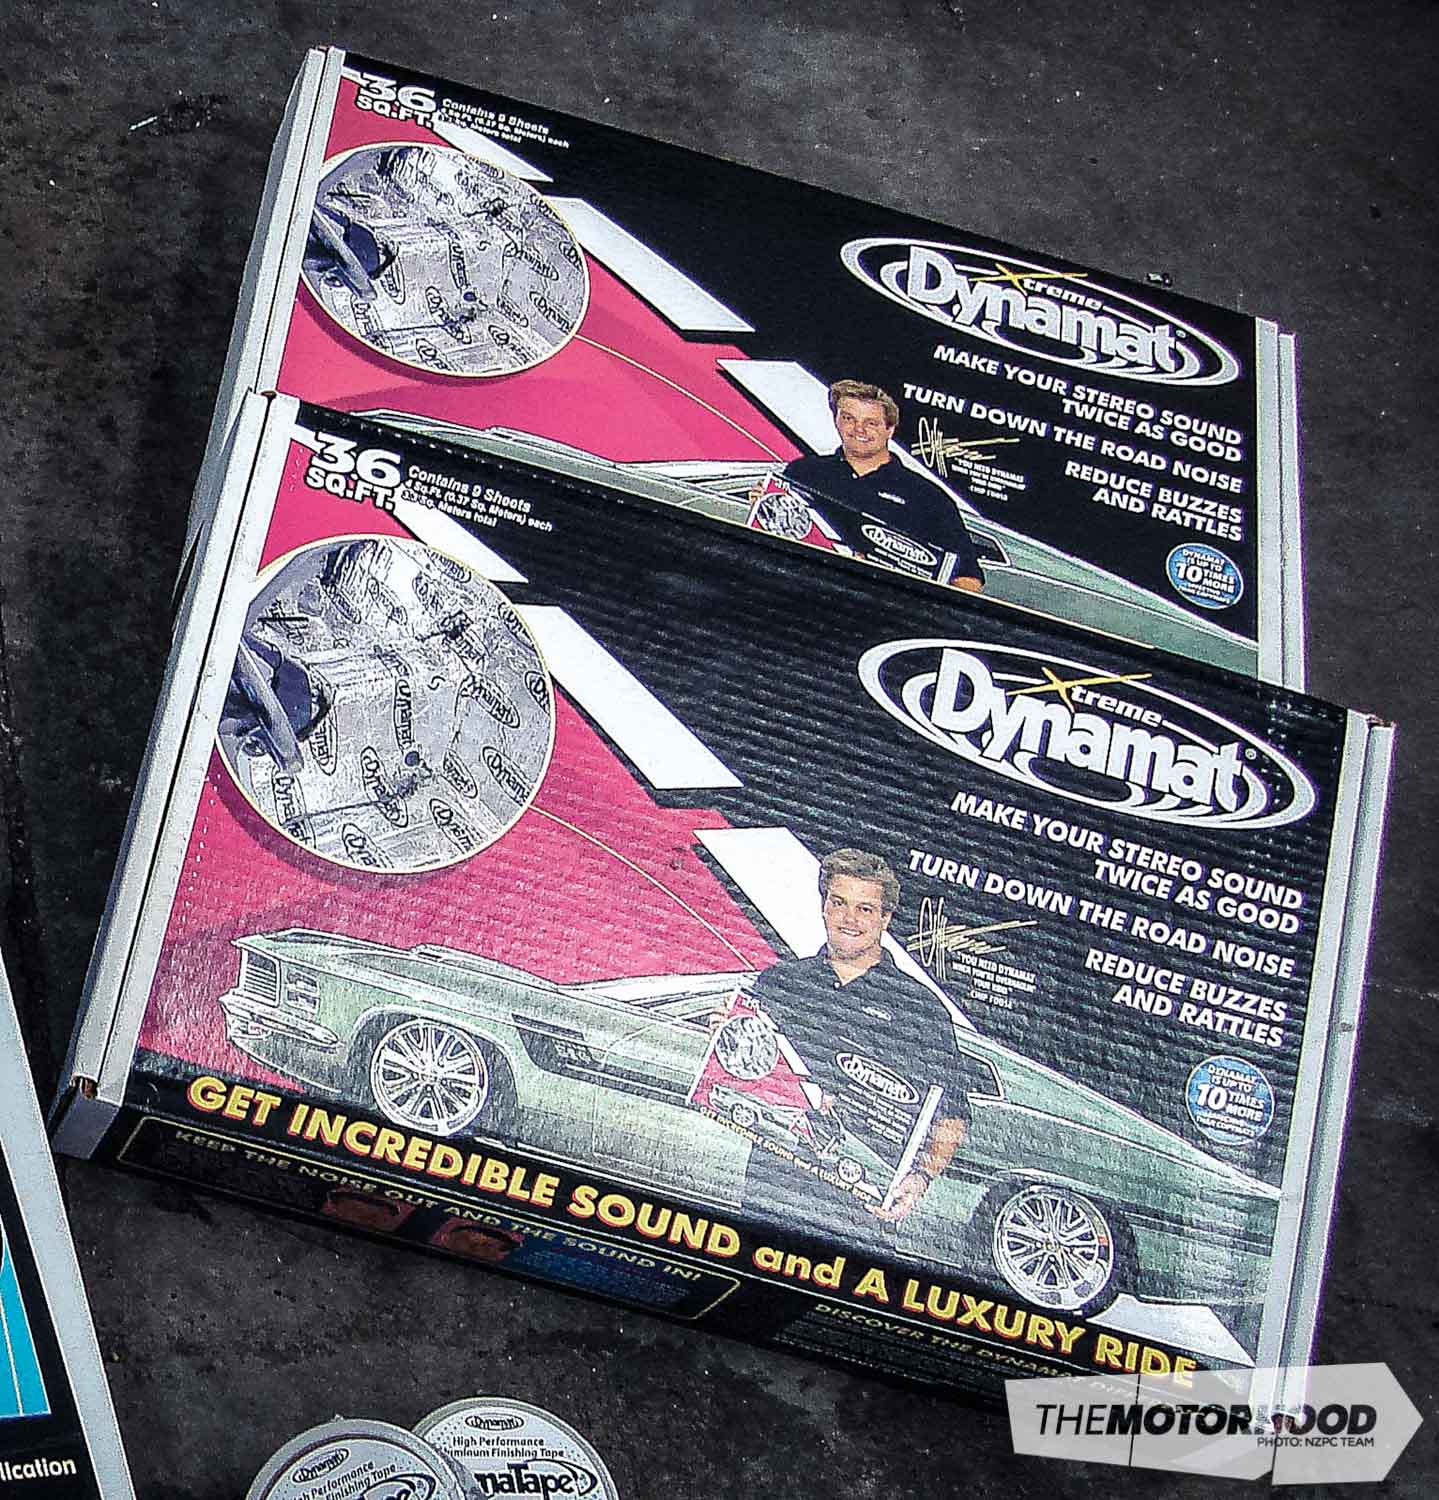
We visited dynamat.co.nz and placed an order for what we figured we’d need. As this is a large car, we opted for two bulk kits of Xtreme, two rolls of the quarter-inch-thick Dynaliner, and one roll of the half-inch-thick Dynaliner for the firewall. Add to that a couple of rolls of tape and a roller, and the whole lot was worth around $1400. While we’re aware there are cheaper alternatives, we know exactly what we’re getting with the Dynamat product, and unlike some more affordable items, this stuff is designed specifically for the task we wanted it for.
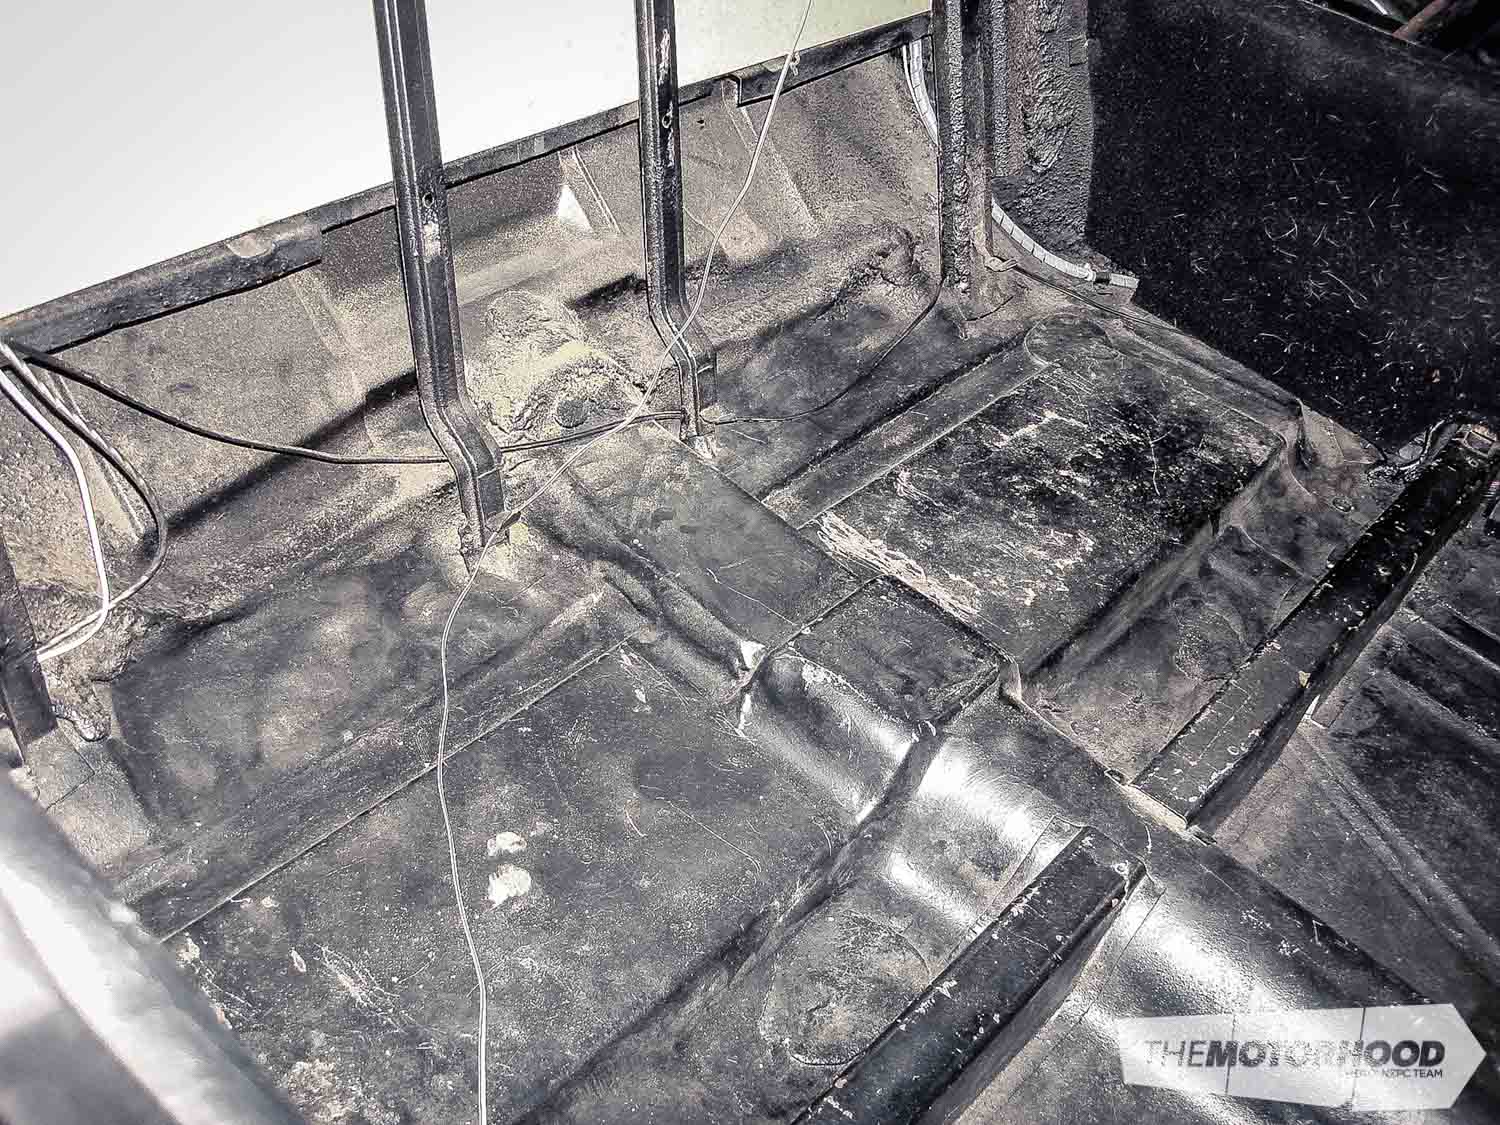
Step two: floor preparation
After removing the seats and carpet, we gave the floor a good vacuum and degrease to get rid of anything that the insulation wouldn’t want to stick to.
Step three: mathematics
Before installing anything, we did the maths to work out the most effective way to cover the entire floor area with minimal wastage. The best solution turned out to be running the sheets sideways, although a different-sized vehicle may require another layout.
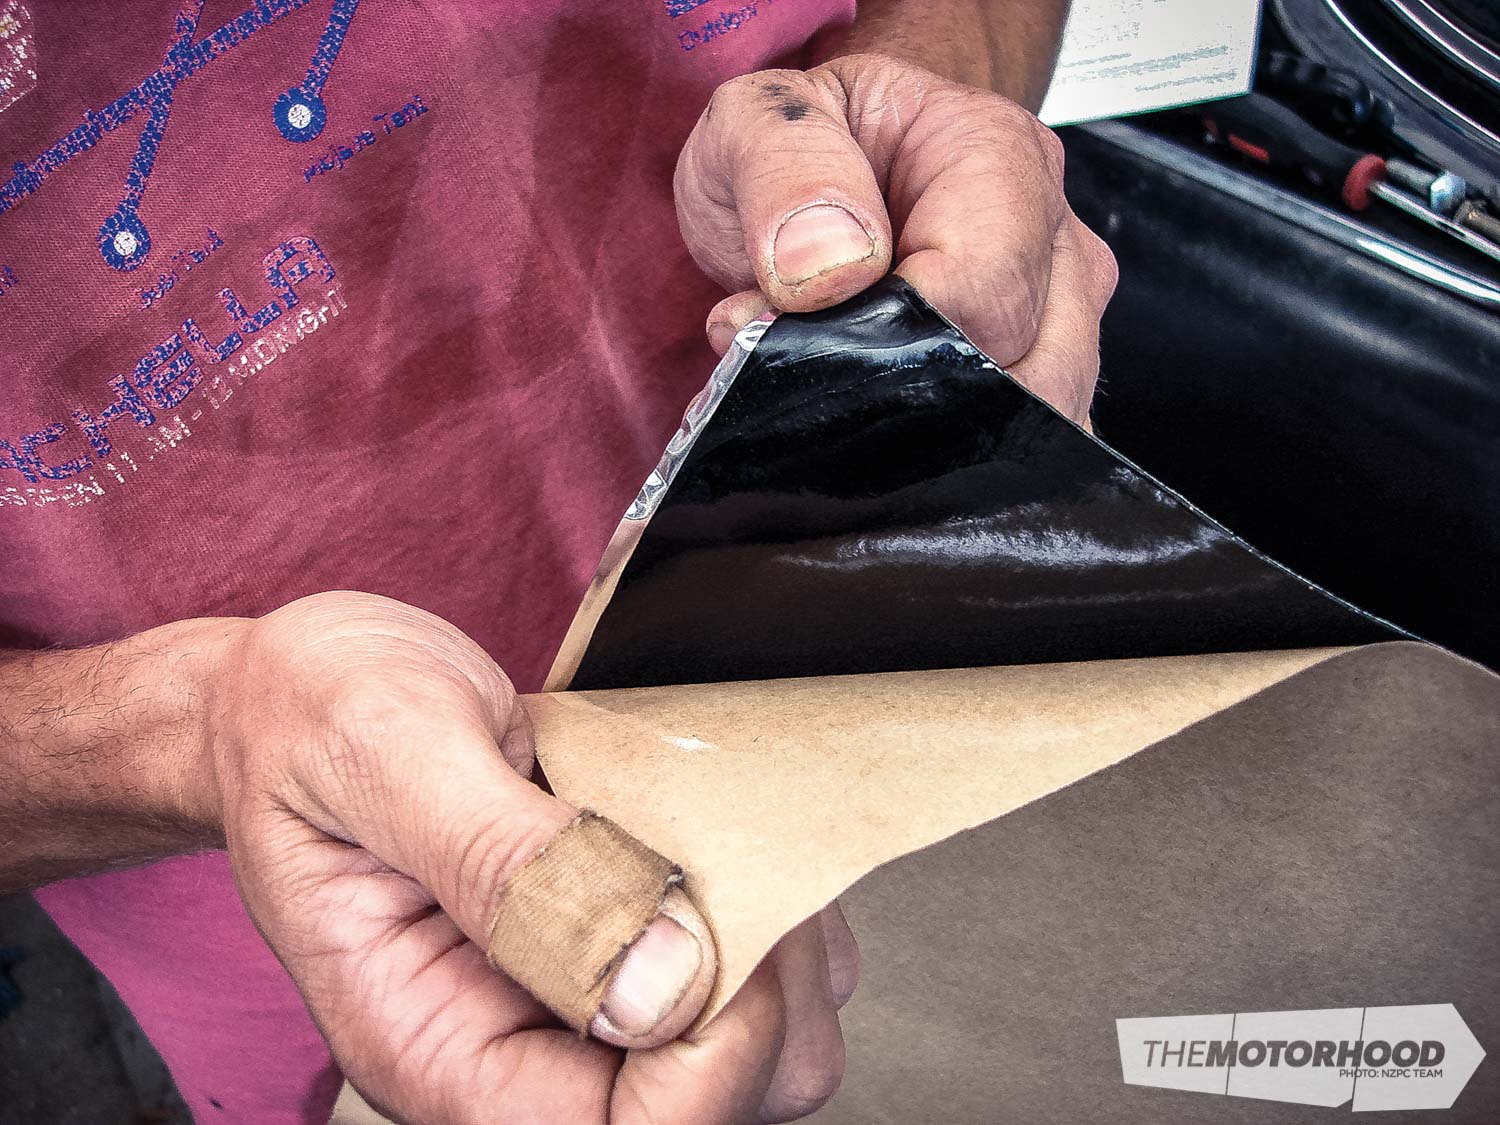
Step four: adhesive backing
Just like covering your kids’ school books, the Xtreme has a self-adhesive backing. But don’t make the mistake of peeling it all back at once, instead, peel as you go, as once it’s down, it’s a nightmare to get back up.
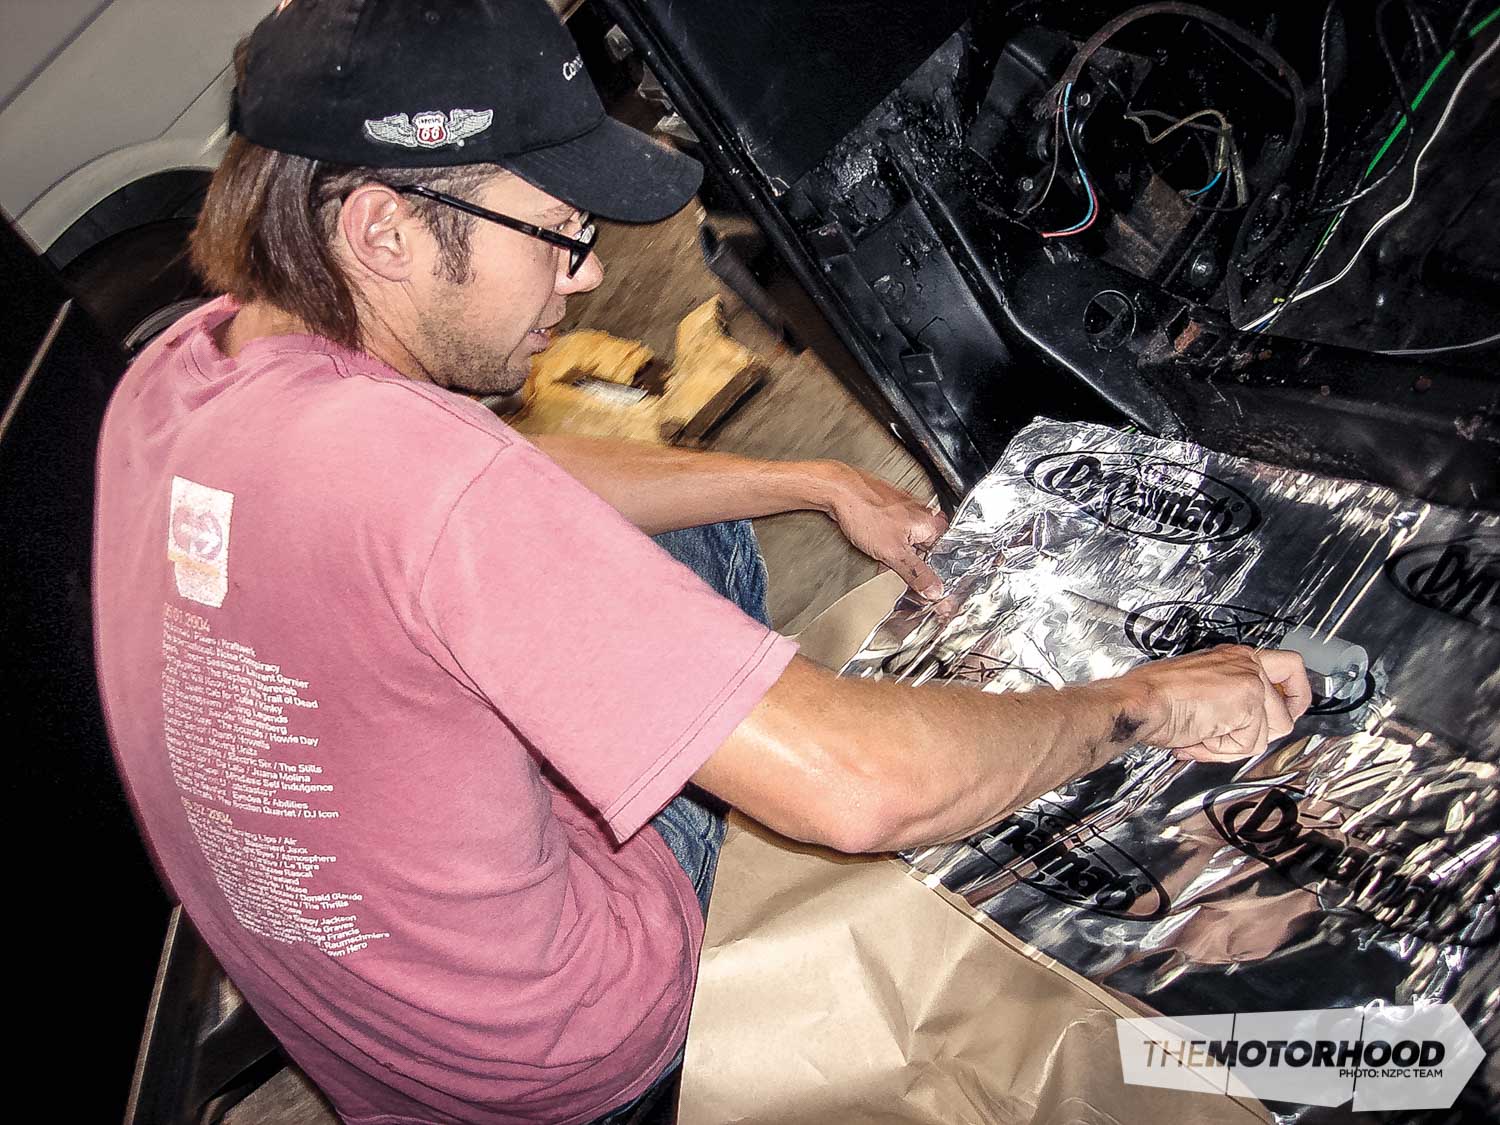
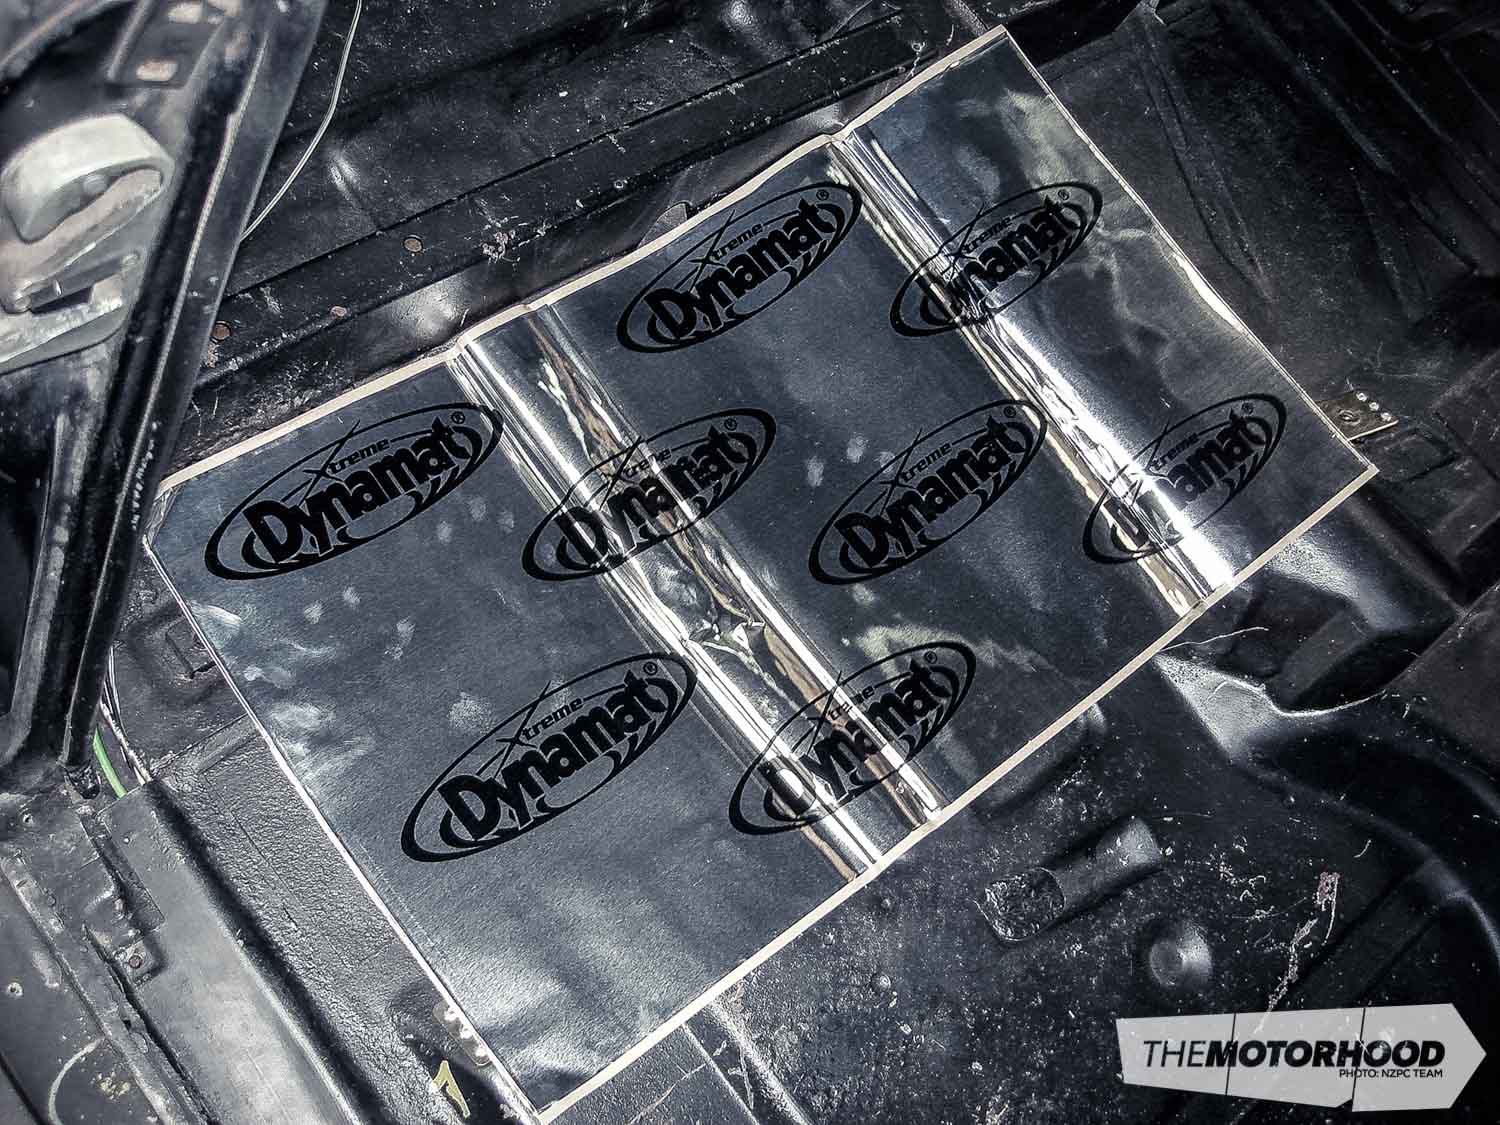
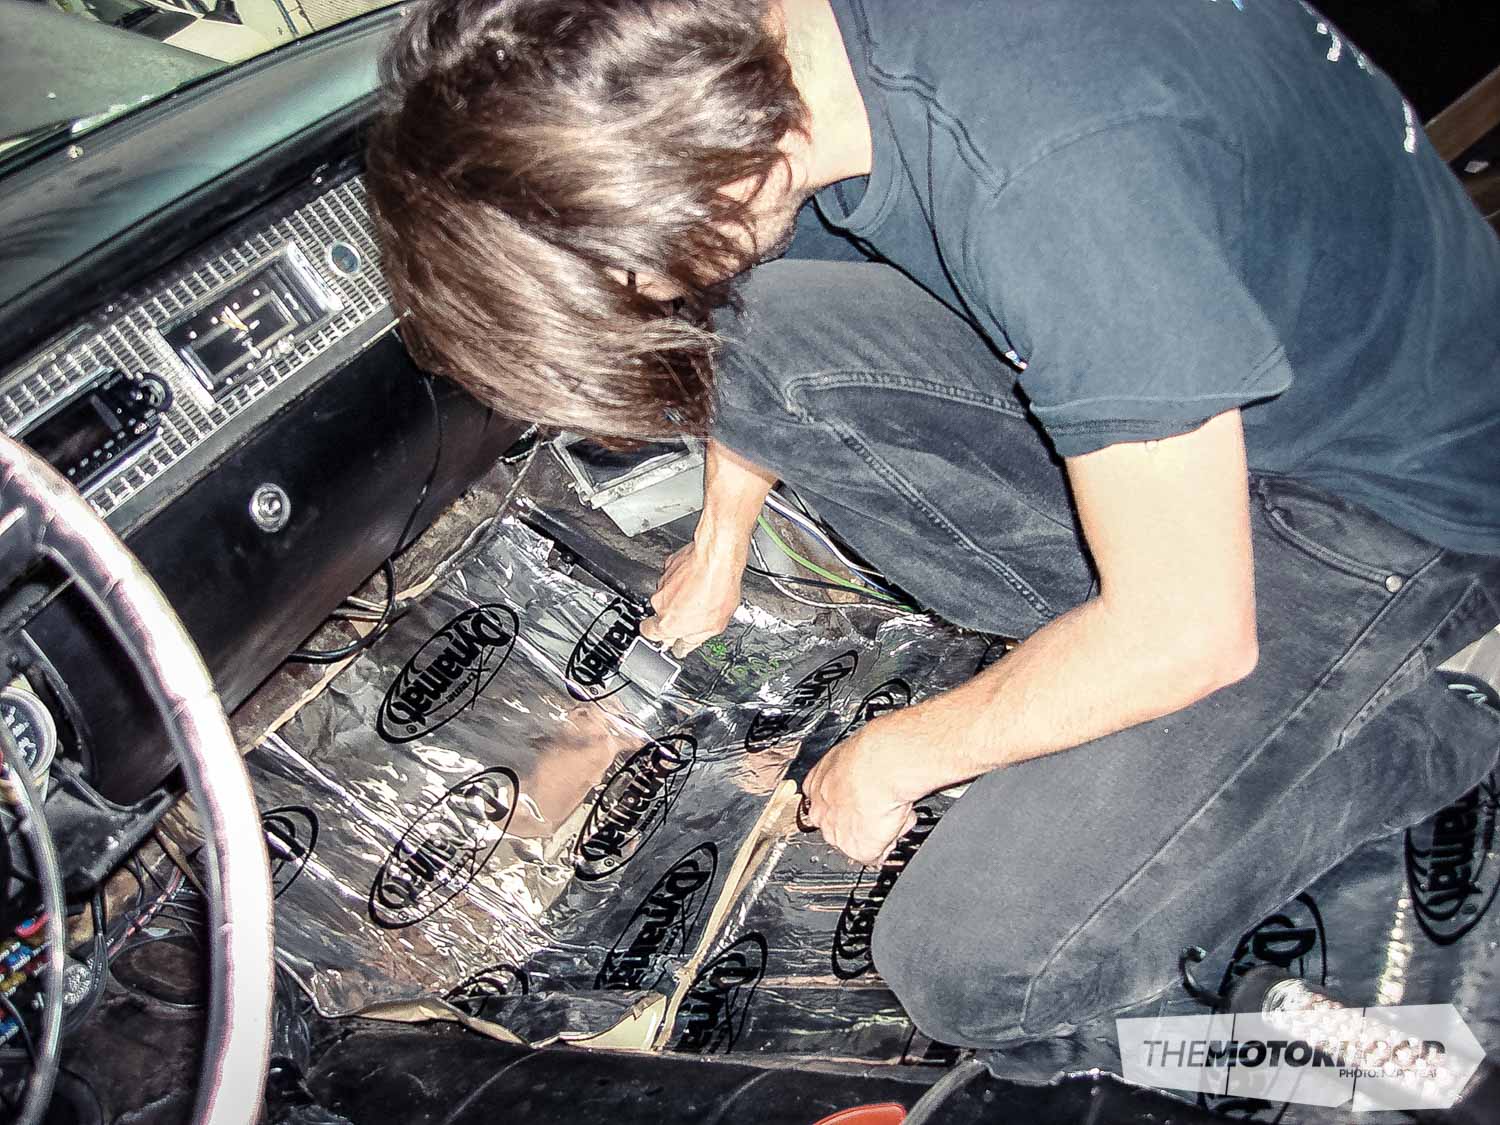
Step five: peel-roll-peel
Peel, roll, peel, roll, and continue. It’s a time-consuming task, but the last thing you want is gaps or bubbles underneath. Rolling the same way as the swages in the floor is far easier and more effective than rolling across. The large, flat floor area allowed full sheets to go down without any cutting, making it relatively simple.
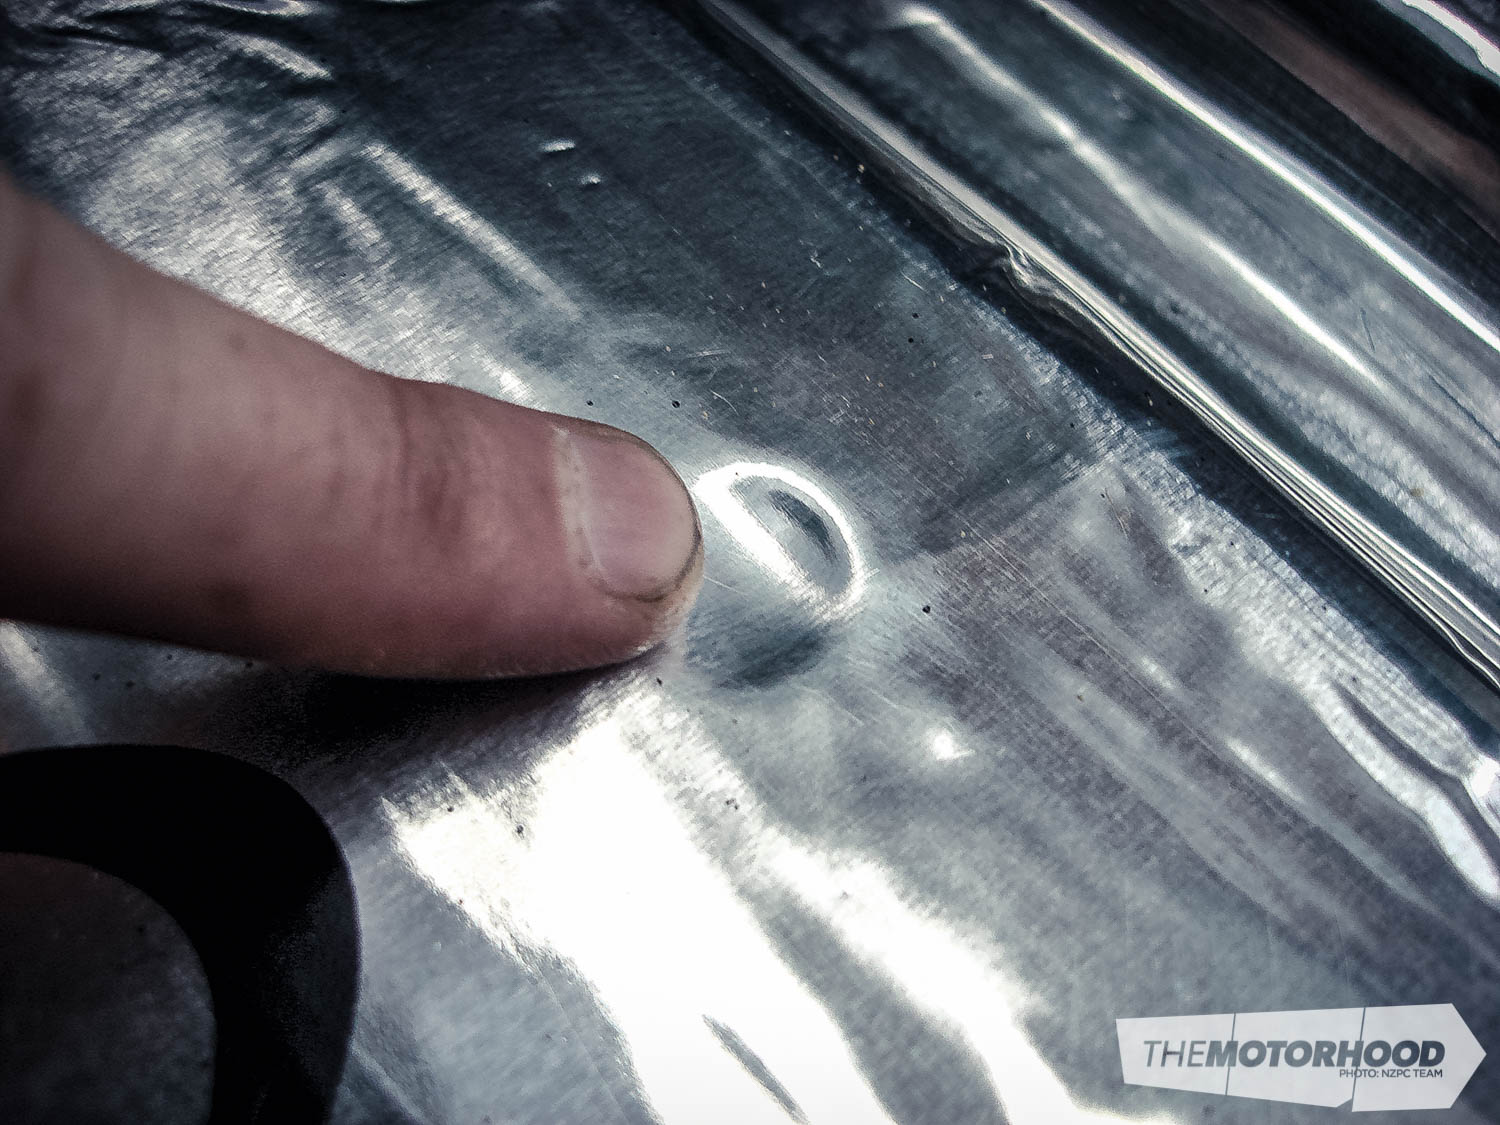
Step six: cutting bolt holes
Make sure to mark out any important bolt holes as you go, as finding them afterwards isn’t a fun task. Here you’ll see where we pressed the liner into a seat mount so we could find it. A quick trim and our seat can once again be mounted. Don’t be tempted to make the hole as small as possible, it’s not worth the hassle of bolts not going in later on. While we could have gone right over the seatbelt mounting plates, to make sure the belts still moved freely and weren’t hindered at all, we decided to cut around them.
Step seven: under the dash
The closer we got to the firewall, the trickier it became. The most important thing was to make sure not to have any gaps, especially with the firewall being the main problem area in this vehicle. To get the correct shape around the steering column and pedal assembly, we used cardboard templates before cutting the real thing. This left us with minimal gaps and minimal wastage. How’s this for progress? We took the Xtreme as high up behind the dashboard as we could. In this case it was right to the bulkhead, although we did have to remove the fuse box to do that.
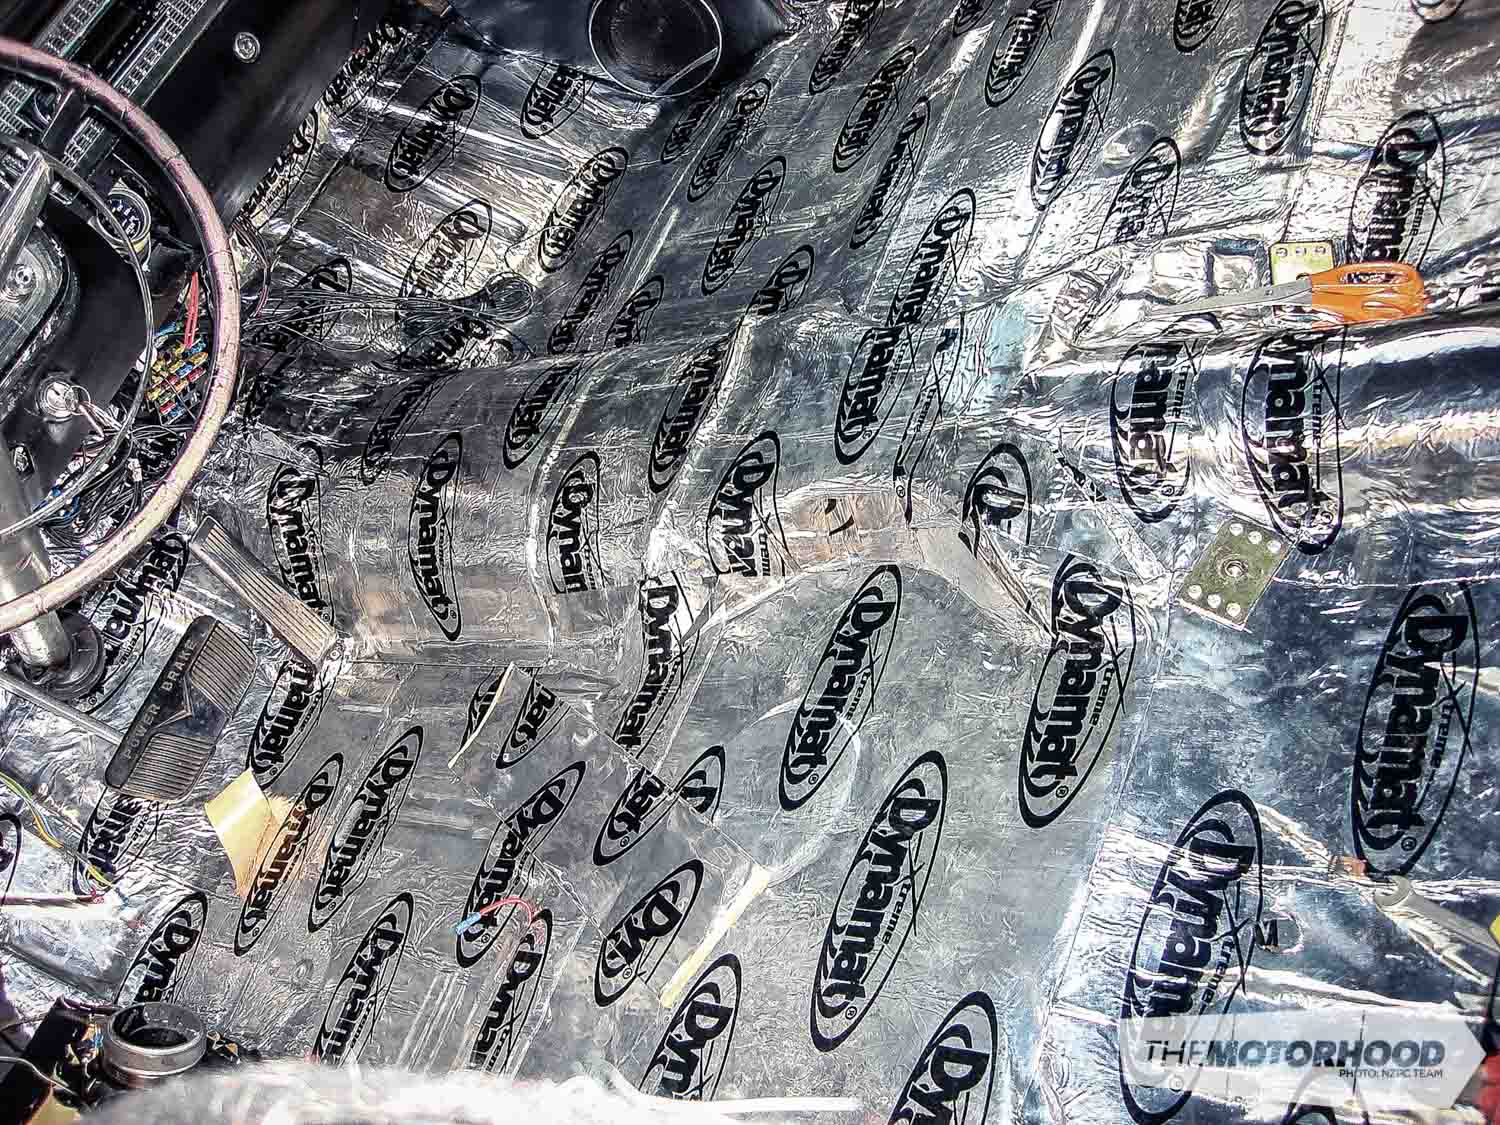
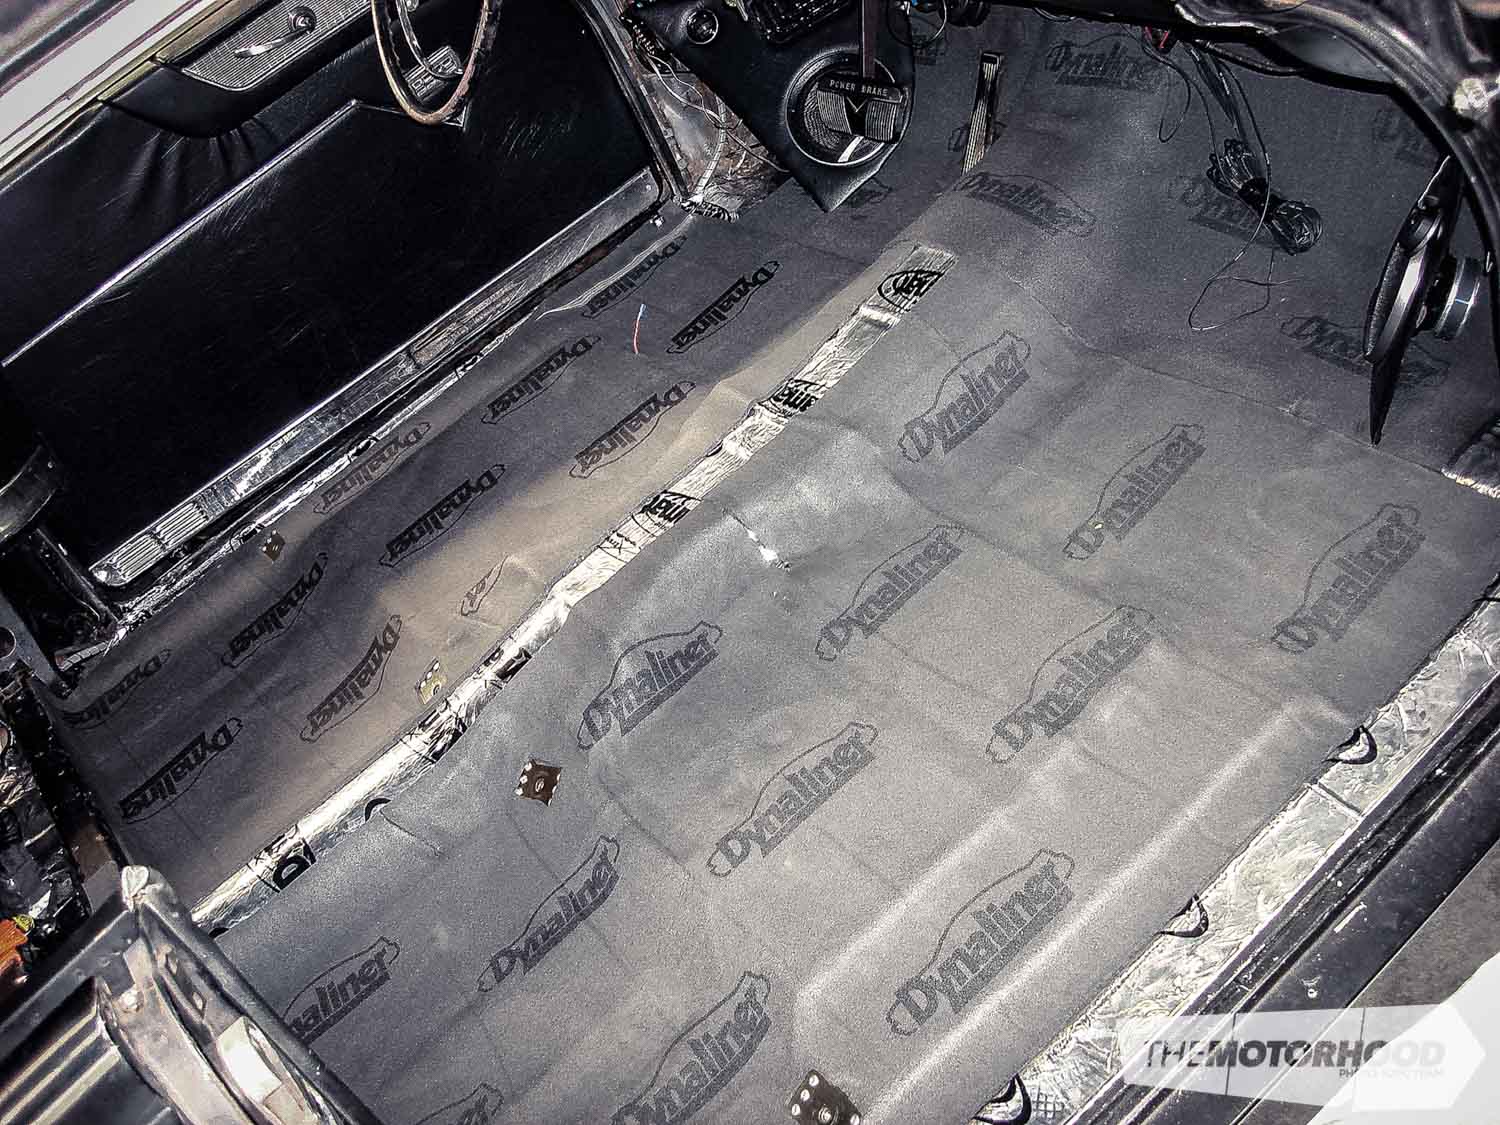
Step eight: the money shot
Stage one complete. If you’re more interested in just keeping road noise out of your vehicle, this is all you’d really need to do. But in our case, with heat being the issue rather than noise, the most important part was about to come.
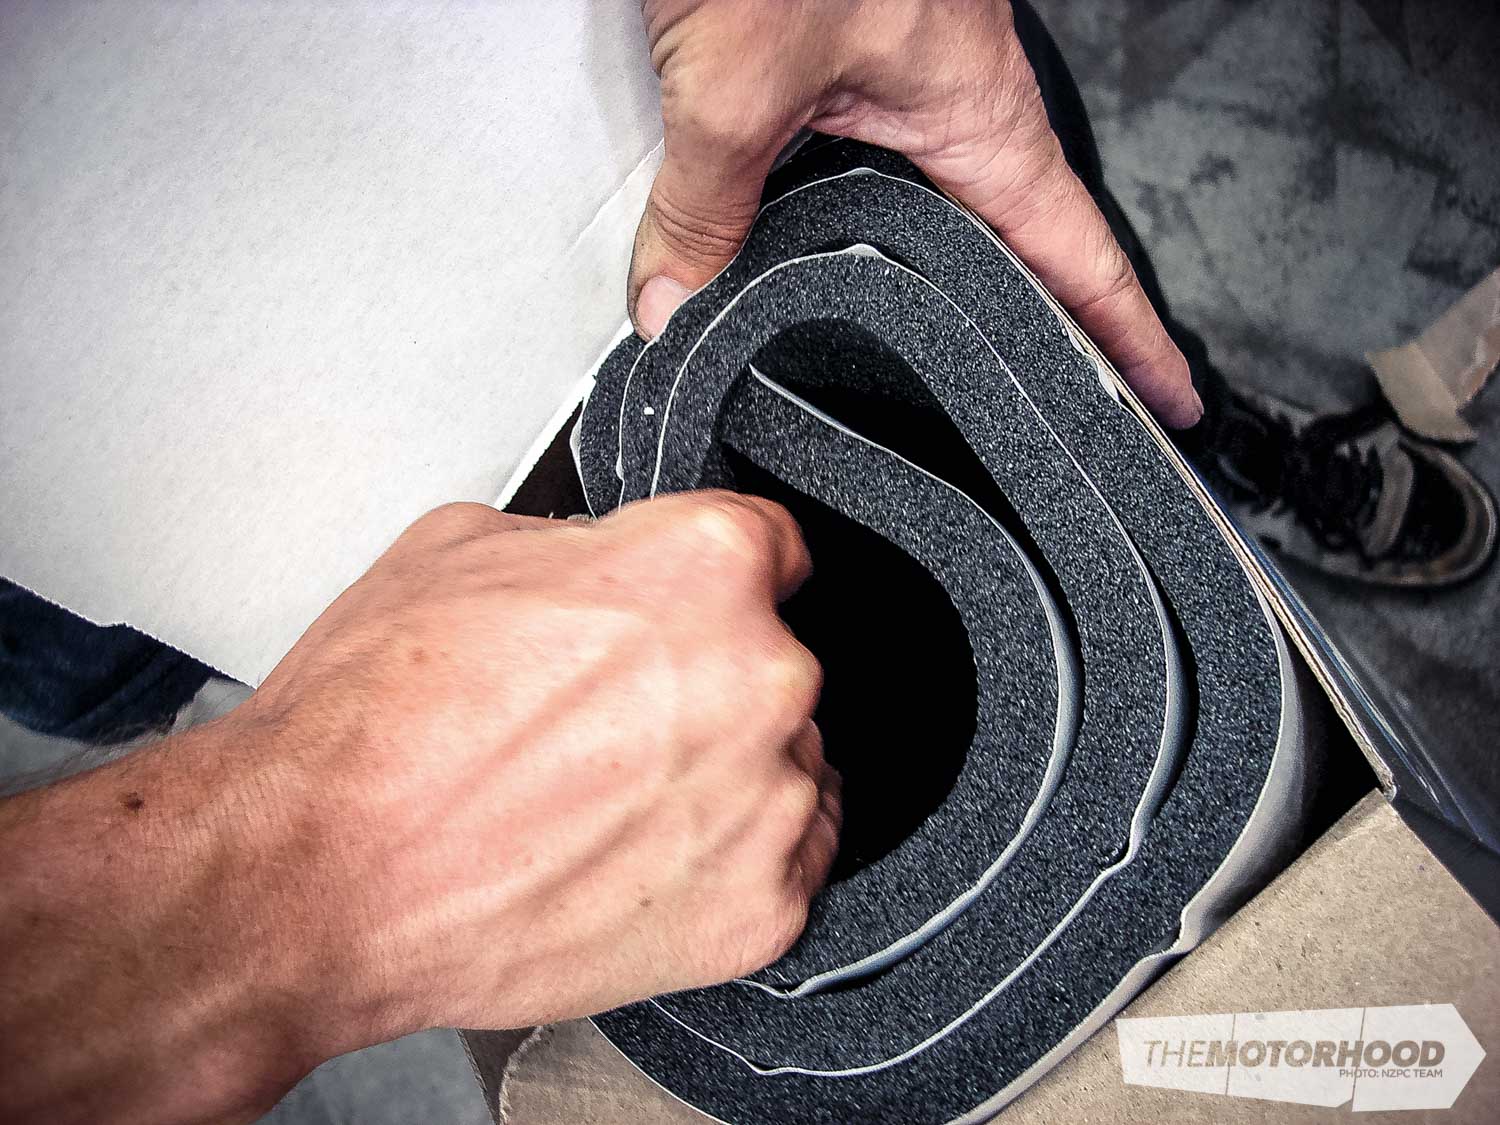
Step nine: Dynamat Dynaliner
The Dynamat Dynaliner, seen here in its thickest available size, is a stretchy insulator with a self-adhesive backing which can be used over the top of Dynamat Xtreme, by itself, or under the bonnet of your vehicle. Given its slightly more flexible compound than the Xtreme, it’s both easier and harder to install, depending on what type of area you’re working with. Around the steering column and pedal wasn’t the easiest to cover, and you can see we mismeasured a bit. It’s nothing a small patch didn’t fix later on, though.
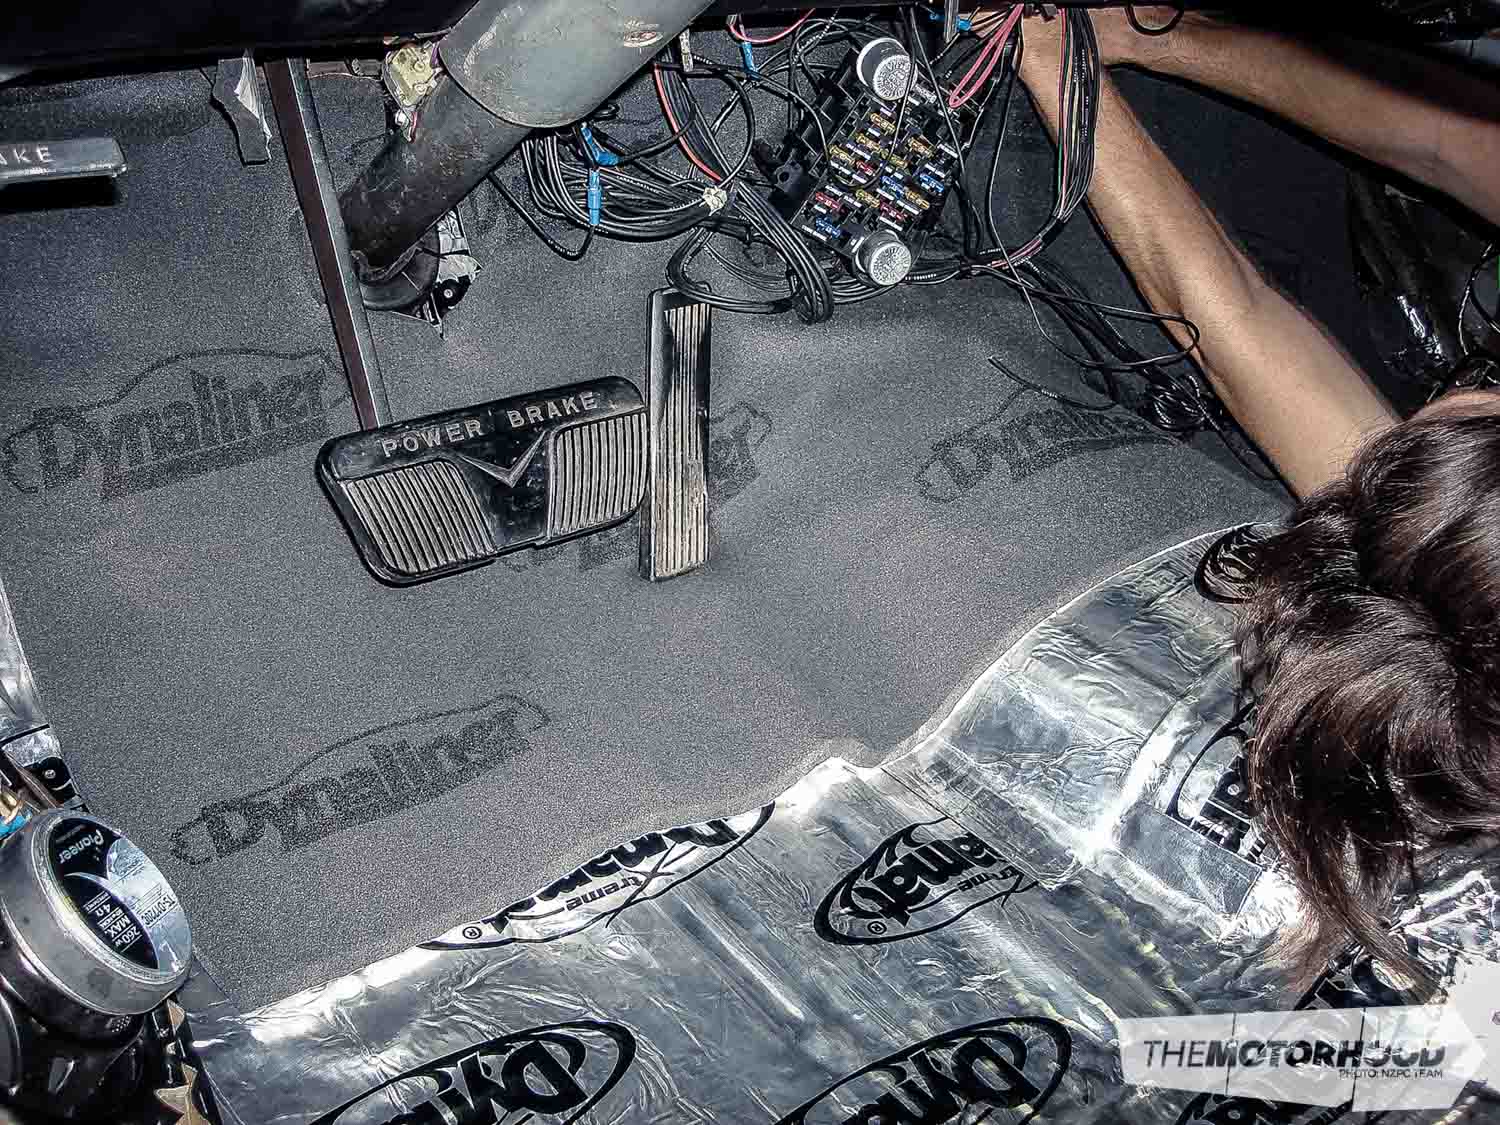
Step ten: laying the liner
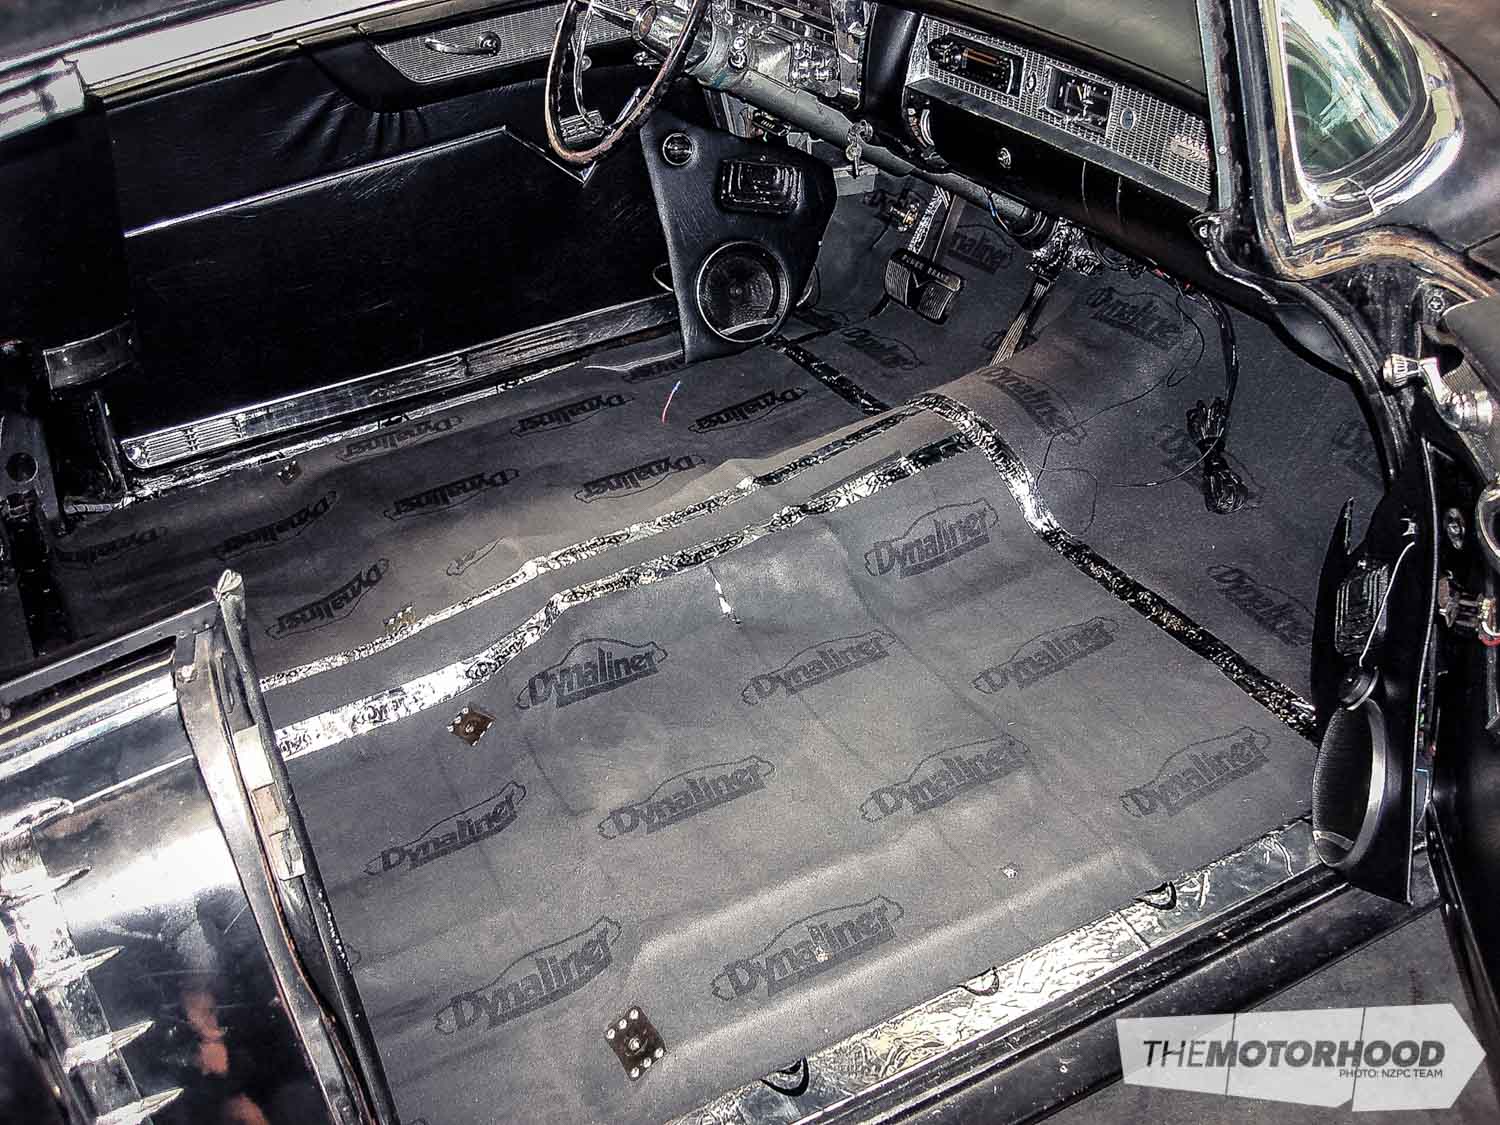
It’s certainly not the most glamorous task, but given the fact the sheet of Dynaliner was the perfect width for the car, we decided to fit the lot in one piece. While this decision made it a bit harder to work with, the end result is wrinkle free and looks great. Not that anyone will see it when the carpet goes back down, mind you.
Step 11: patchwork
Remember that mismeasurement and the required patch? We made sure not to throw away any offcuts till the job was finished for this very reason. A quick trim and you’d never know the difference.
Step 12: hit the floor
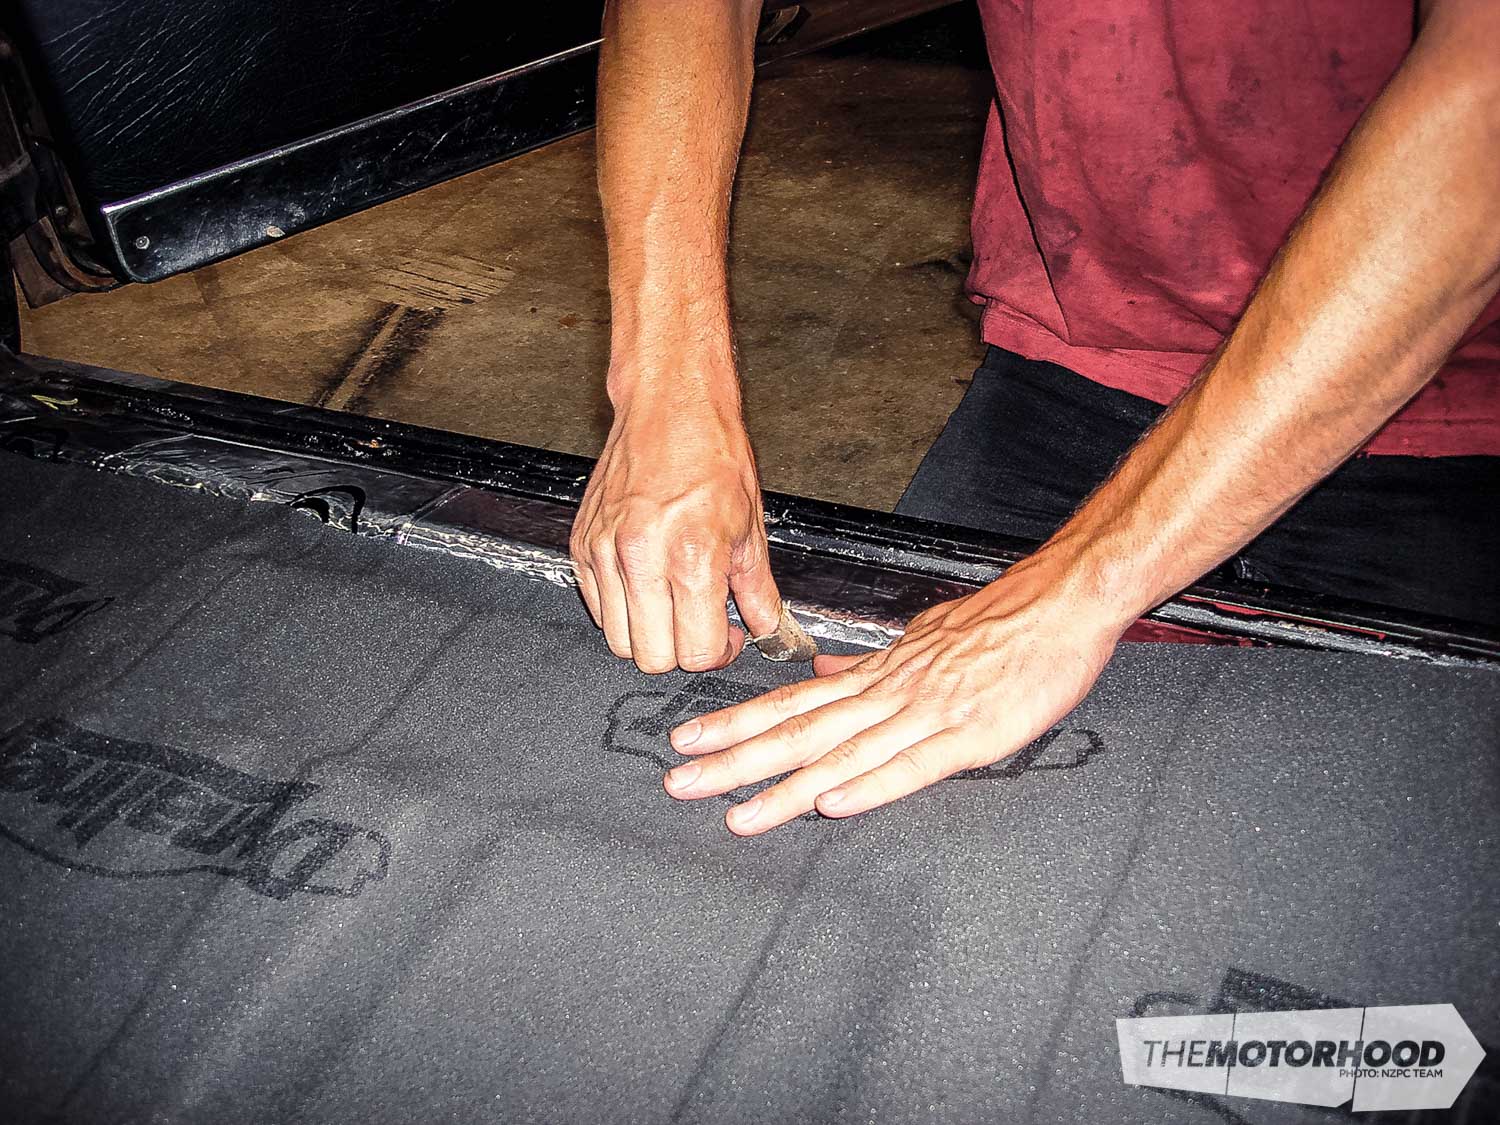
With the firewall sorted we could move on to the floor. As the sheets are a lot larger than the Xtreme, we chose to run them front to back. Again, this left just a small strip down the trans tunnel to cover. To ensure the sill plates would fit back in, we purposely started just inside of where they’d sit. Note the plaster on the thumb, the Xtreme is quite sharp on the edges, and it’s well worth wearing gloves to protect yourself.
Step 13: luscious curves
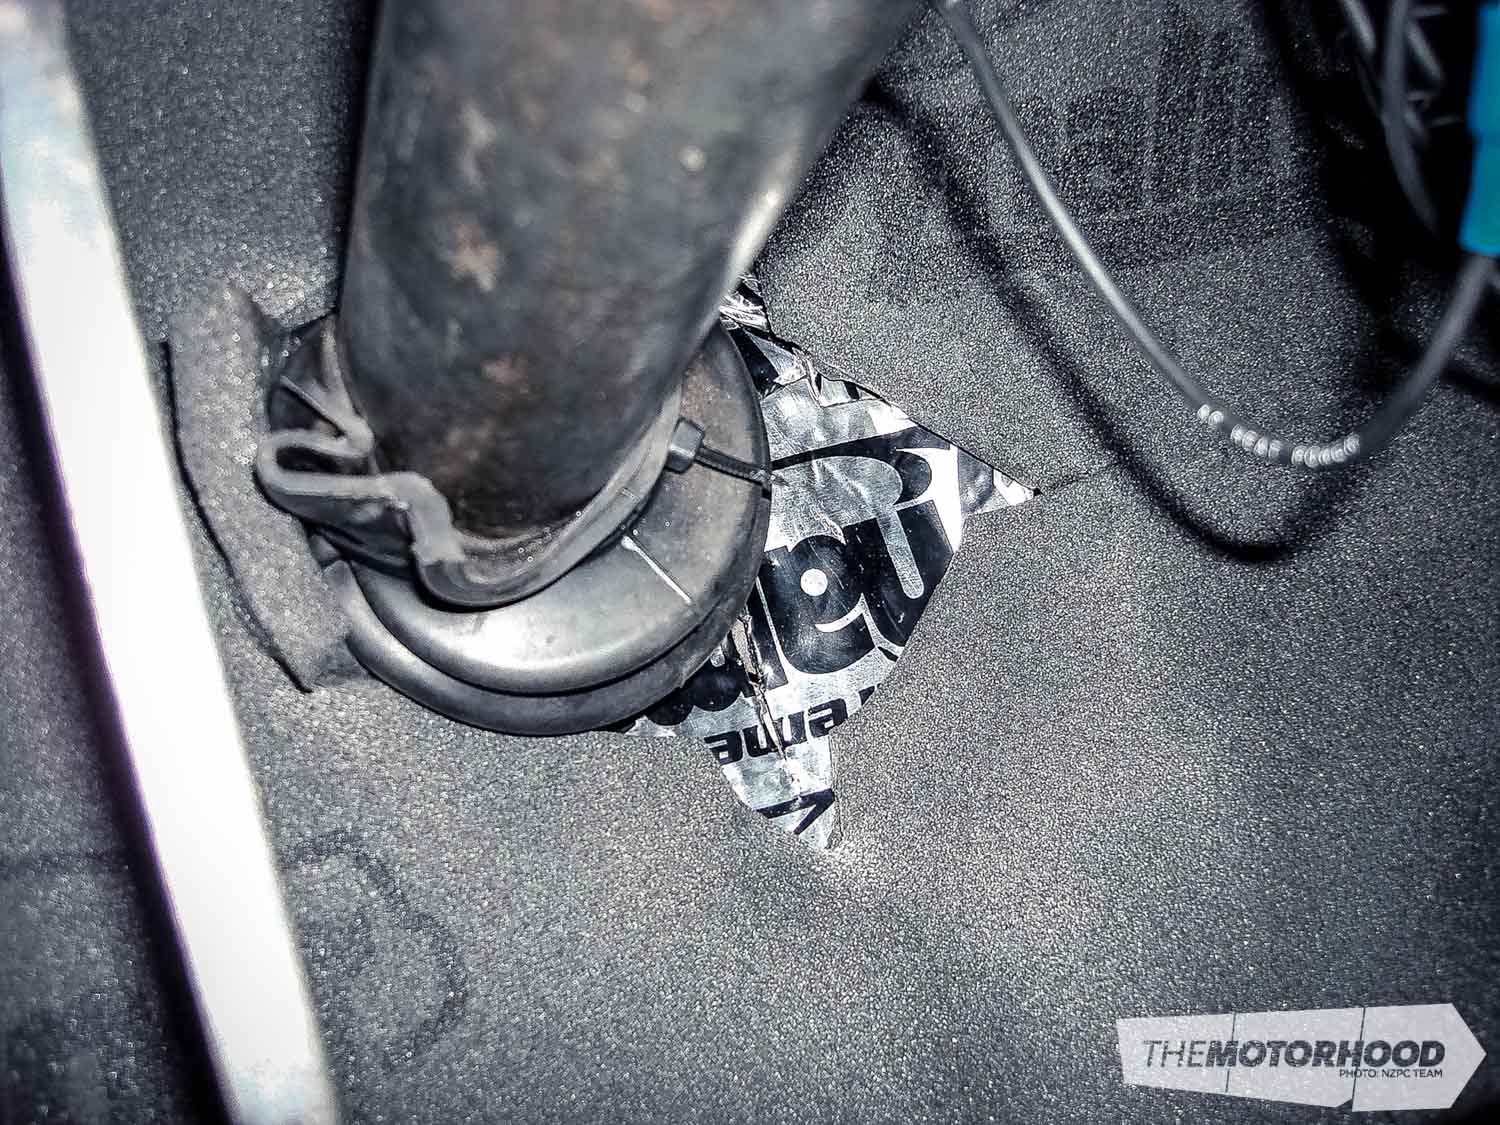
The flexibility of the Dynaliner made following the contours of the floorpan easy. A few slices along where it curves up the trans tunnel were all that was needed to make it wrinkle free. Again, we cut around the seatbelt plates. Don’t forget to get any wiring through, such as the electric seat wire you see in this pic. Once you cover it, it won’t be easy to find.
Step 14: trans tunnel
Filling the gap on the trans tunnel (as seen in last pic) was nice and easy. We peeled back just enough of the backing to get it to stick, then overlaid and cut through both layers at once to ensure a perfect line-up. No overlap, no gaps. Once cut, we peeled off the rest of the backing, and you couldn’t even see where the join was.
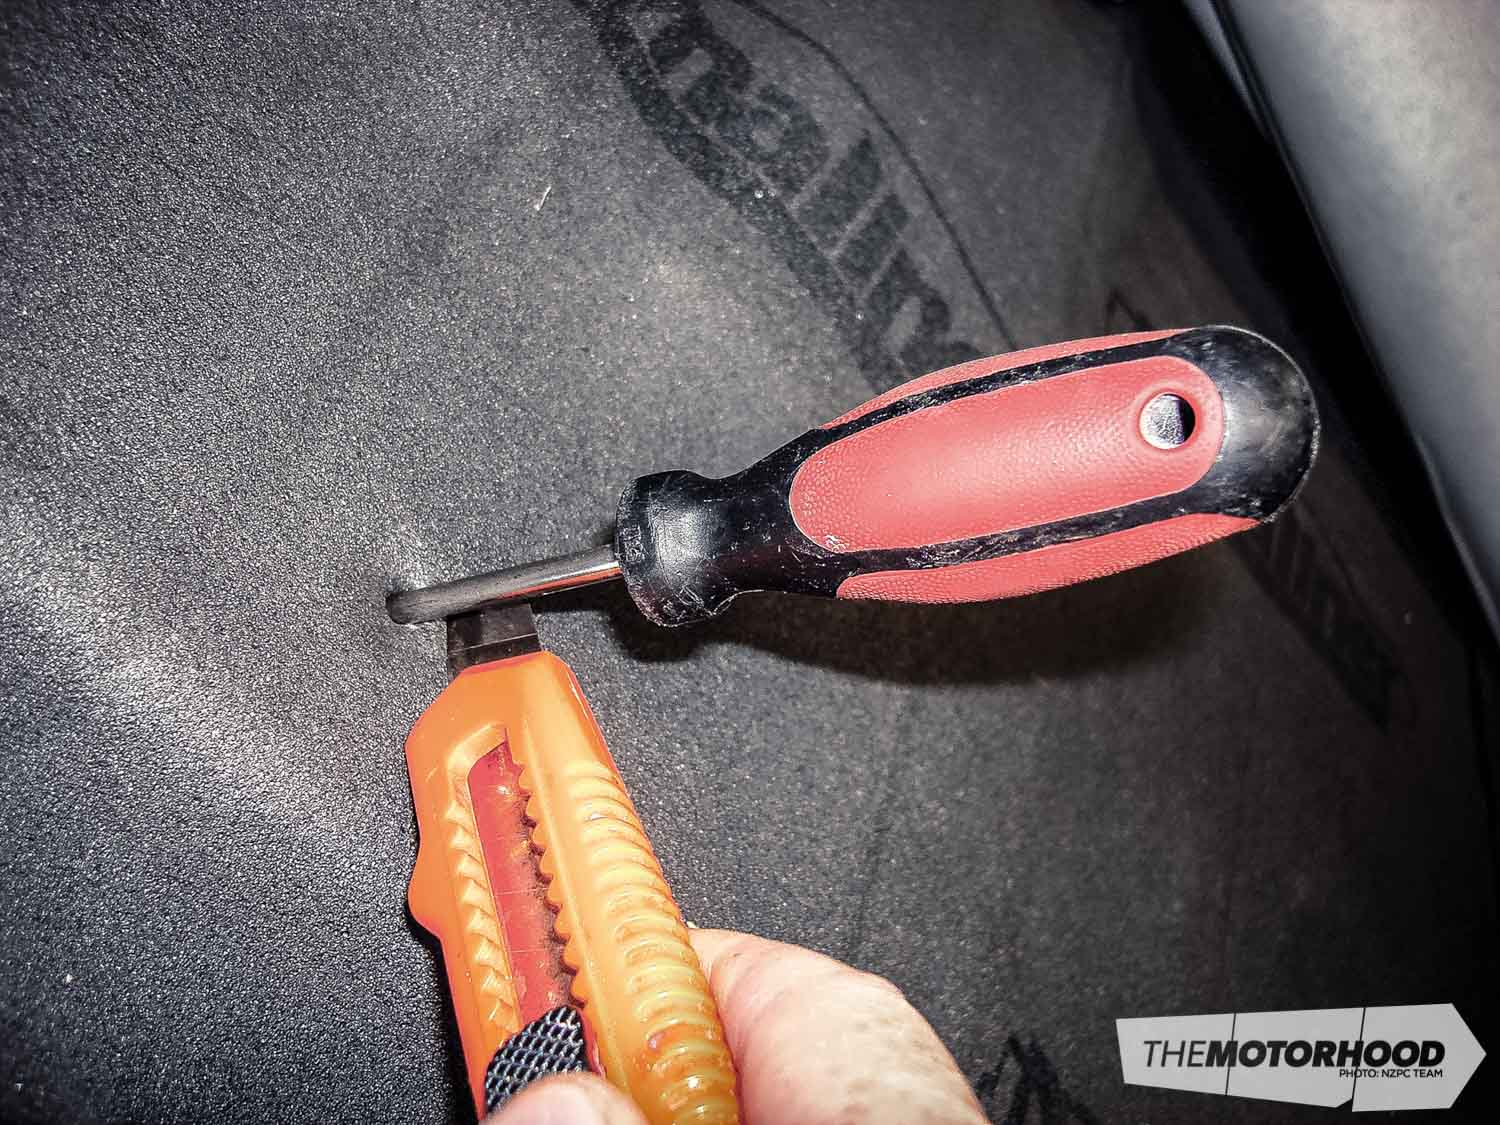
Step 15: lost and found
Remember those seat-mounting points? We actually lost them till we climbed under the car and put a screwdriver up through the holes. Once they were located, we dropped another one through the top while cutting them out.
Step 16: seamless
Taping the joins was the final step before reinstalling the carpet. This was to ensure no lumps are visible through the carpet. It’s especially important where we joined the thicker liner of the firewall with the thinner floor liner. As you can see, it’s right where your feet would go, so you’d see and feel any lumps.
It’s a wrap
The end result was amazing, a far cry from where we started, with a car that was almost undriveable. According to the owner it’s now fantastic, transmitting no heat at all, and road noise has been reduced significantly.
Total installation time was near on two days, so it’s not a quick job, but it’s certainly well worth it. In the end we had a bit of product left over, too, so we’ll use that to line other areas of the car such as the roof, doors or boot. One roll of tape would have sufficed, including doing the remaining parts of the vehicle.
While we didn’t opt to buy the gloves that are available specifically for this task, they’d probably have stopped us from getting various cuts from the foil of the Xtreme. It’s not a difficult task to do though, even for the least mechanically-minded person. A little common sense, and making sure you minimize wastage and cutting, and you’ll achieve a fantastic result, and soon become another person who wonders why they didn’t do it earlier!