Forget big-dollar, big-power builds, we’ve smashed open the piggy bank to build a WRX for chump change and we’ll show you exactly how we do it
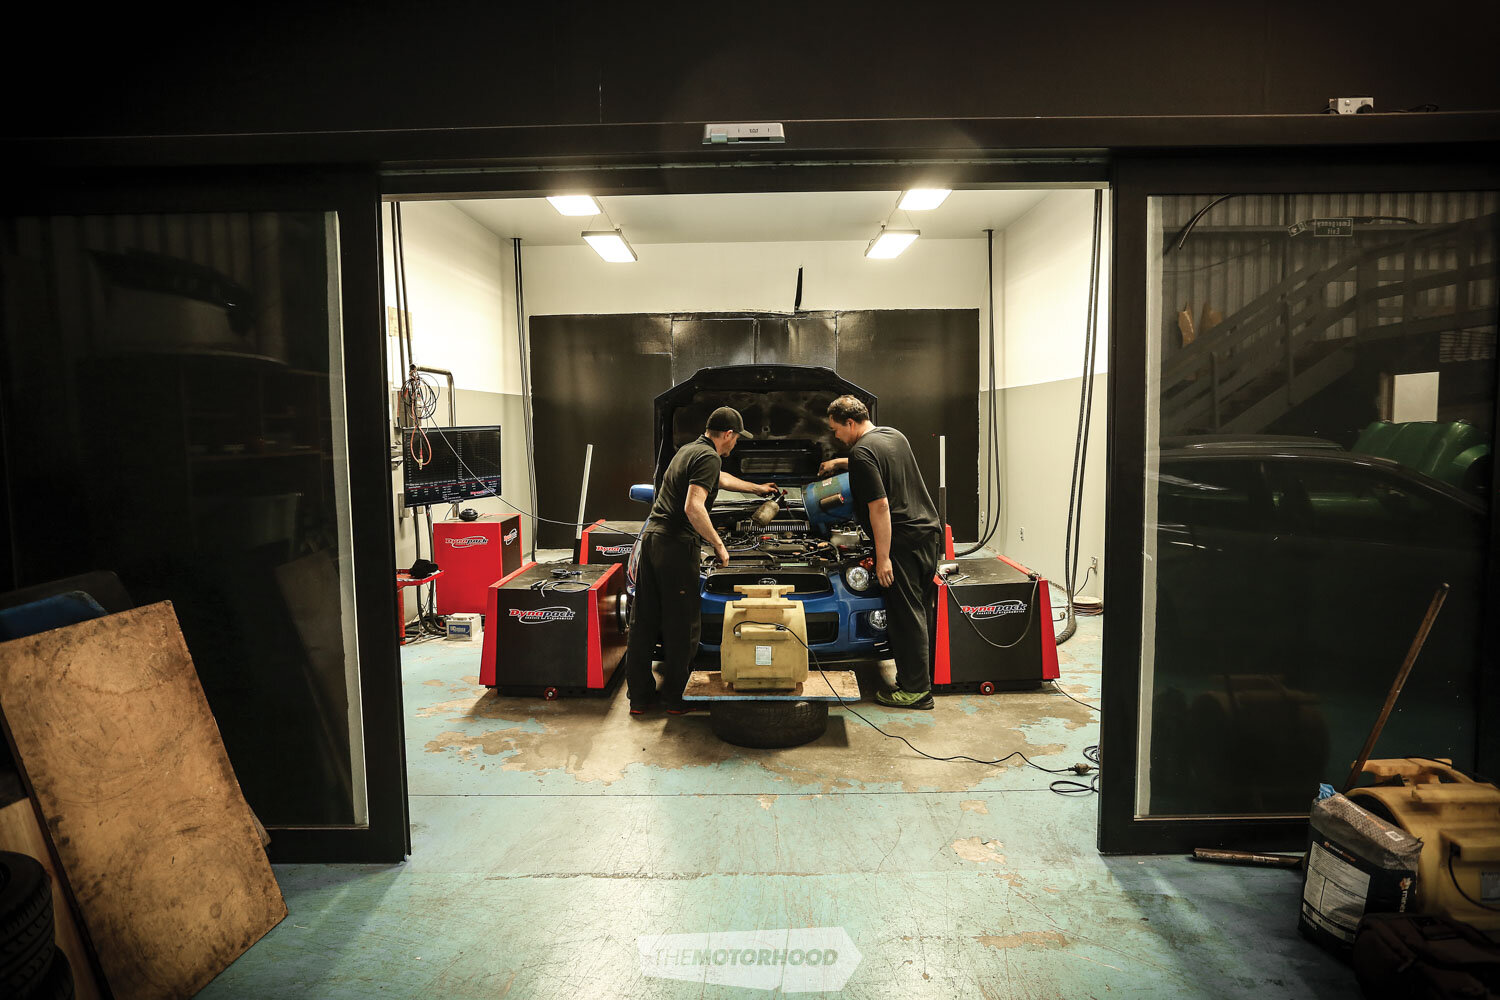
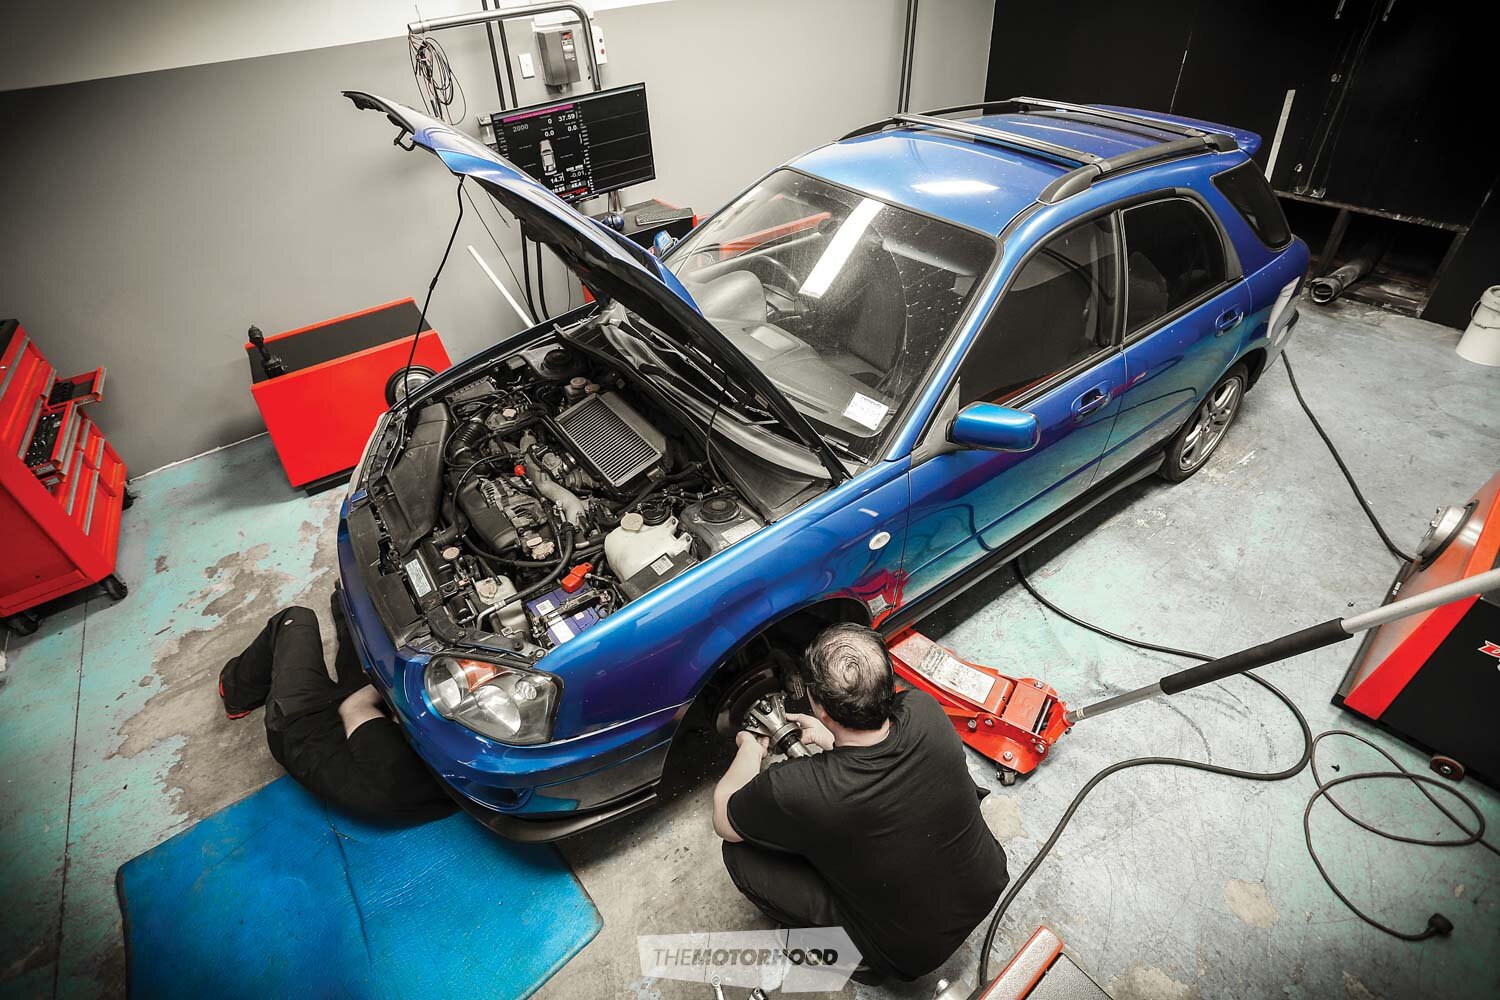
Getting lost in a big-dollar car build that spans years, and swallows your wallet whole time and time again, is something that is all well and good if you have the budget and patience, but what if you had limited funds and wanted the whole project to be over in a matter of weeks not months? That was the brief to Jtune Automotive for the project, code-named ‘budget boxer build’, for which we’d keep the total build cost under $10K and exact as much party power as the factory engine would allow while still holding on to its rods.
The project is based around a 2003 Subaru WRX 2000cc turbo with 240,000kms on the clock. The plan? To push the power levels to around the 170kW mark — a point that is about the ceiling for an unopened EJ20 of this vintage. To do this, we are going to upgrade the turbo, exhaust, injectors, and fuel pump, give it a little more boost, and reflash the factory ECU. “The idea came about after going overseas for work and tuning. There is a lot of cars out there with a lot of modifications, but zero tuning. Not everyone is educated or has the real experience to understand how important tuning could be.” Jacky continues; “We also wanted to prove a point, parts are cheap now a days, it’s often cheaper to buy something that can be bolted on, than make it. With experience you can get amazing results without overspending, going fancy or over doing it.”
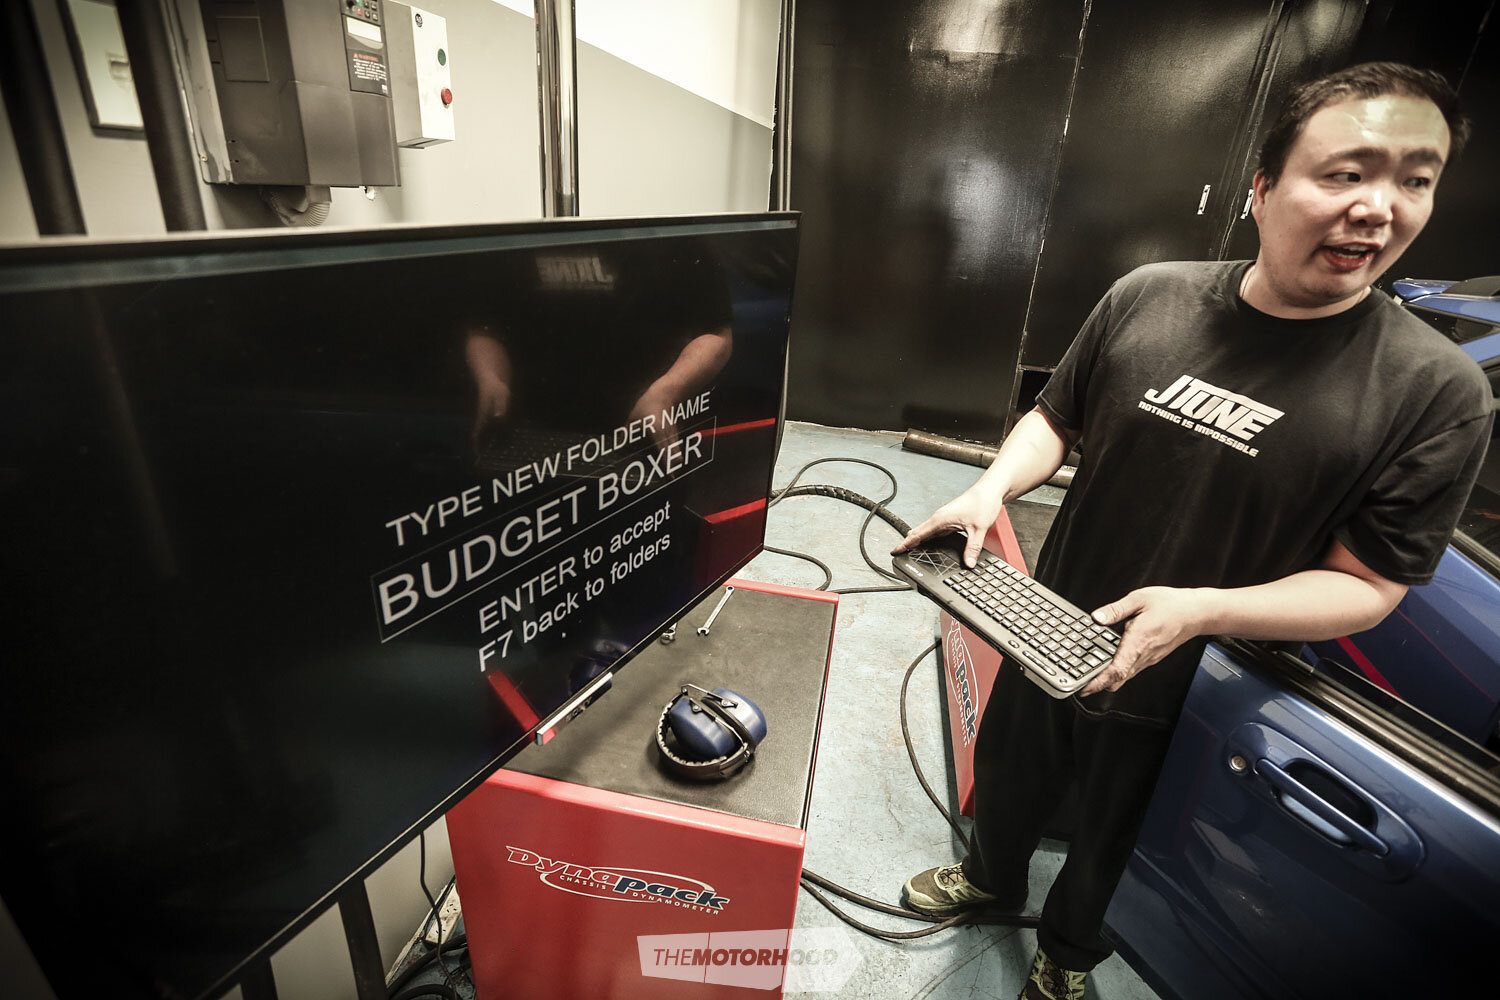
The project will be split over two issues, and we plan on showing you everything we get up to. A word of caution: we are going to push this engine to its limits, so, if you choose to follow suit, you do so at your own peril. It is also worth noting that most shops JTune Automotive included would not take this job on, the reason being, second hand parts can fail, cheap parts can fail and not last. This is intended as a DIY project, as the time and effort to make things to work can end up with a lot of labour, when a shop is charging upwards of $100 an hour.
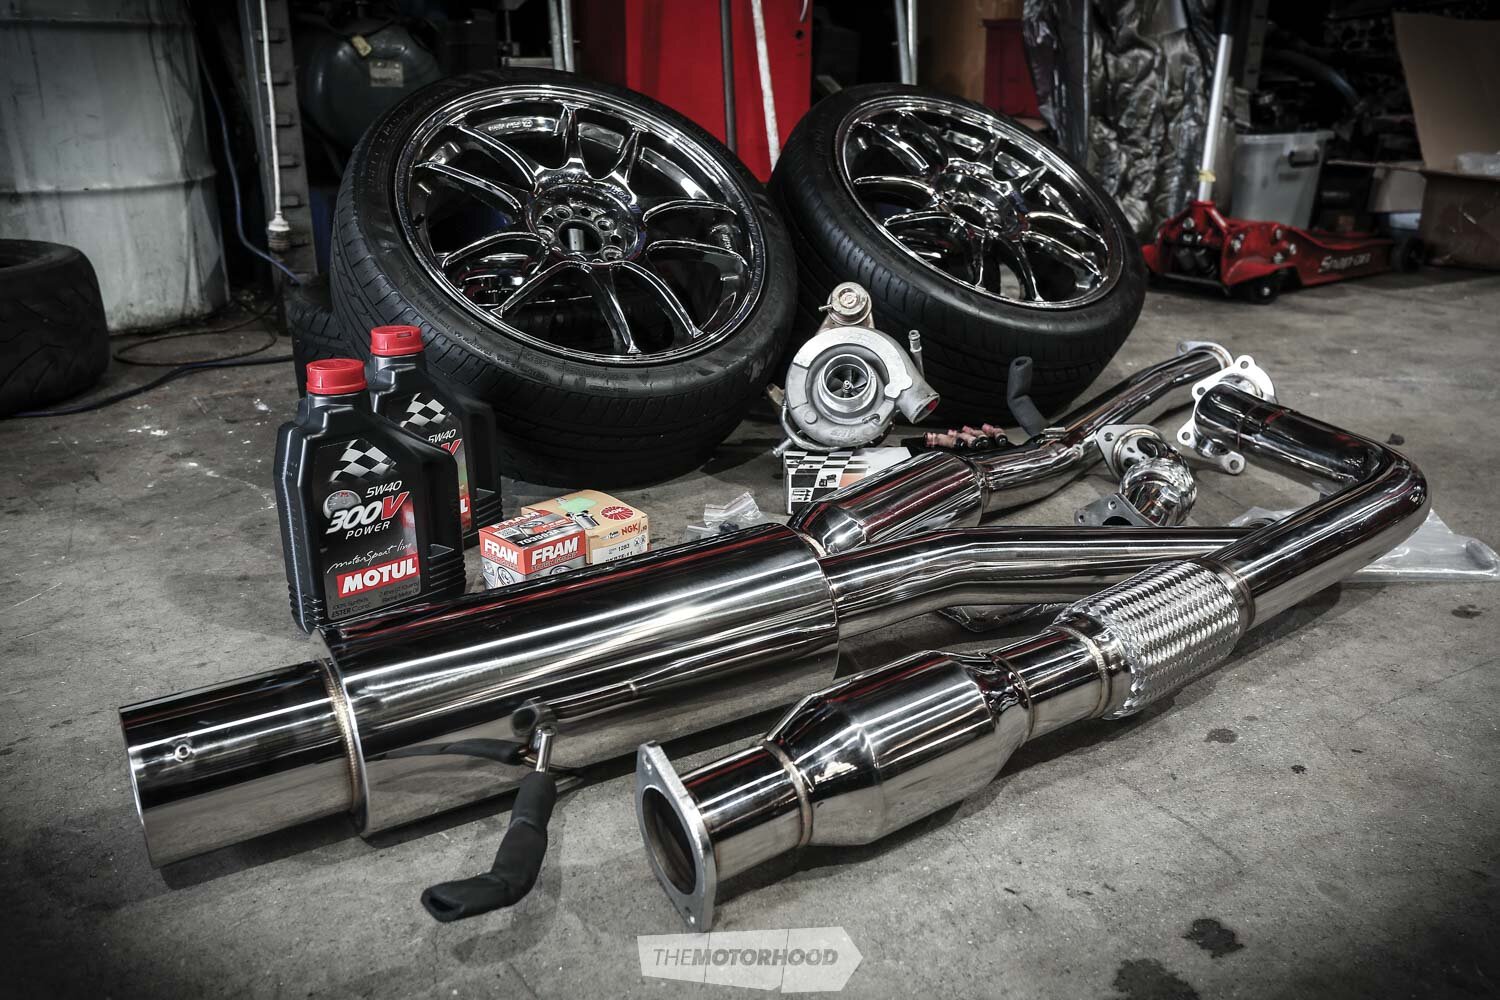
Stage one began with collecting everything we might need to complete the project — second-hand if we could source it; otherwise new. There are a few more things to purchase, but we are still on the hunt for things like an STi suspension.
The parts so far:
TD0520G turbo: Slightly second-hand — paid $200; retails for $495
Exhaust: Full stainless, including front, up, and mid pipe — $495
2nd hand Injectors: STi 560cc — $80
Fuel pump: DW 225 — $40 off Trade Me
30A Fused Relay and Cable: $50.00
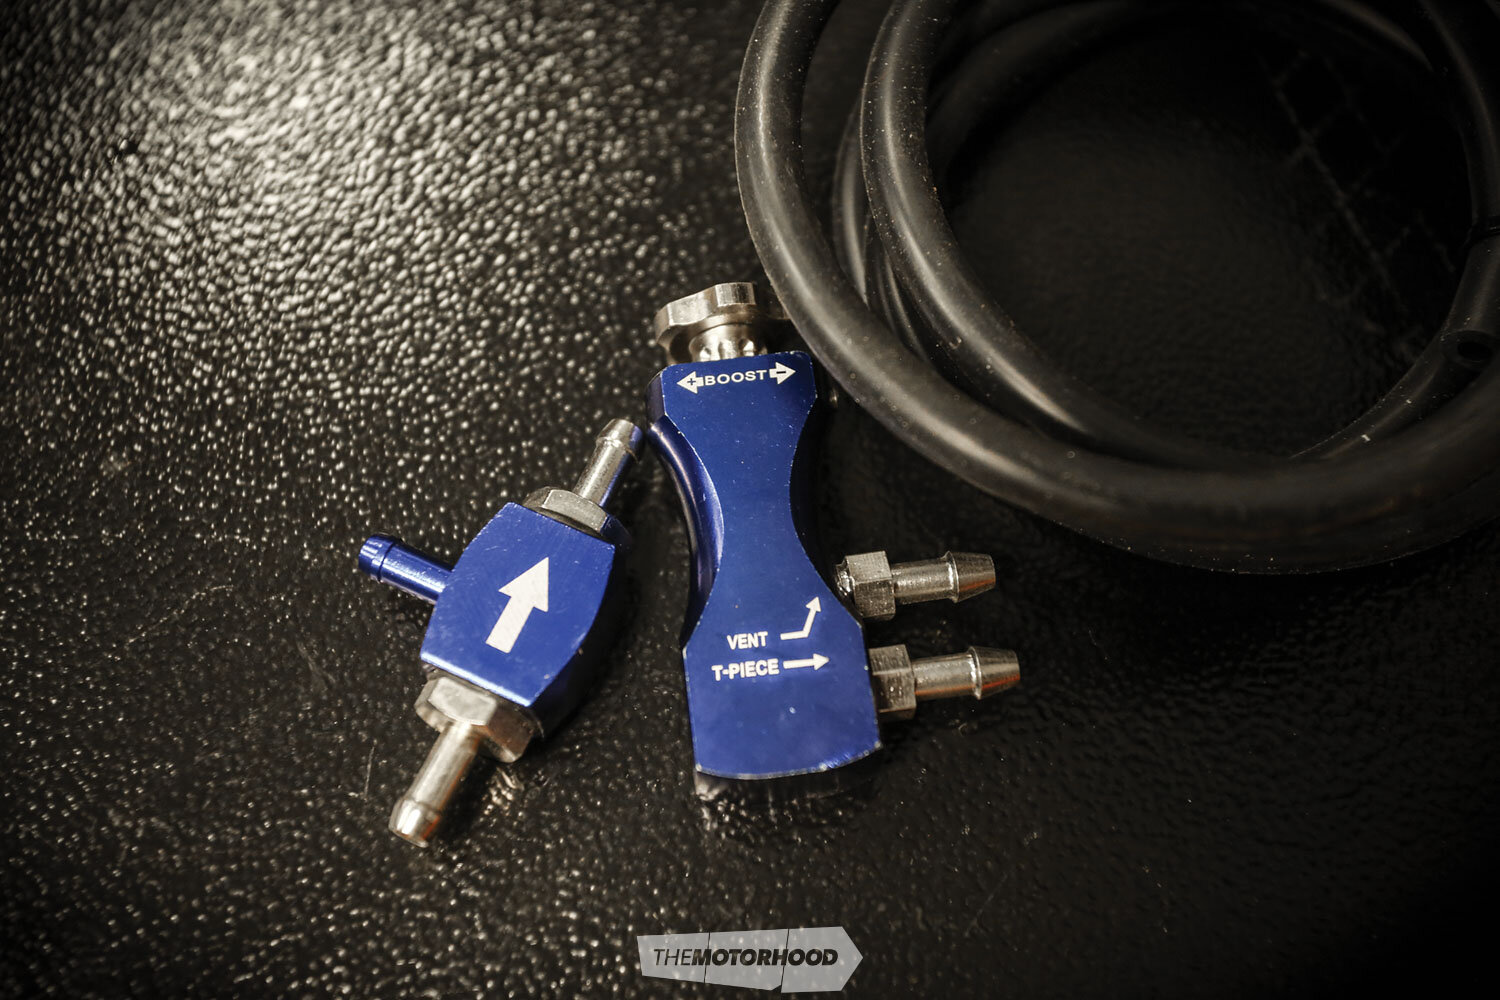
Boost tap: $15.00
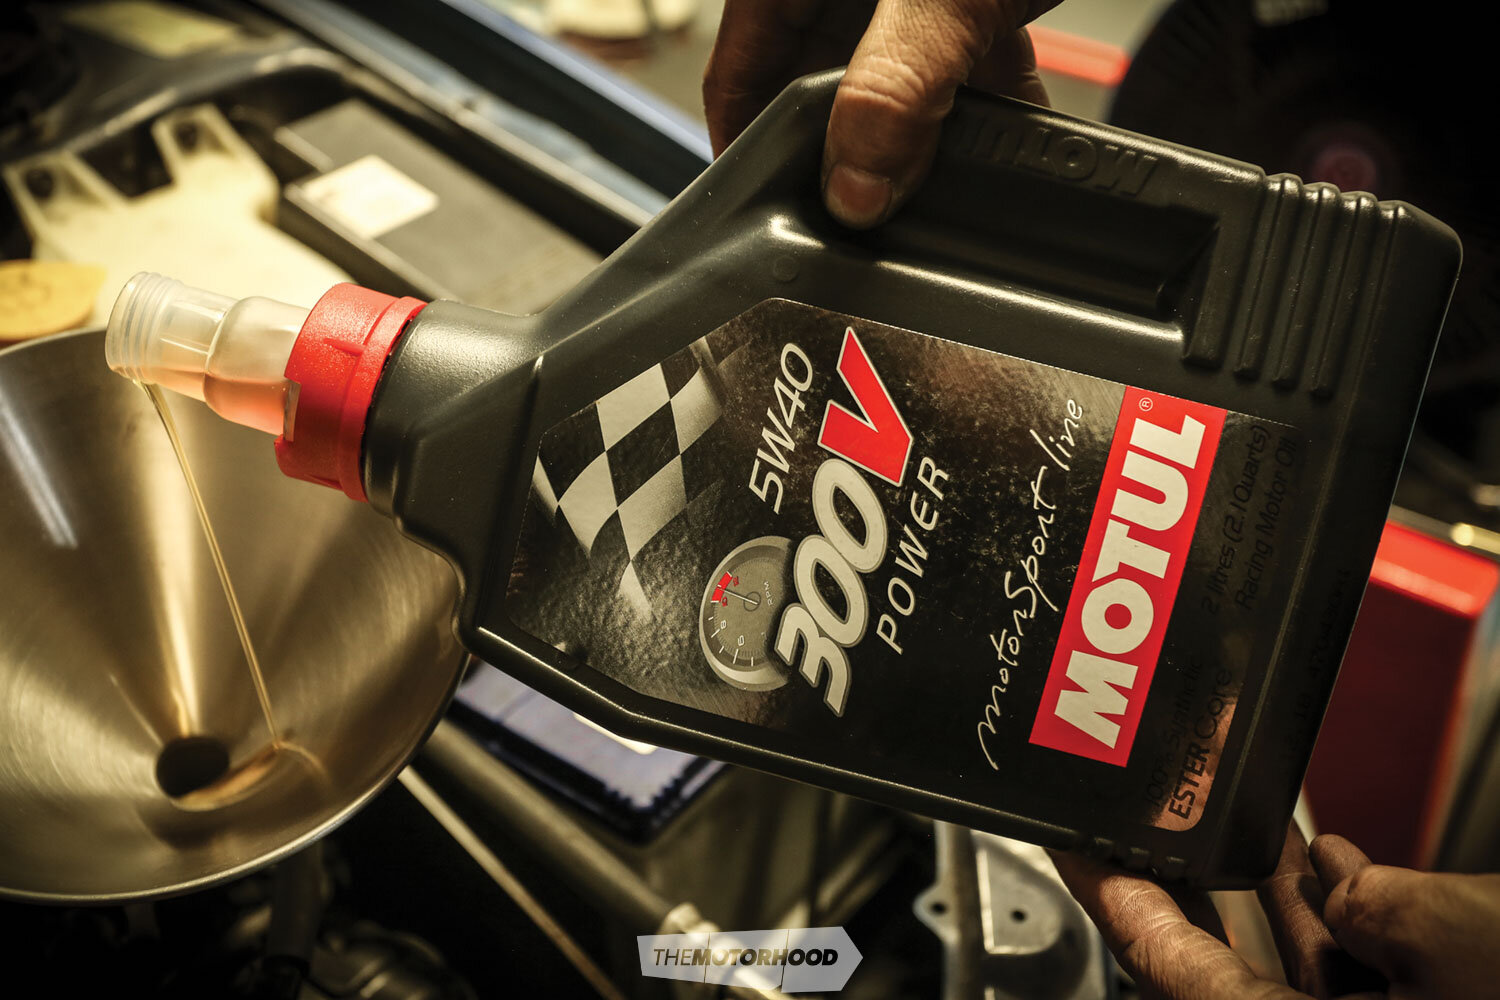
Motul 300V 5W40: $160
NGK No.7 Heat range plugs: $45
2nd hand Reflash Box: $50
2nd Hand Sti Ver8 Intercooler: $250
DIY Parts for Intercooler Spray: $20
K&N Panel Filter: $95
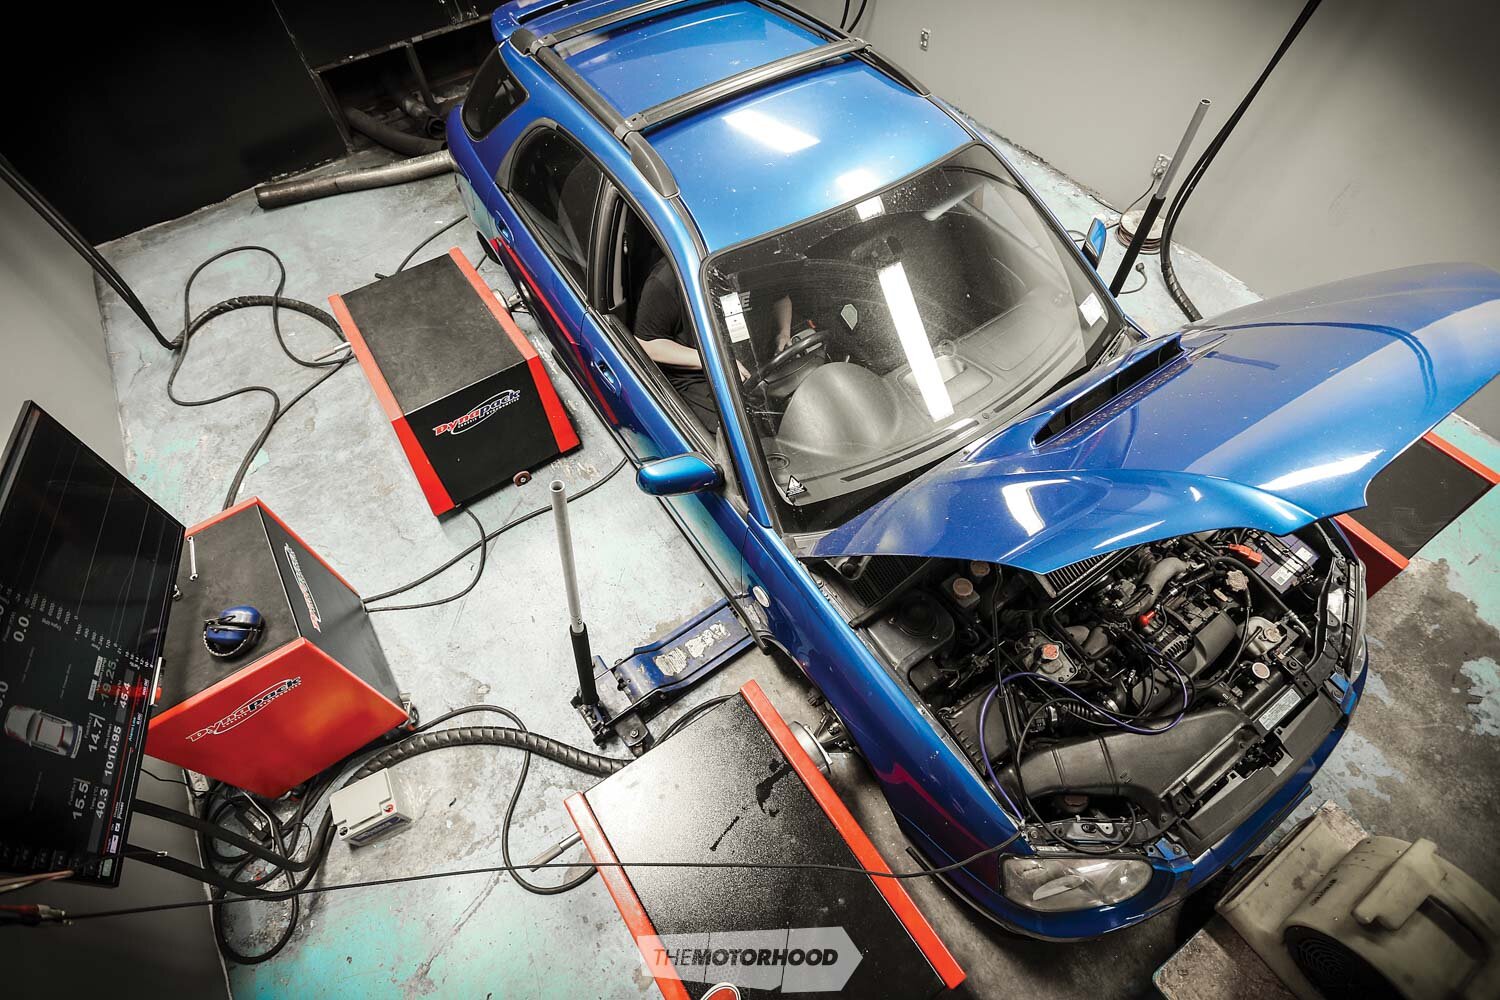
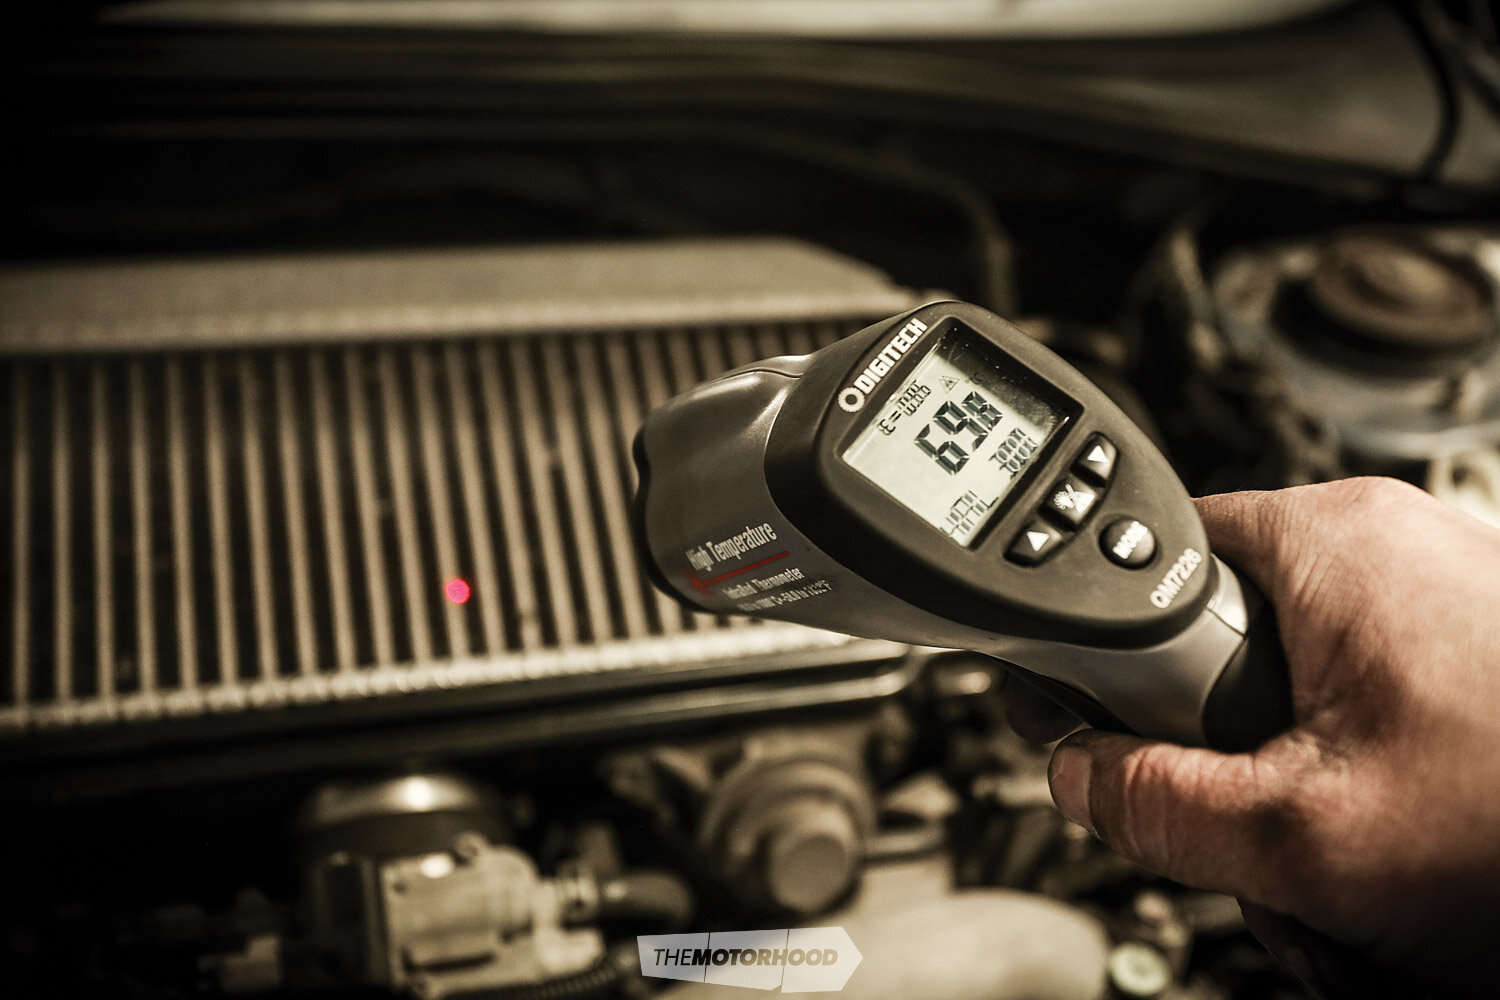
As with any such project, the first thing we did was get the car on the dyno to set a baseline from which all our modifications could be benchmarked. The factory-advertised output for this model is 127kW at the wheels. Our first run on the 240,000km EJ20 netted 123kW with a max boost pressure of 13psi, which then tapered off to 11.5psi at our redline of 6000rpm. It was now that our first issue arose — not unexpected, though. The factory intercooler struggled to keep up due to its compact size. On the later run, the intake temp rose to 68 degrees at the point at which we were making 123kW previously; we were now making 120kW with the factory ECU safeguards pulling all boost from the tune. The knock could be heard by all in the dyno cell. We are staying with a factory top mount setup due to the fact that once we replace the turbo with a bigger one it will spool a lot lazier, and adding a front mount will only compound that issue as there is more volume to fill before the system gets pressurized (aka comes on boost). As long as we can cool the air quick enough and stable will be fine with a top mount setup.
We cooled down the intercooler with water spray and an industrial fan to a run-start temp of 20 degrees. This saw a huge gain of 5kW, with power jumping to 128kW. In part two we will build a budget water sprayer set-up.
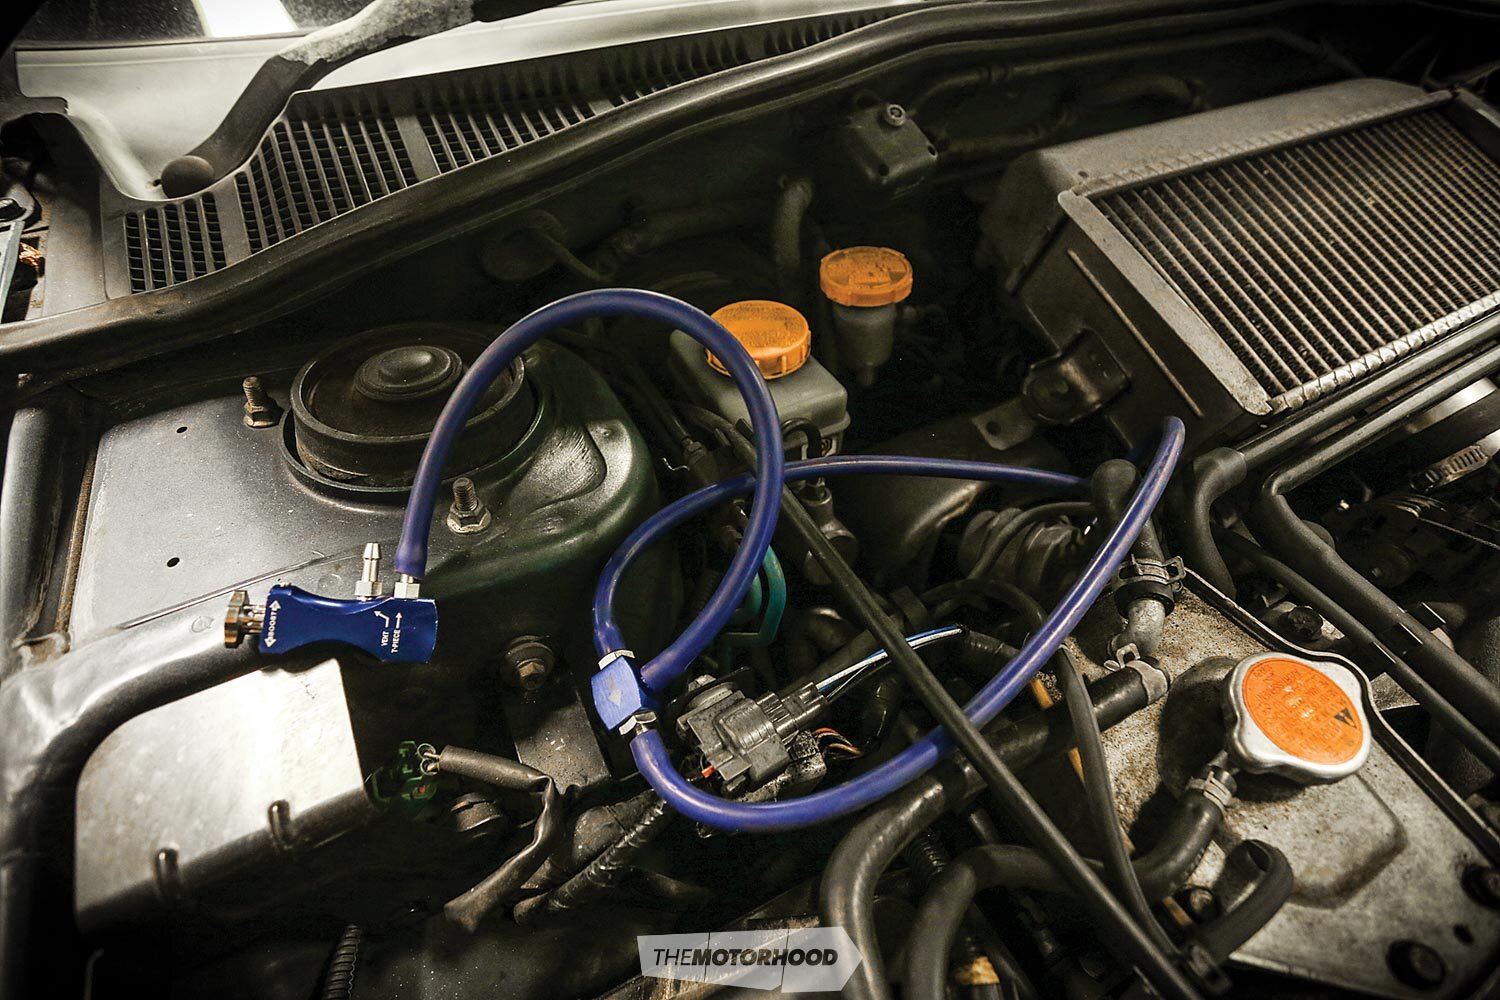
Next, we changed out the oil for Motul 300V 5W40. The factory-prescribed oil is 5W30, but, as we are going to be pushing this stock engine pretty hard, so the added heat capacity we’ll get is great insurance. We also plumbed in our $15 boost tee, which simply plumbs into the factory wastegate pressure line. To set it up, we held rpm at 4500 and wound the tap until it was holding 16psi, which is close to maxing out the factory turbo. These cheap tees don’t offer finite adjustment, as one click is two PSI as we found out.
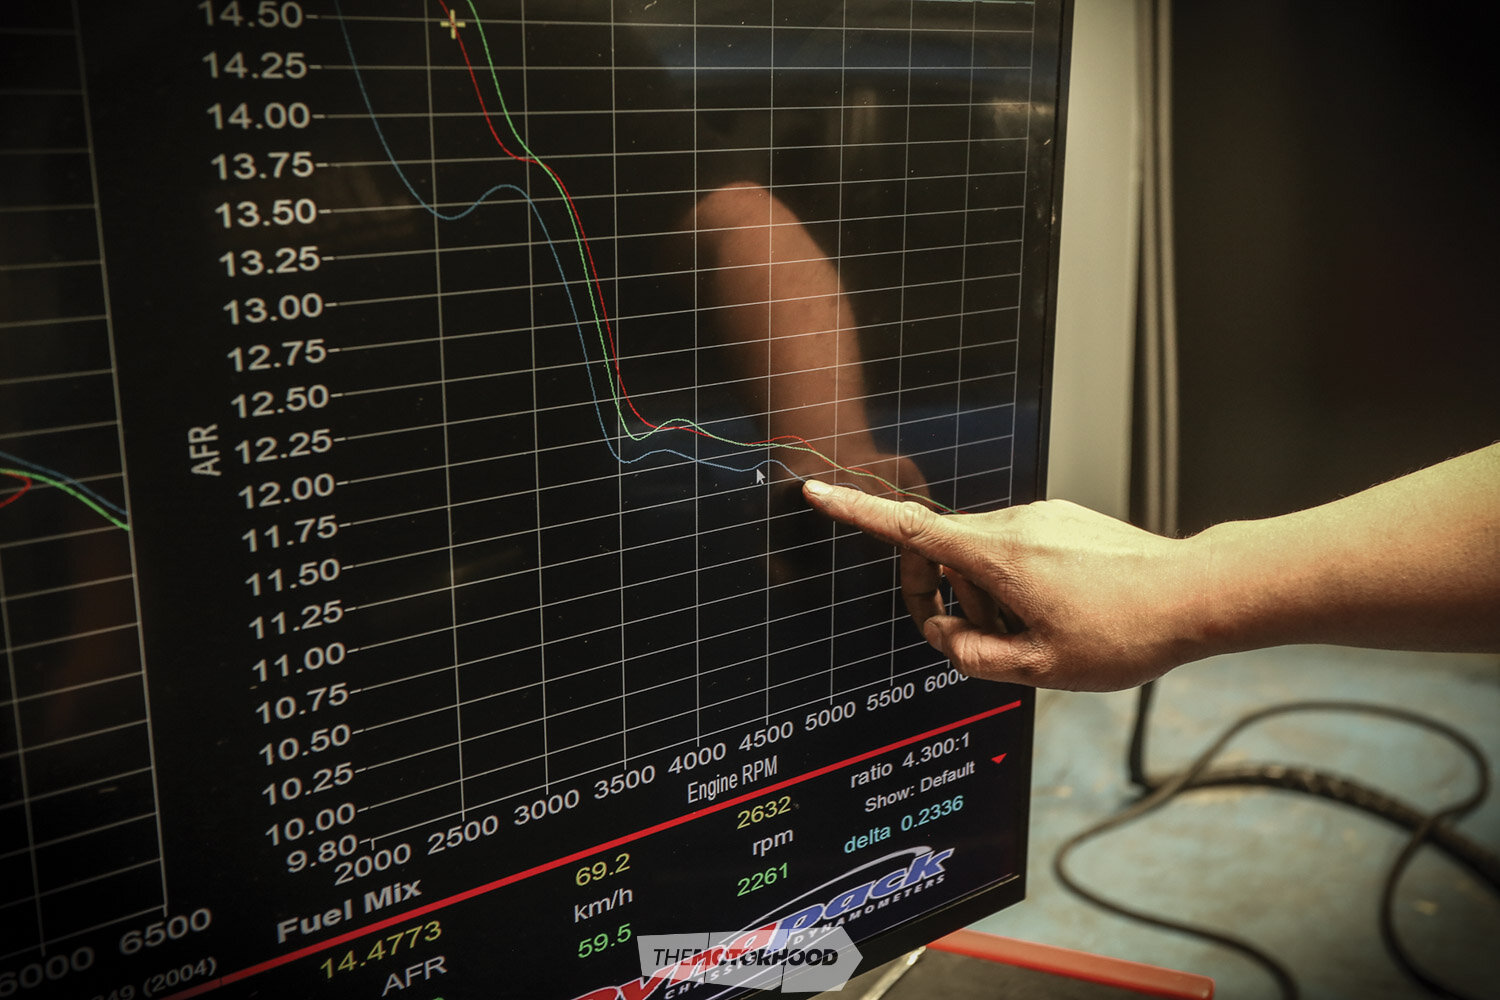
With the boost set and the intercooler chilled to 20 degrees, our next run netted us no gain in the top end, but a gain of 5–9kW from 3500 to 5200rpm. So, going up in boost didn’t gain top end, only mid range, the reason being that the factory tune has gone really rich. It went to 11.4 AFR and then up to 10.4 AFR. To correct this, we will need to retune the car using our $50 flash box and free downloaded software. Jacky from Jtune Automotive believes that, just by leaning out the tune, we can gain another 8–10kW with this exact set-up. “We always think putting more boost in will give us power, yes correct, but the tune needs to be right. Too lean and you will melt motors, too rich and you lose power, if you have too much ignition timing and low poor octane fuel then it detonates and ka-boom!” Explains Jacky.
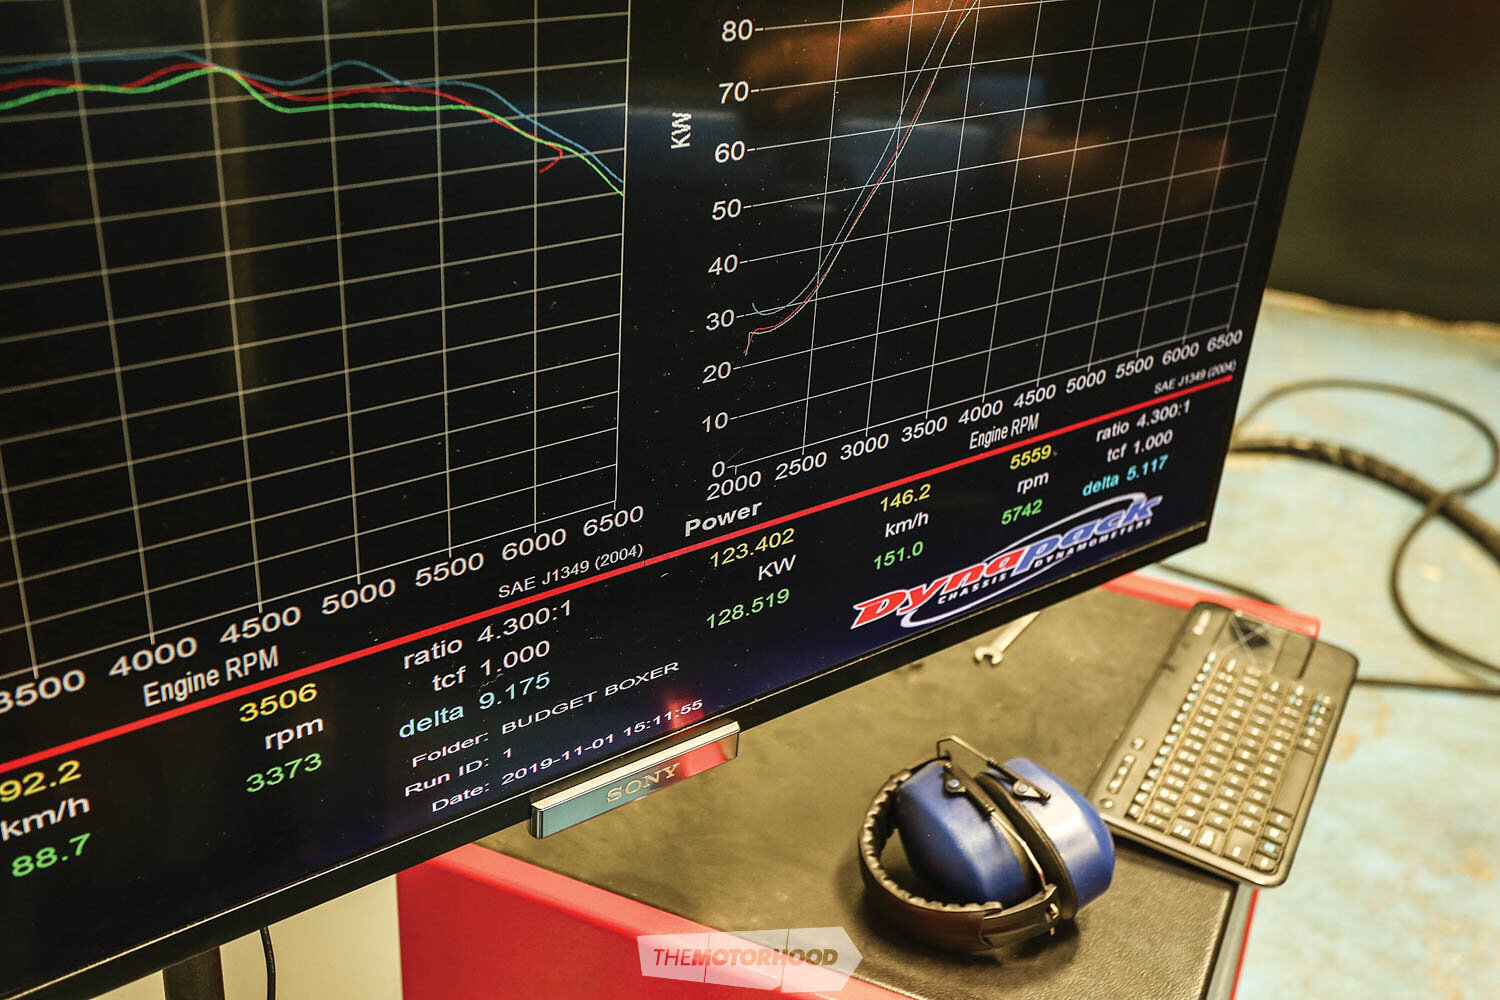
But more on that next issue, when we will cover off all the modifications and show you how to reach our goal of 170kW without breaking the bank. But, for a first attempt and cash investment of only $175, (oil and boost tap) a 9kW gain isn’t bad, don’t you think?
