Understanding the importance of your wastegate
The wise Keiichi Tsuchiya once said, “What is power without control?”; when it comes to boosted applications, the wastegate is front and centre in the fight on over-boosting. So, why is something so integral to the performance and reliability of the boost system often the last concern during the design process?
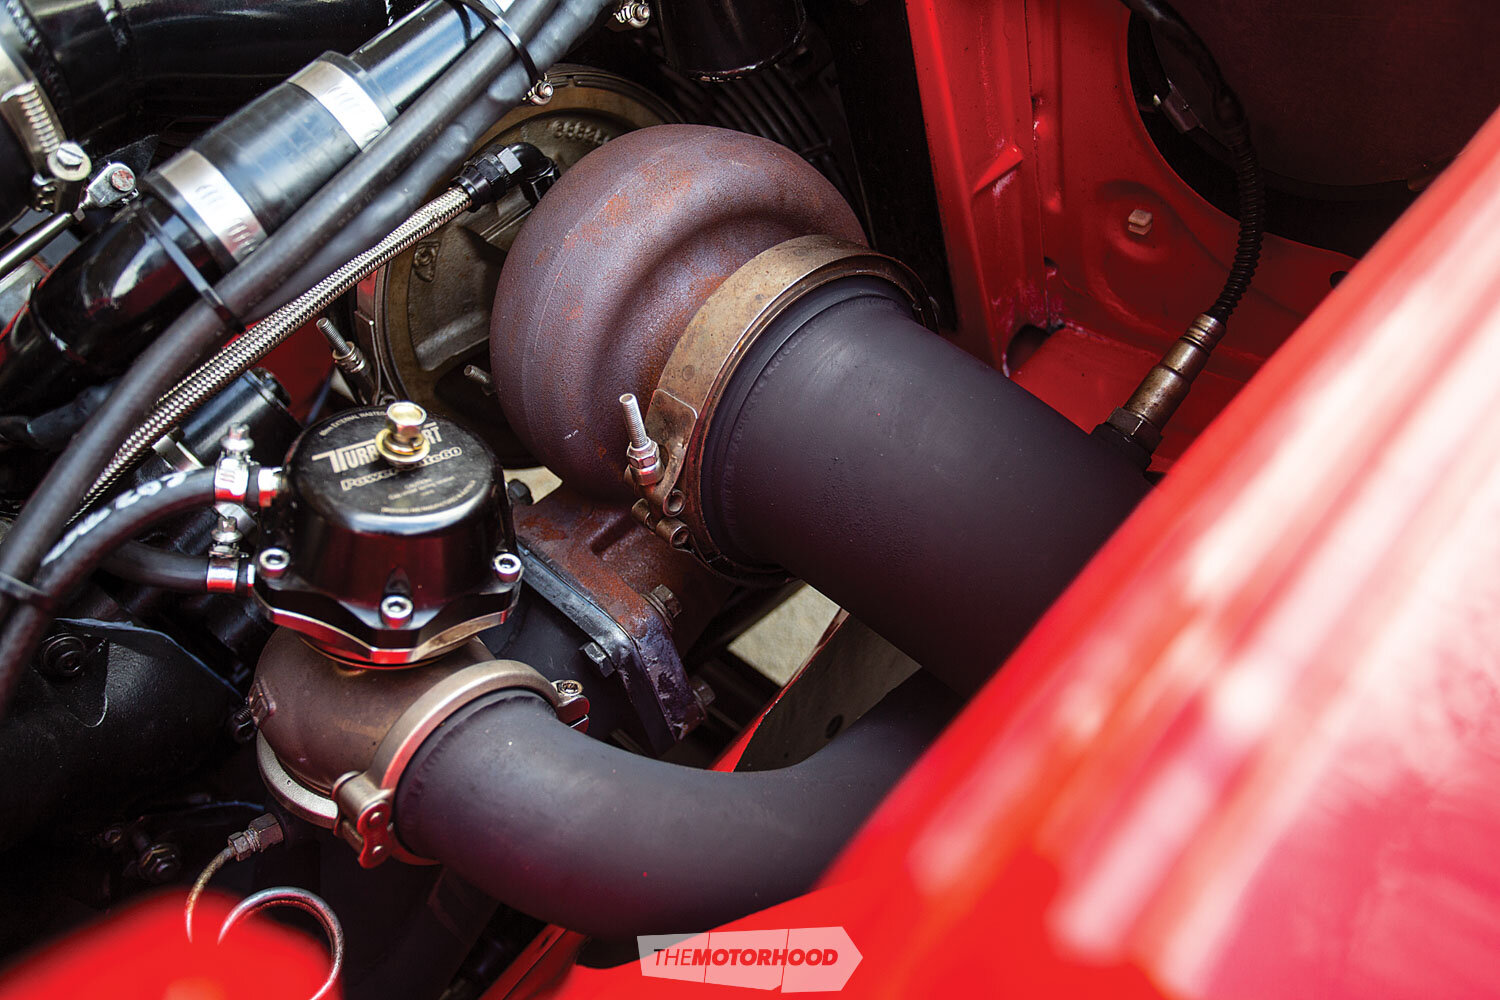
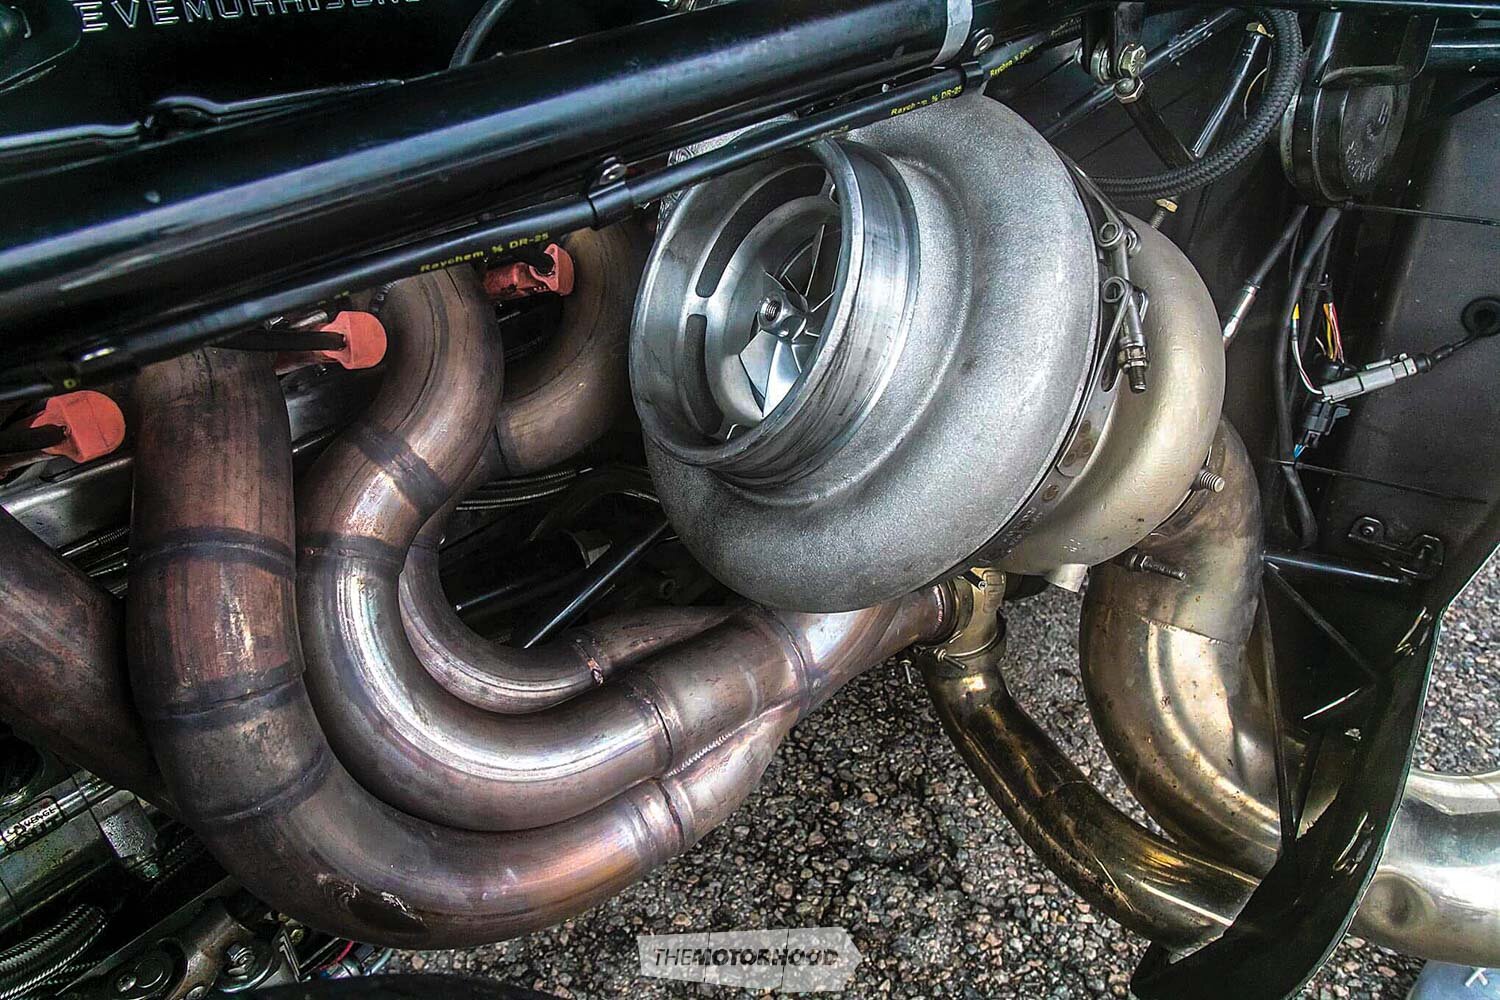
Your turbo has an insatiable appetite for spent exhaust gases; left unchecked, it would consume everything, including your engine’s internals. The wastegate’s job is to keep your turbo in check. It does this by bleeding off exhaust gas pressure over and above a set psi to avoid over-boosting. This psi is set first and foremost by the spring located inside the gate, held in a sealed cavity between the flexible diaphragm and the top cap. The exhaust pressure inside the manifold must overcome the force exerted on the wastegate valve by the spring before the valve will open. A stiffer spring will raise the base boost, while a softer spring will lower it. These spent gases often put on a great show as they are vented to the atmosphere.
The next level in boost control is to add a boost controller to the mix. This will allow you to run boost over and above the spring rate, by leaking off the exhaust pressure pre diaphragm to fool your wastegate spring into thinking that it hasn’t yet reached its psi rating. Even with a controller, you still need a spring, as this will set your base pressure. You’ll find two types of controller available: pneumatic and electronic. Both achieve the same result, although the biggest difference is that an electronic controller is wired to the ECU and allows for adjustable pressures to be prescribed; for example, boost by gear. A pneumatic controller is simply a mechanical tap offering a single level of control dialled in the tap, hence the common name ‘boost tap’.
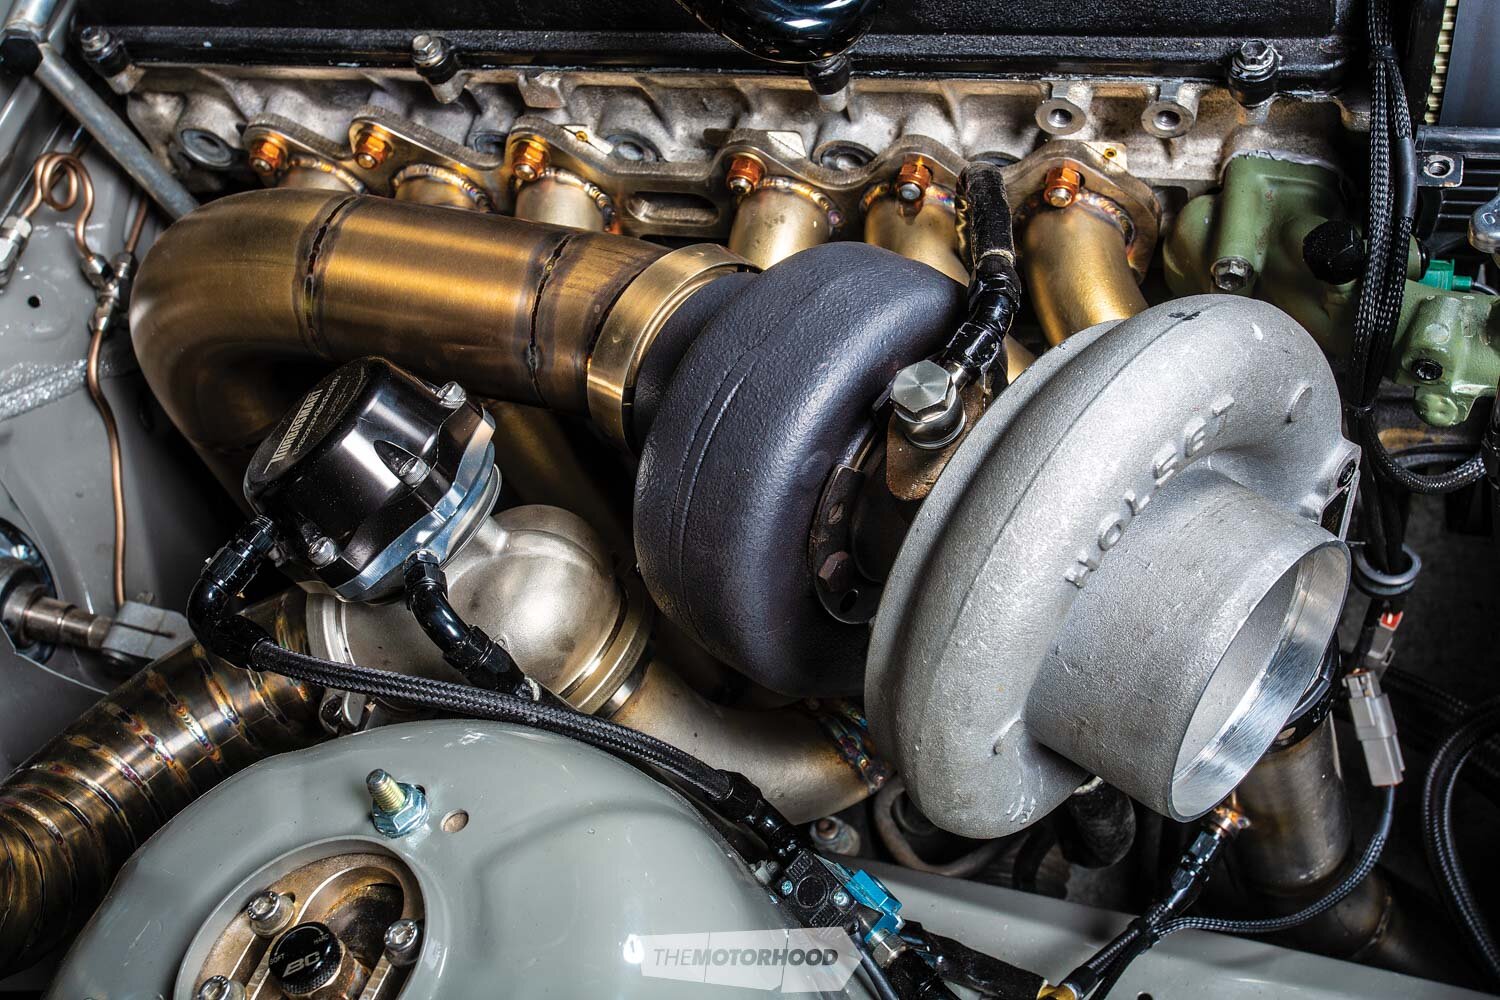
The wastegate’s performance is directly related to its installation/orientation. There are three very common issues that we see regularly: poor location, incorrect controller plumbing, and incorrect sizing of the gate itself.
To solve the issue of incorrect sizing, we recommend that you speak with your tuner before purchasing the gate. The size is dictated by the engine configuration, turbo sizing, and power goals. As a rough rule of thumb, running low boost will require a bigger gate than running high boost on the same turbo. This has to do with the flow: the lower the boost you run, the more pressure will need bleeding off. If the gate is too small, the resulting backlog of pressure will cause a spike in the exhaust pressure your turbo is experiencing, causing a boost spike. As we said, consult your tuner on this before purchasing any gate.
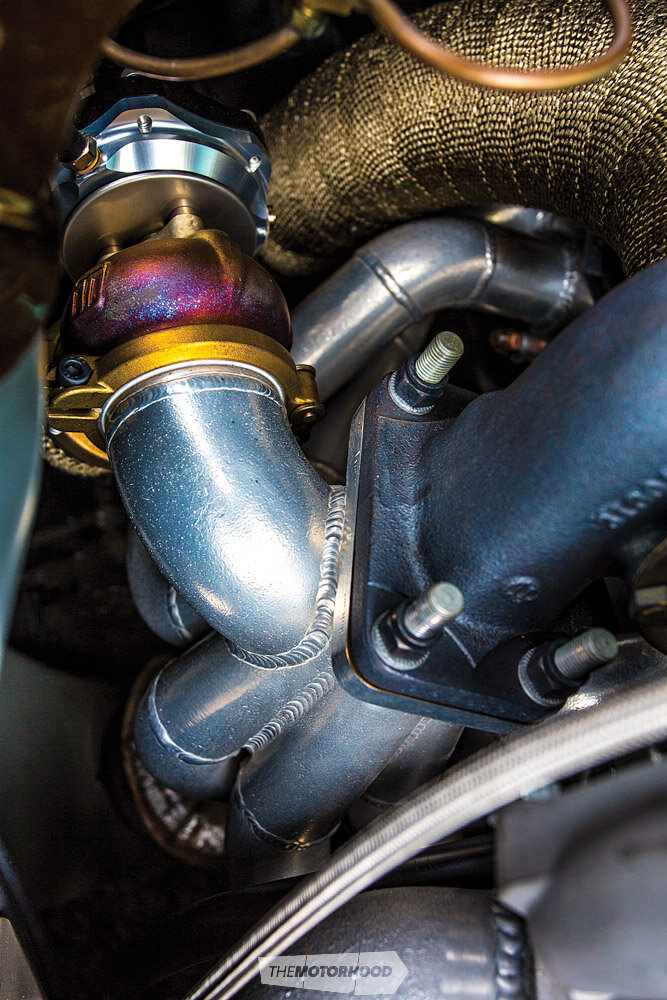
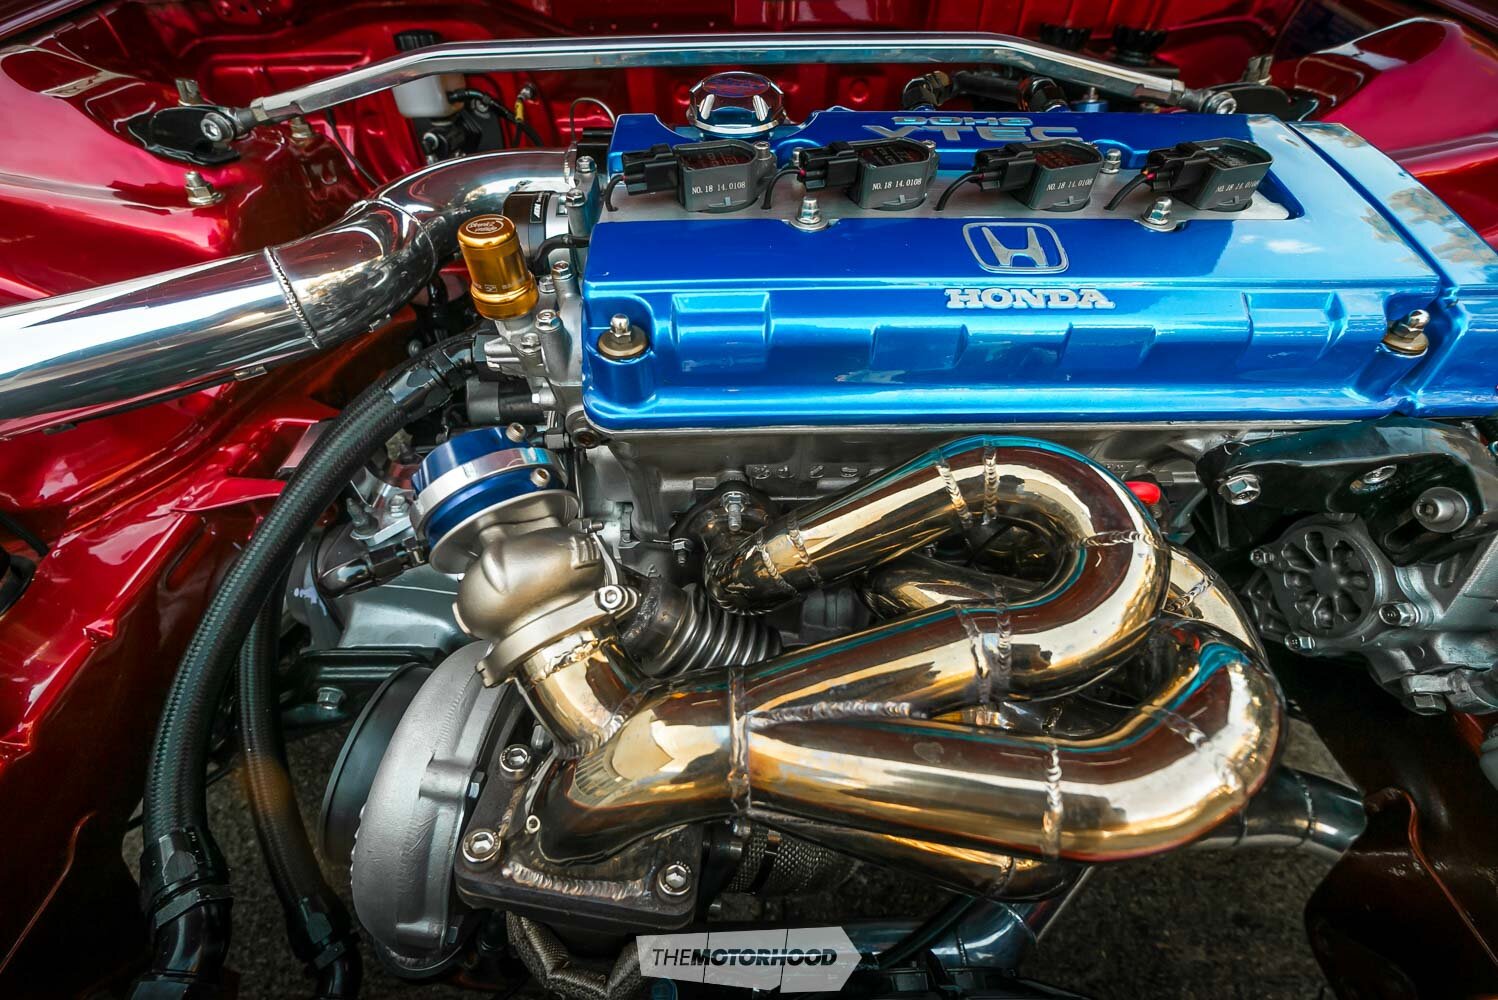
Equally important to the size of the gate is its location/orientation on the manifold. Sadly, this is often a second thought in manifold design and most often dictated by the available space in the engine bay. The most efficient location is to have all primary runners merge and then divide equally to the turbo and wastegate at as shallow an angle as possible. However, as many manifolds merge directly at the turbo flange, again due to space restrictions, this is a common location to feed from. The only circumstances in which it is OK to feed the gate off a single runner is when more than one gate is employed; for example, in a 13B rotary with dual gates.
Exhaust gas is lazy; it hates turning corners and really requires as smooth and flowing a path as possible. In providing this, you will ensure stable boost control and can actually run a smaller gate size because of it. All manufactures stipulate as shallow an angle as possible in relation to the primary tubes and never more than 90 degrees. The closer the feed angle is to 90 degrees, the less efficient it will become. Having the feed teardrop into the manifold so that the gas flow is as smooth and uninterrupted as possible will help immensely.
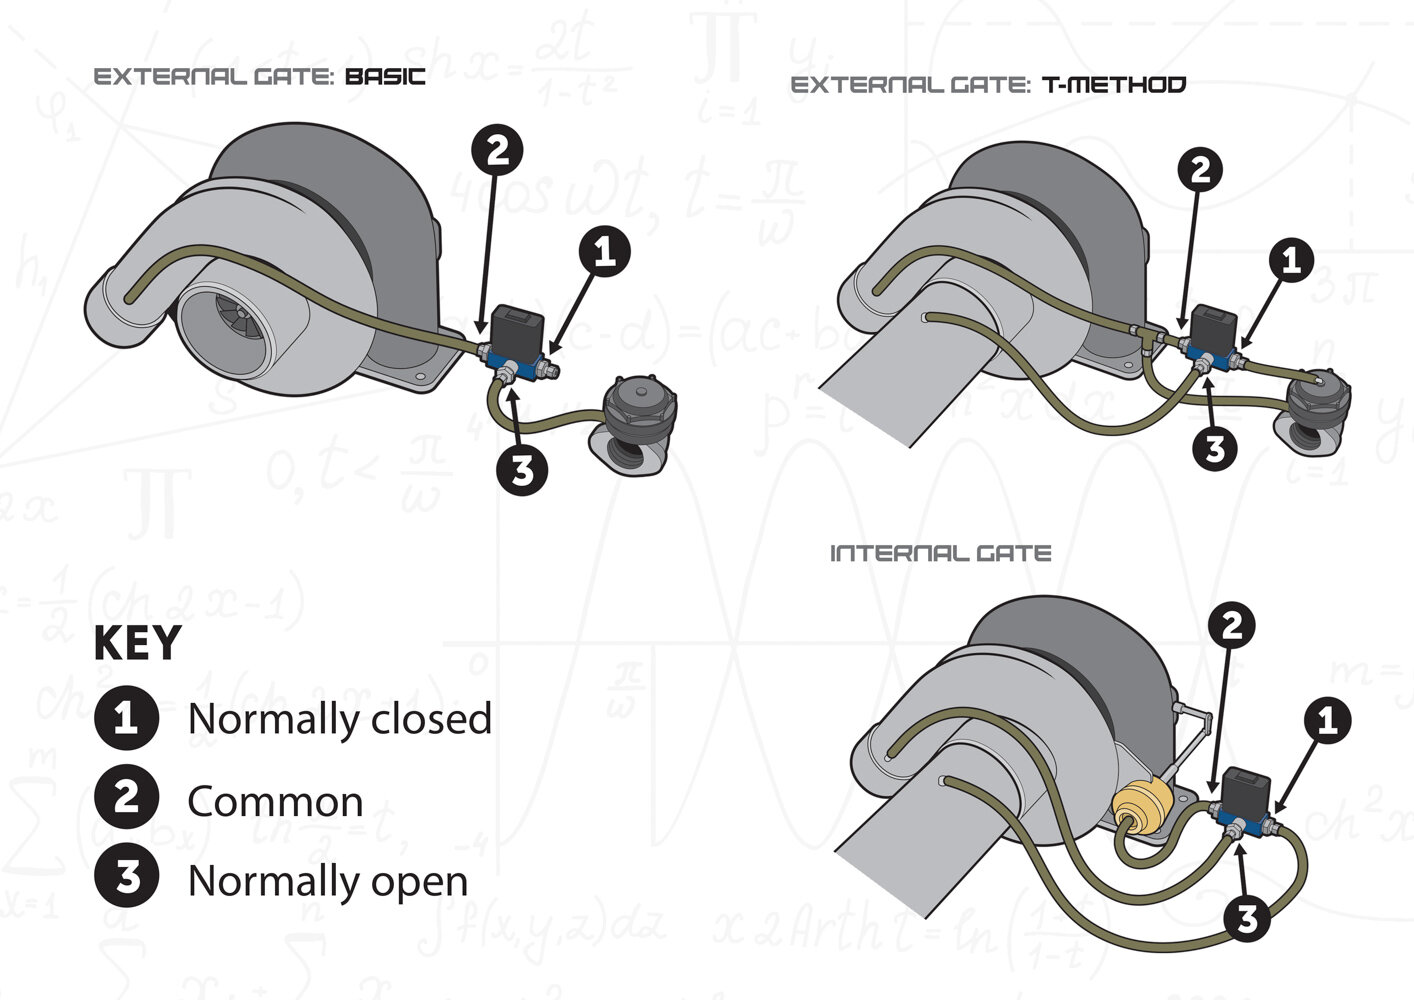
Almost any tuner will tell you that the plumbing of the boost controller itself is the number-one issue they come across. Getting it right before you arrive at the dyno will save some serious dollars in dyno time spent rerouting lines. The most common solenoid is the Mac three-port, so the first thing to master is what each port in the solenoid is designed to do — and that’s where many come unstuck. Port one is normally closed; this means that it stays closed until the actuator is activated via a signal from the ECU. Port three is normally open; this means it stays open until the actuator is activated. Port two is known as ‘common’. This port either receives boost pressure from port three or sends it to port one, depending on whether or not the actuator is activated. Now that you know what each port does, our three diagrams should explain themselves a little better and hopefully clear up any confusion come plumbing time.
Planning your boost system correctly will save you headaches come dyno time, but, as always, consult your engine builder and tuner at each step of the process. It’s better to ask questions first than to show up and be turned away because you have something wrong — especially as some tuners are booked months in advance.
Keeping it legal
The New Zealand Transport Authority (NZTA) WoF Vehicle Inspection Requirements Manual (VIRM), which outlines warrant of fitness requirements, states: “Externally venting wastegates (screamer pipes) are not permitted and cannot be certified as they are not adequately muffled and the exhaust gasses do not exit behind the passenger compartment. However, wastegates that feed gasses into their own muffled exhaust system exiting behind the passenger compartment, or feed gasses back into the vehicle’s exhaust system, are permitted.”
It’s also worth keeping in mind that the VIRM says that, “LVV certification is always required for the fitting of a supercharger or turbocharger as a modification, or the upgrading of a supercharger, turbo or wastegate, or the re-chipping of electronic engine control units [ECUs] on turbo vehicles.” So fitting an external wastegate requires the vehicle to be LVV certified, even if the wastegate vents back into the vehicle’s exhaust system.
External wastegates that feed into their own adequately muffled exhaust system are still required to meet the conditions of the VIRM’s exhaust-noise requirements. If the vehicle goes through LVV Certification, this can be checked during an objective noise test, by the certifier applying compressed air to the wastegate to make it open as it would under boost. A separate exhaust system for a wastegate would also need to terminate in a position where the outer end of the exhaust pipe is not directly underneath or in front of the passenger compartment; as well as meet the rest of requirements of the LVV Standard: Engine & Drive-Train Conversions.
