
If you had asked me four years ago if I would have driven my BMW E36 by now, the answer would have been a resounding yes. Hell, I was that confident that I’d have finished the project inside 12 months that I would have bet the ownership papers on it. But here we are, four years later, and it’s still not running — although it’s a hell of a lot closer than ever before. It’s not like it’s just been sitting gathering dust either, it’s just been one hell of a learning curve — and I mean that in a good way.
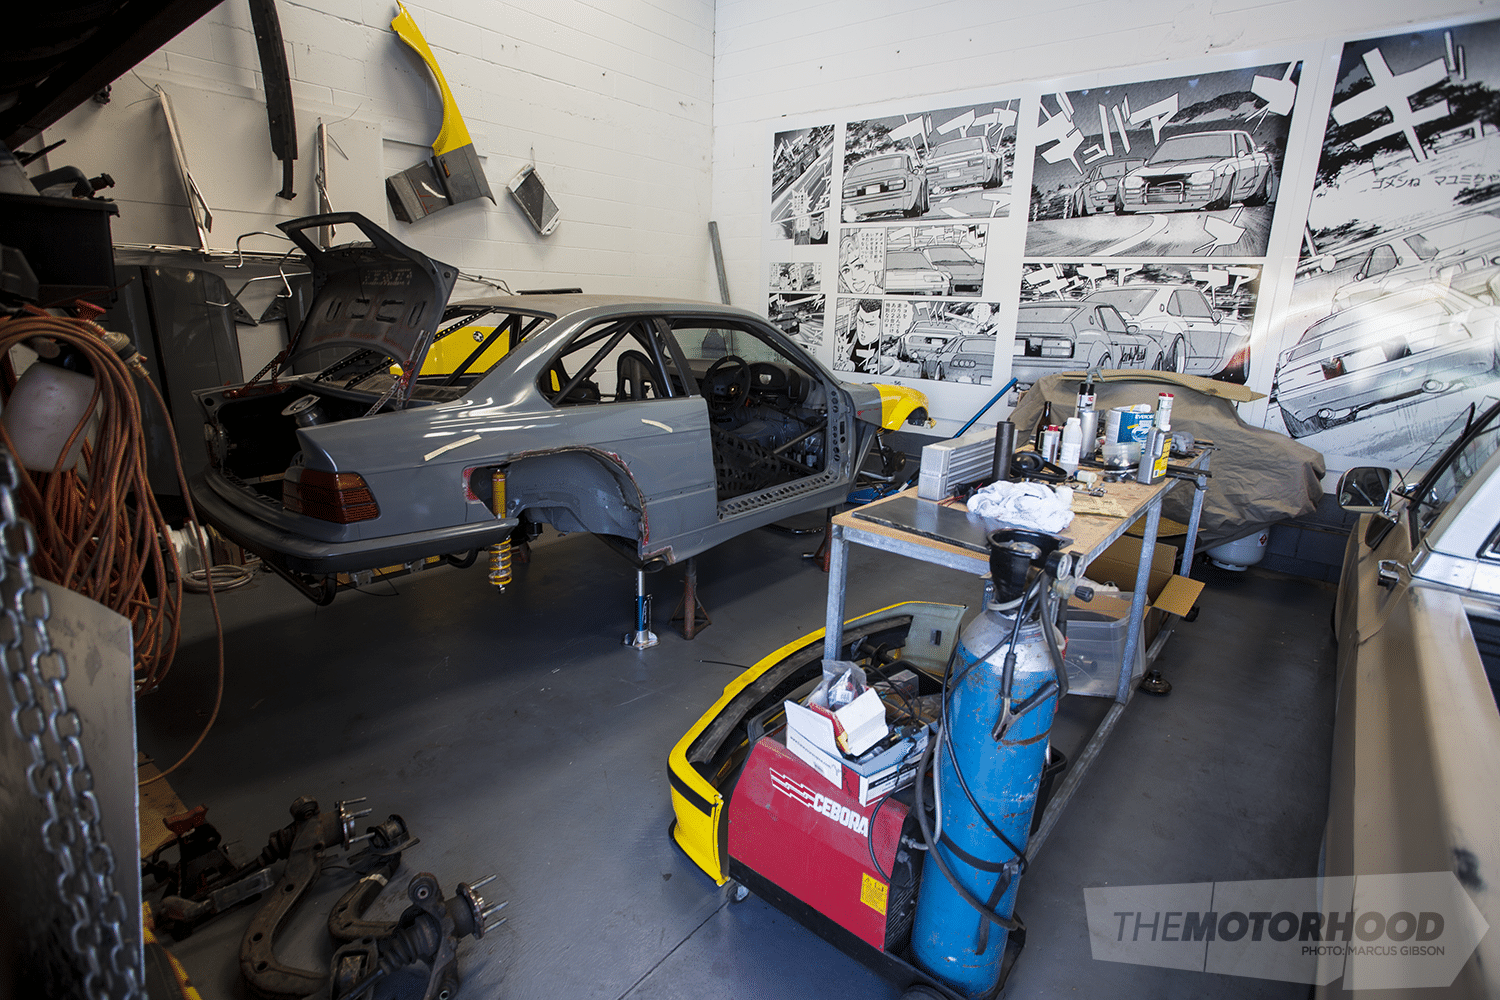
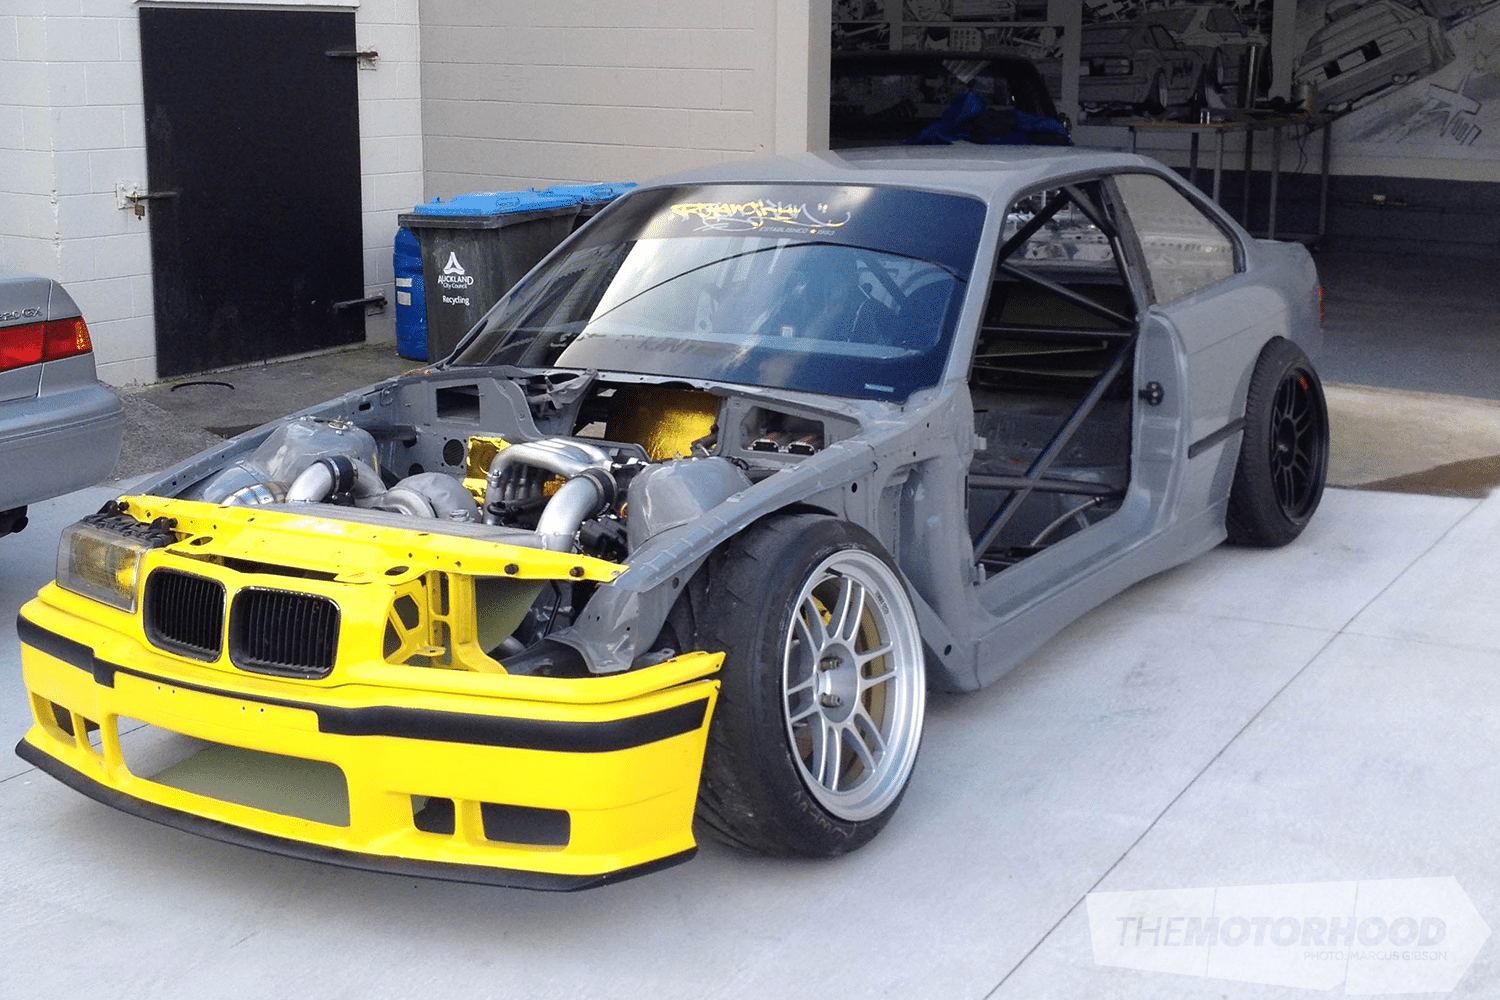
Here is how the car sits as of last weekend. It’s close to a tear down for repaint — the current paint job I did more than three years ago, and its been beaten, scratched, and grinded on a little too much for my liking. But before we get into the work I’m currently concentrating on, here is a recap of everything, just in case you’re unfamiliar with the build.
It all started with a trip to HellBM in Silverdale to pick up the shell — a BMW 318i that was an abandoned race car project of their own. This was the one and only time that I have rolled in the car as we pushed it into the shed and stripped it.
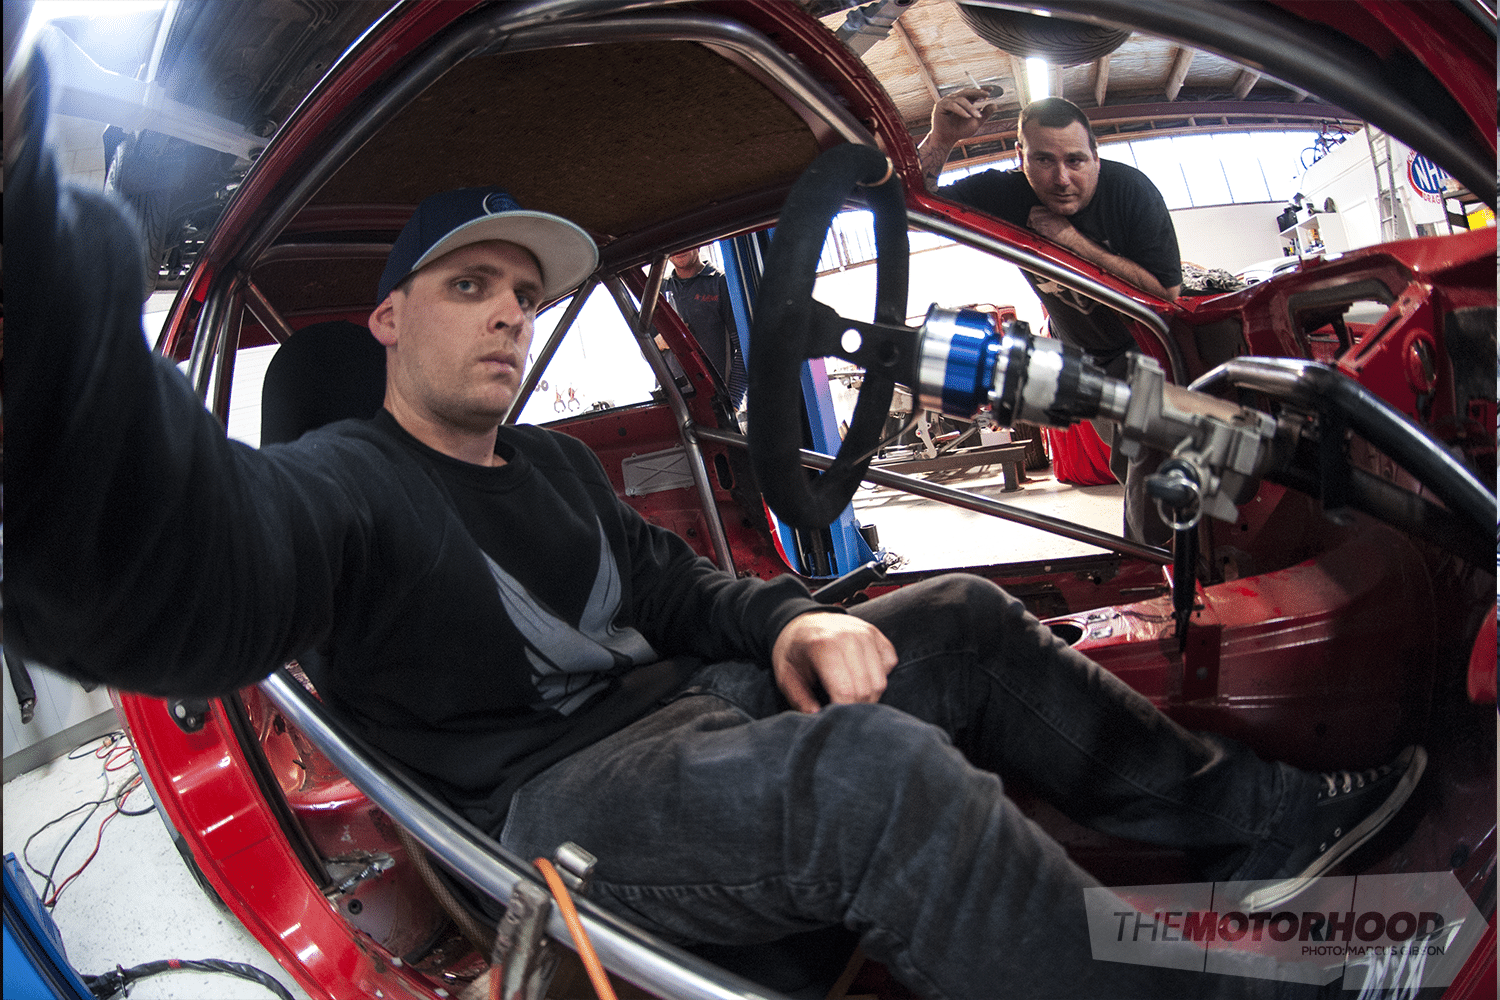
Shortly after stripping it, the car went to Quest Fabrication so my homie Kyrie could roll cage the car. He has really been an invaluable part of the project, and has taught me a shit ton about fabrication. From there I put it onto a rotisserie that I made, and spent a month removing all the sound deadening and seam sealer, and then stitch welded the entire chassis.
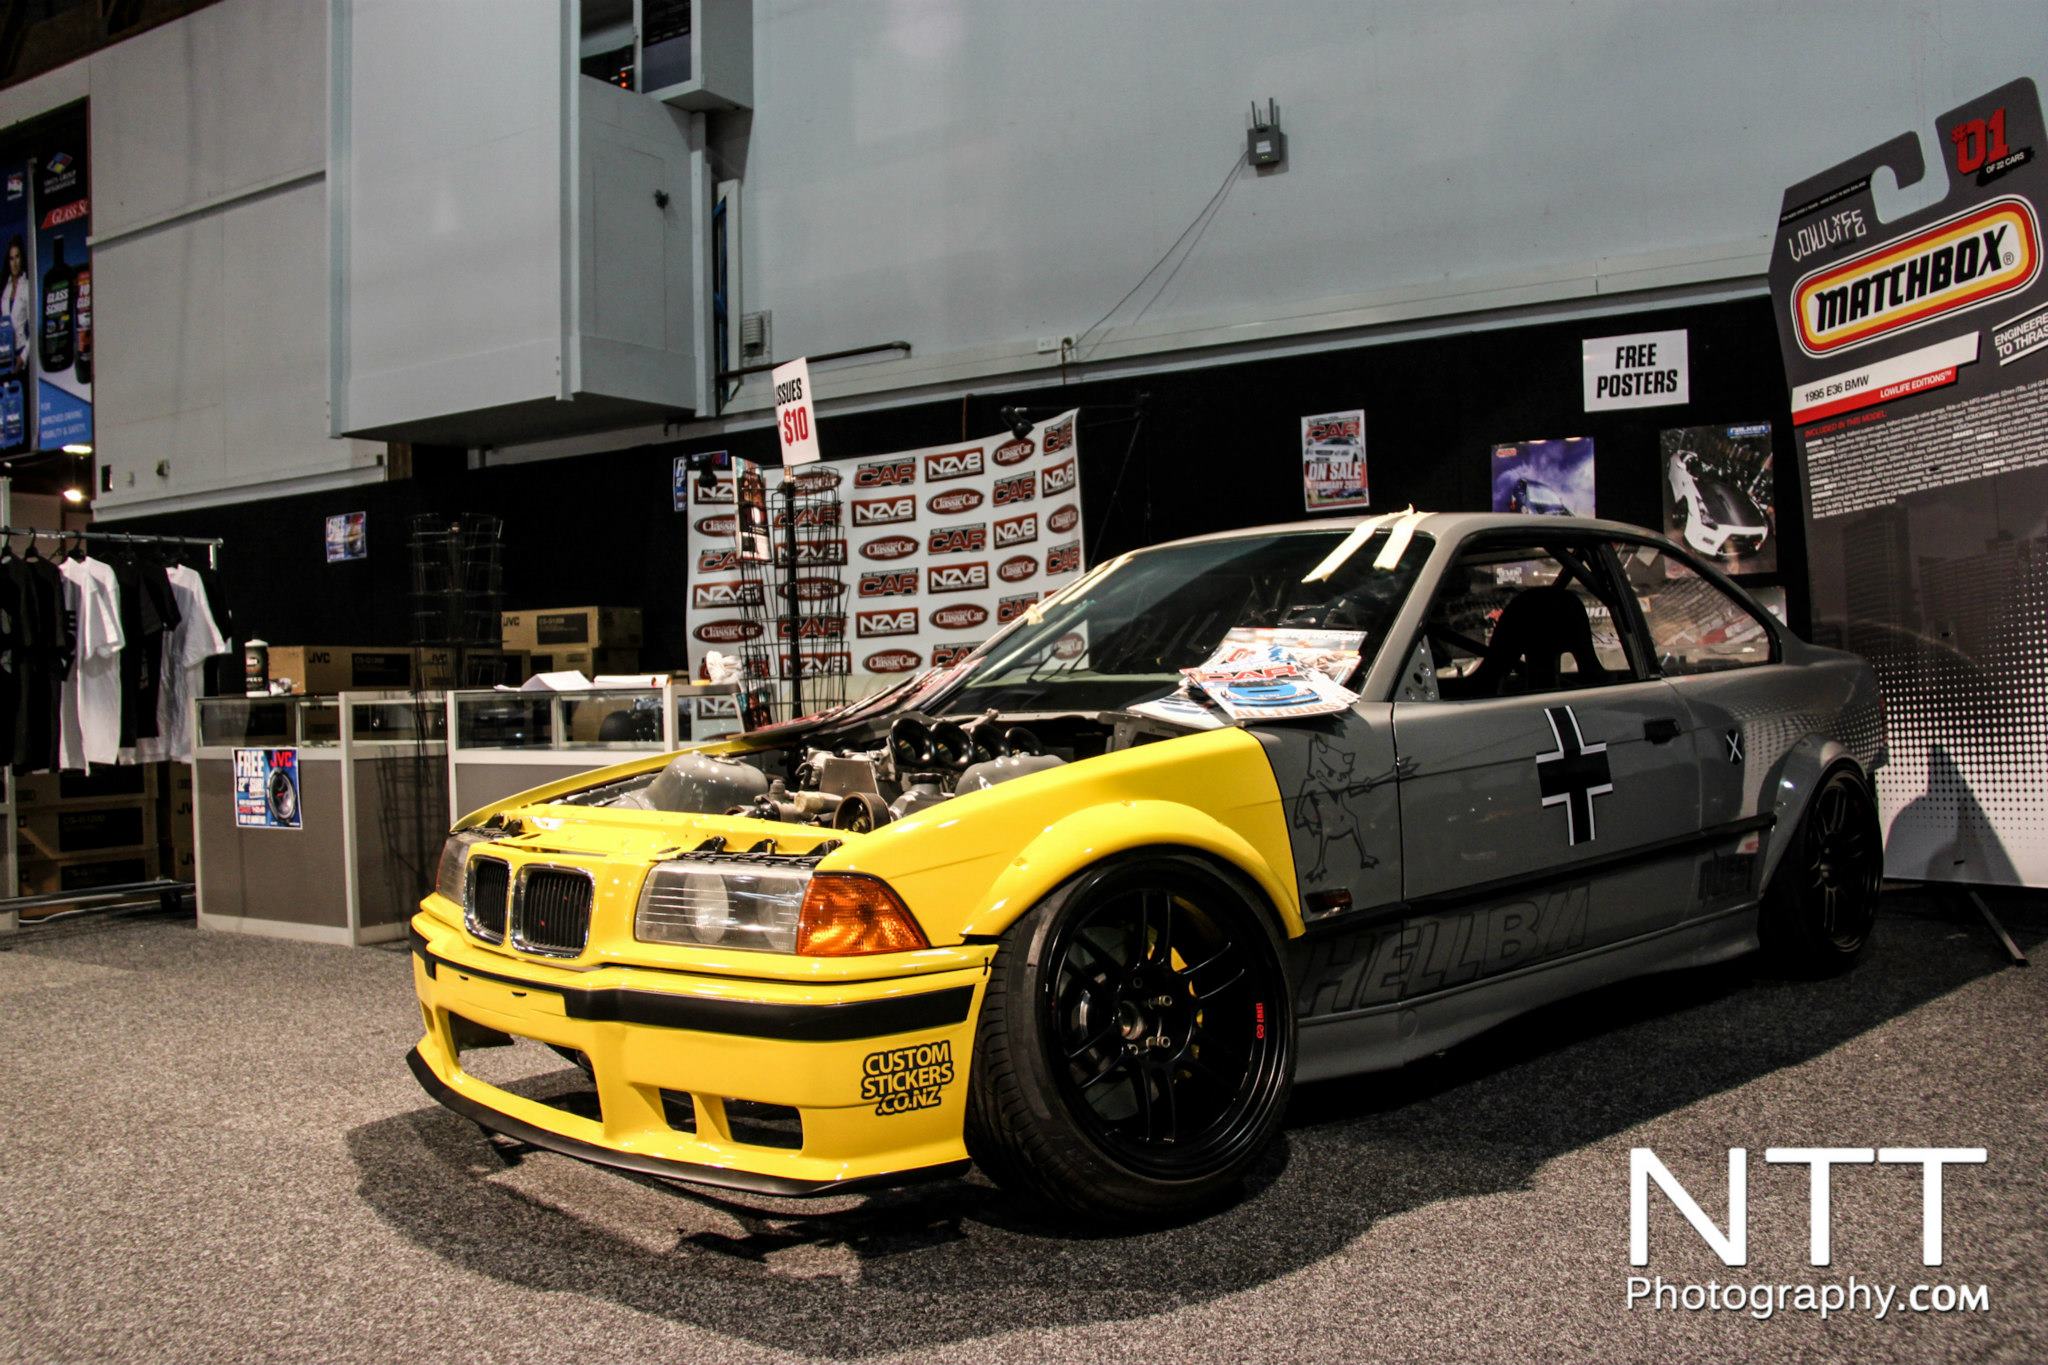
Fast forward a little and it had a 1UZFE with 55mm ITBs, and a 350Z six-speed. It also had Silvia front uprights and custom Konis from my old R100 race car. Some overfenders, 18×10.5-inch Enkei RPF1s, and a lick of paint. We got about halfway through a custom cross-flow manifold before the lack of space for headers and steering shaft — even after shifting it — combined with my lack of willingness to comprise by shifting the engine way forward, would prompt a shift in engine direction.
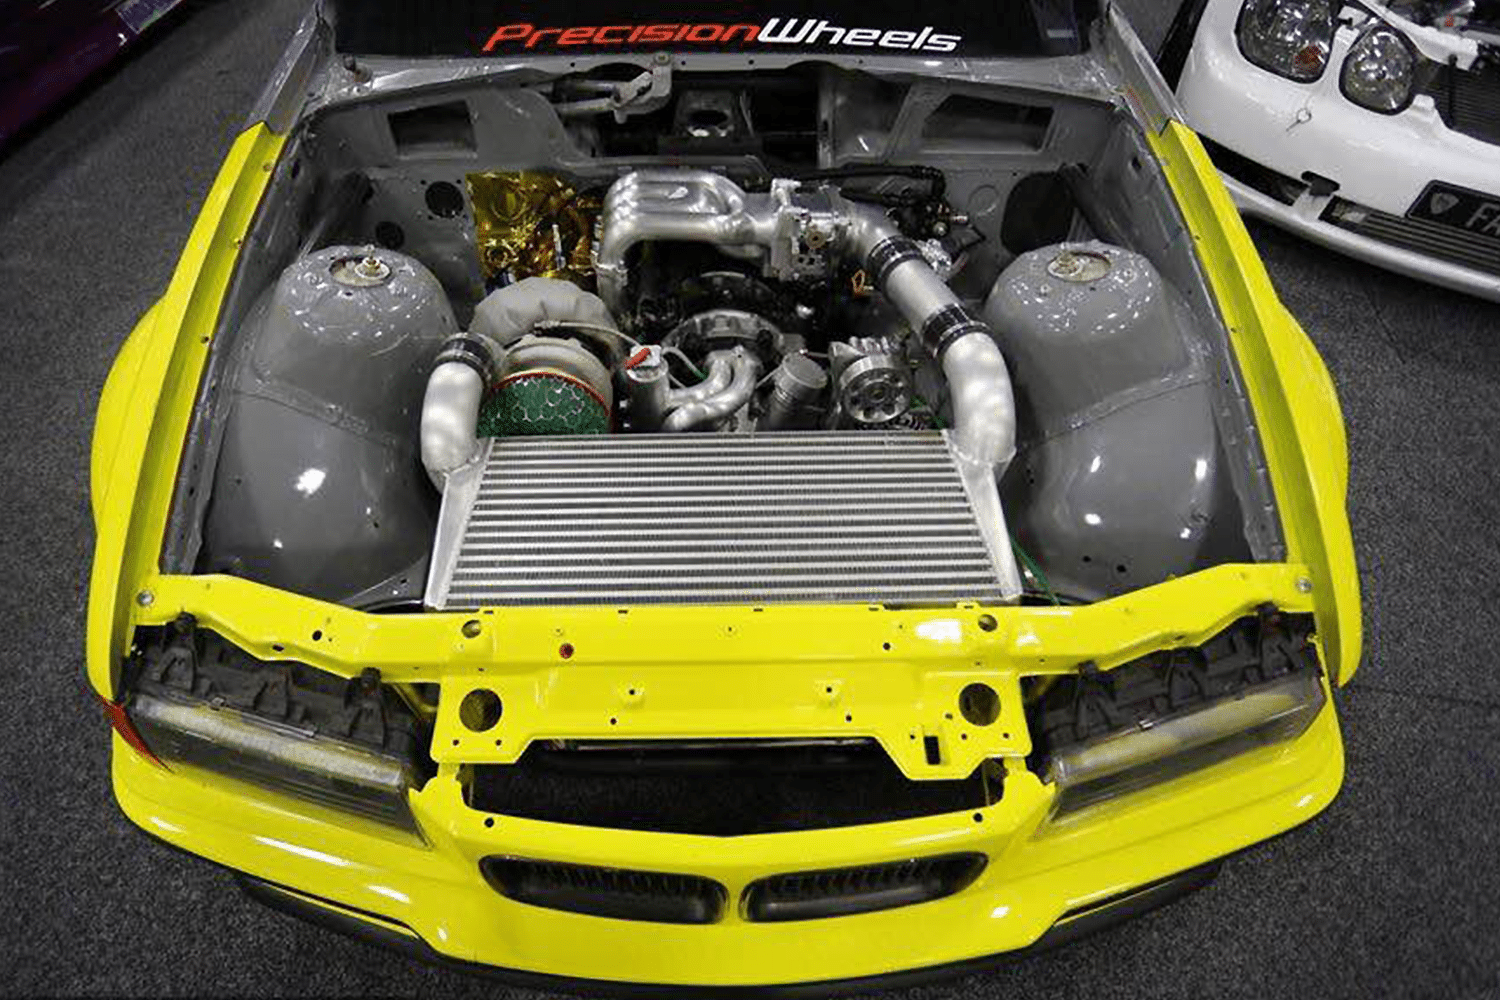
Image credit: Taryn Kelly
The next eight months saw me furiously converting the car to a 13B turbo, using an engine I hijacked from a very good mate Robin Holl’s RX-7 project. Doweled, studded, and bridge-ported, it’s fresh and ready to run — and best of all it was built by Robin, who has helped me out a lot on the project. In fact, it wouldn’t be where it is without me old mate Robin.
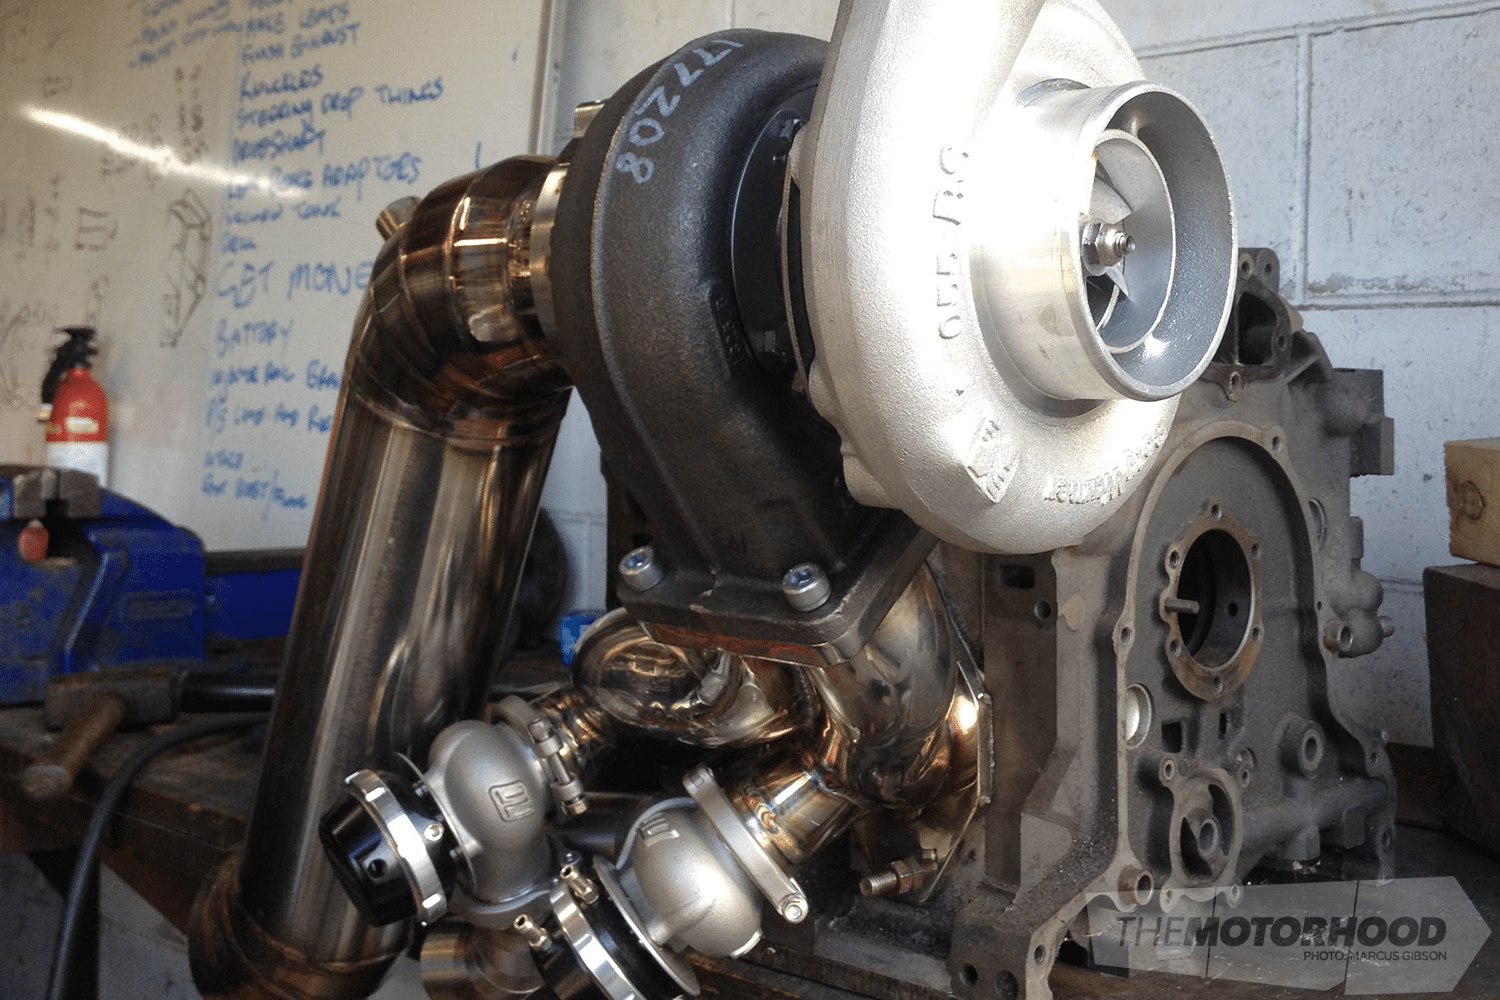
The boost side of the engine is a Borg Warner 300SX, and dual Turbosmart Ultragates sitting on a stainless manifold that Robin and I built. The four-inch downpipe was my first-ever TIG welding experience — some of you will remember the tech piece on lobster backing with Kyrie that we ran in the magazine.
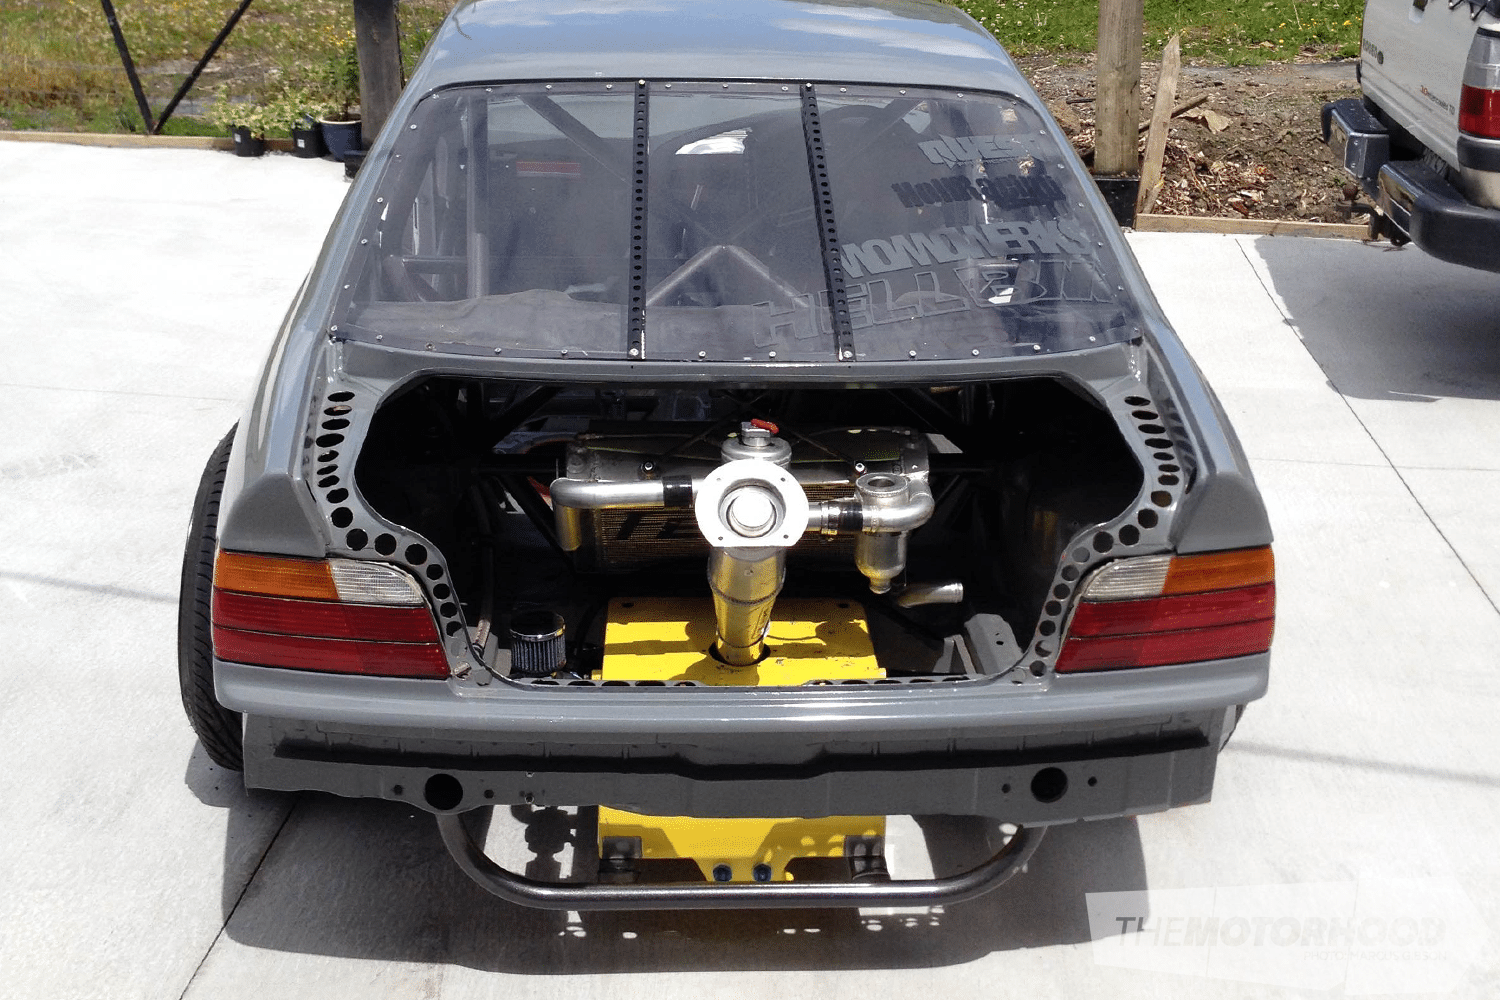
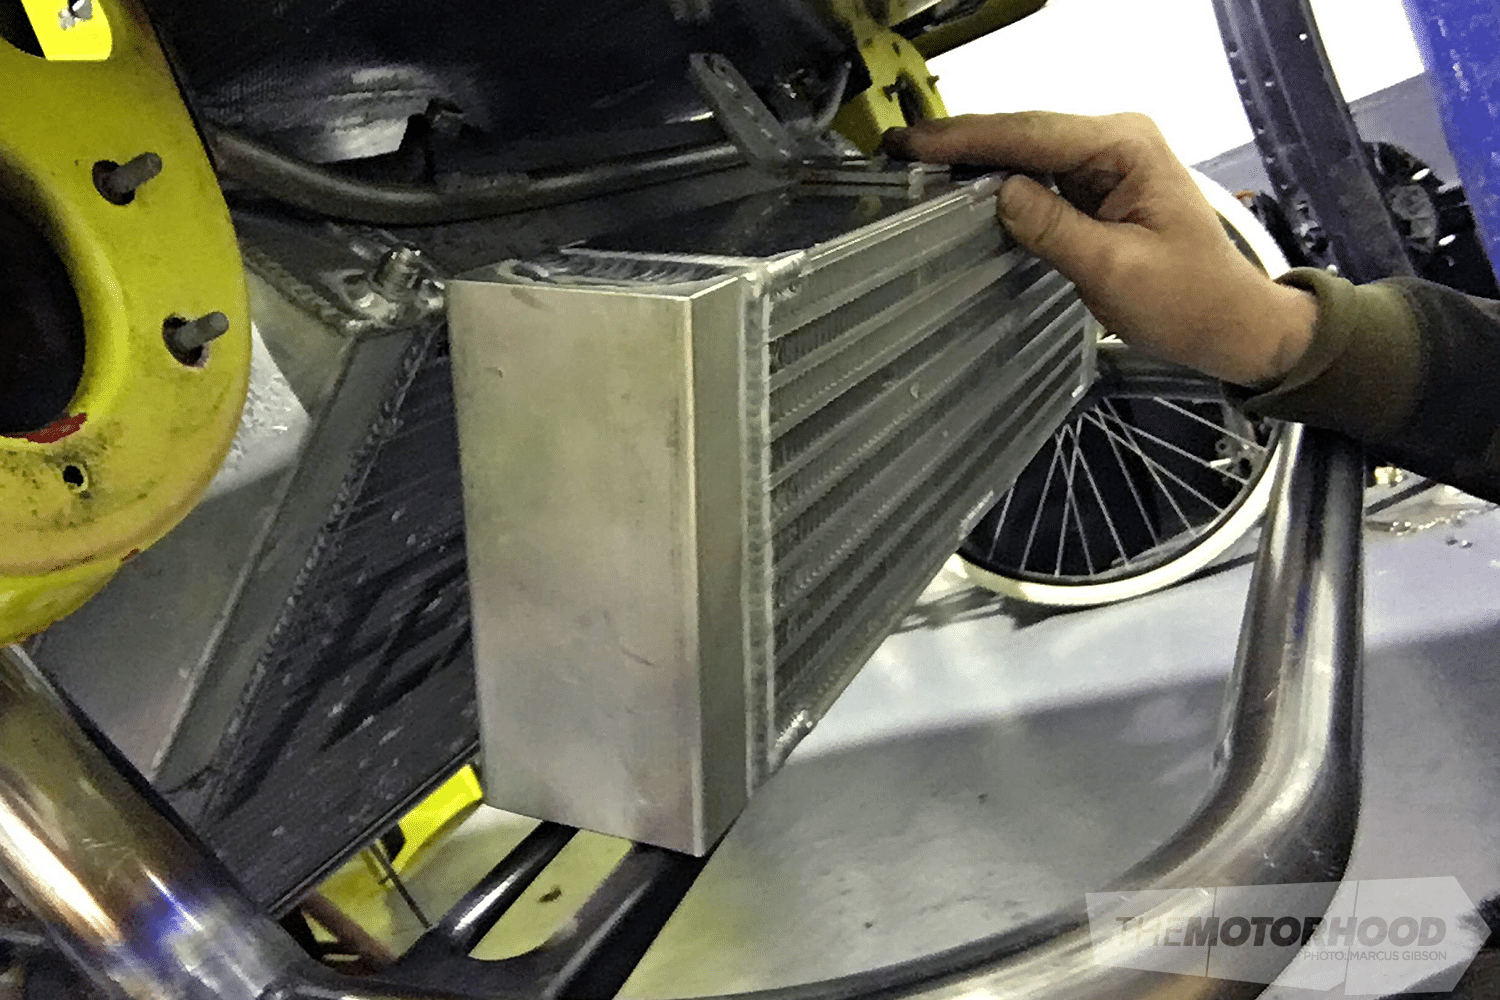
Another year would pass and more fabrication learning continued. Caught up in the hype of rear-mounted radiators, it seemed like my kind of challenge — building a set of intricate alloy hard lines that twisted their way under the car. The boot was home to a Fenix core with custom end tanks, custom swirl pot, and custom recovery tank. There were also dual Davies Craig EWPs and one of their 16-inch big CFM fans. All this combined with the fuel system and big oil catch can — it was like the starship enterprise back there!
Ultimately, I was overcomplicating the situation just to challenge myself, and I was going to end up with some alien-like ducting to get air to the core. It’s the one thing that anyone with a rear-mount set-up struggles with. So I slapped myself in the face, tore everything from the boot, and started from scratch with a traditional (ish) front set-up.
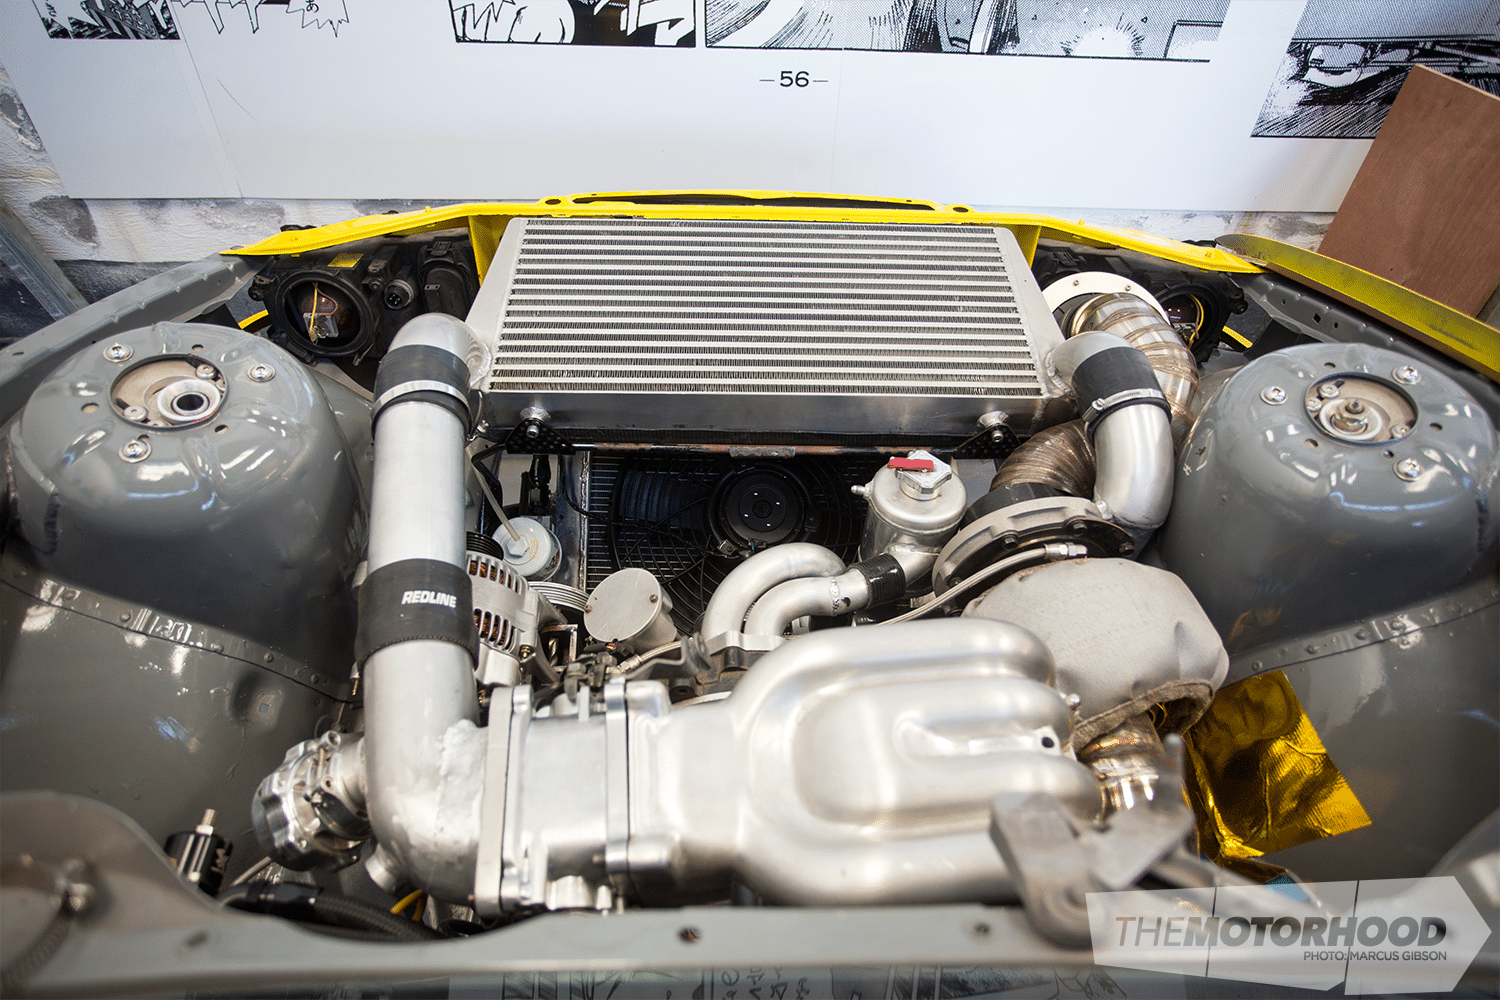
The radiator now sits below the intercooler — not in a V-mount formation, but laid over the opposite way (the hot air will be ducted up and out of the bonnet). Thankfully I could reuse the swirl pot and recovery tanks, so all was not lost. But by shifting everything back up front, the original bash bar was just not going to work, which brings me to last week (by skipping 8000 other custom bits I will cover off in another post, another day).
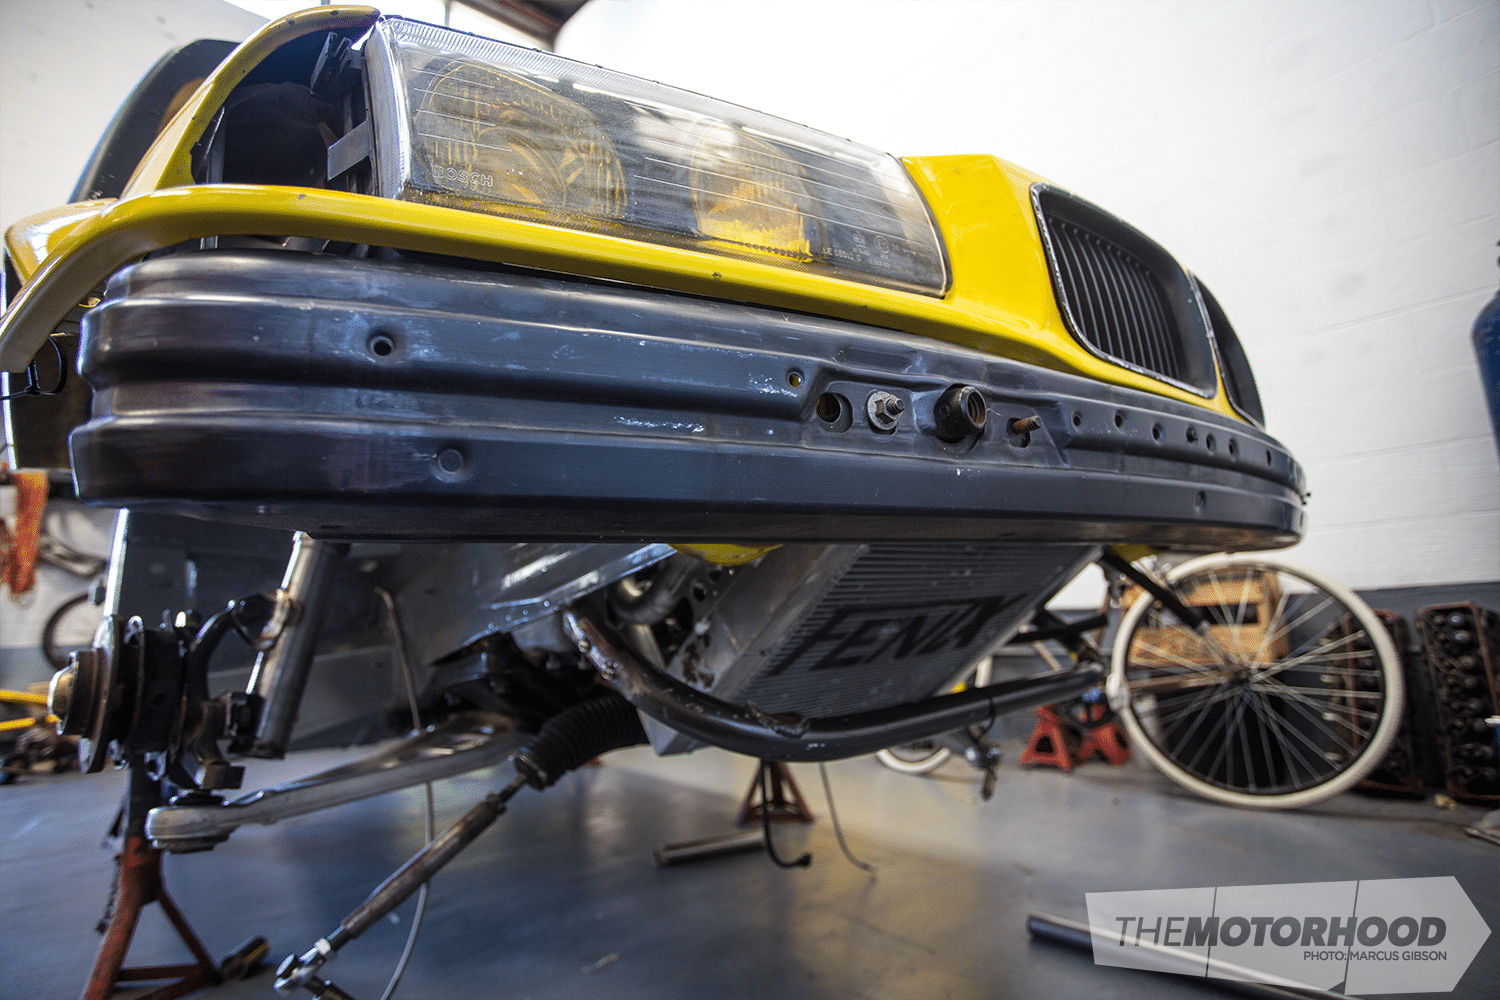
The problem with the bash bar was that it was designed for the original radiator set-up back when the car was going NA 1UZFE. With the radiator mounted like this, there was no protection for the new oil cooler. I tried to make it work by cutting off the supports and moving them, but it was still not ideal.
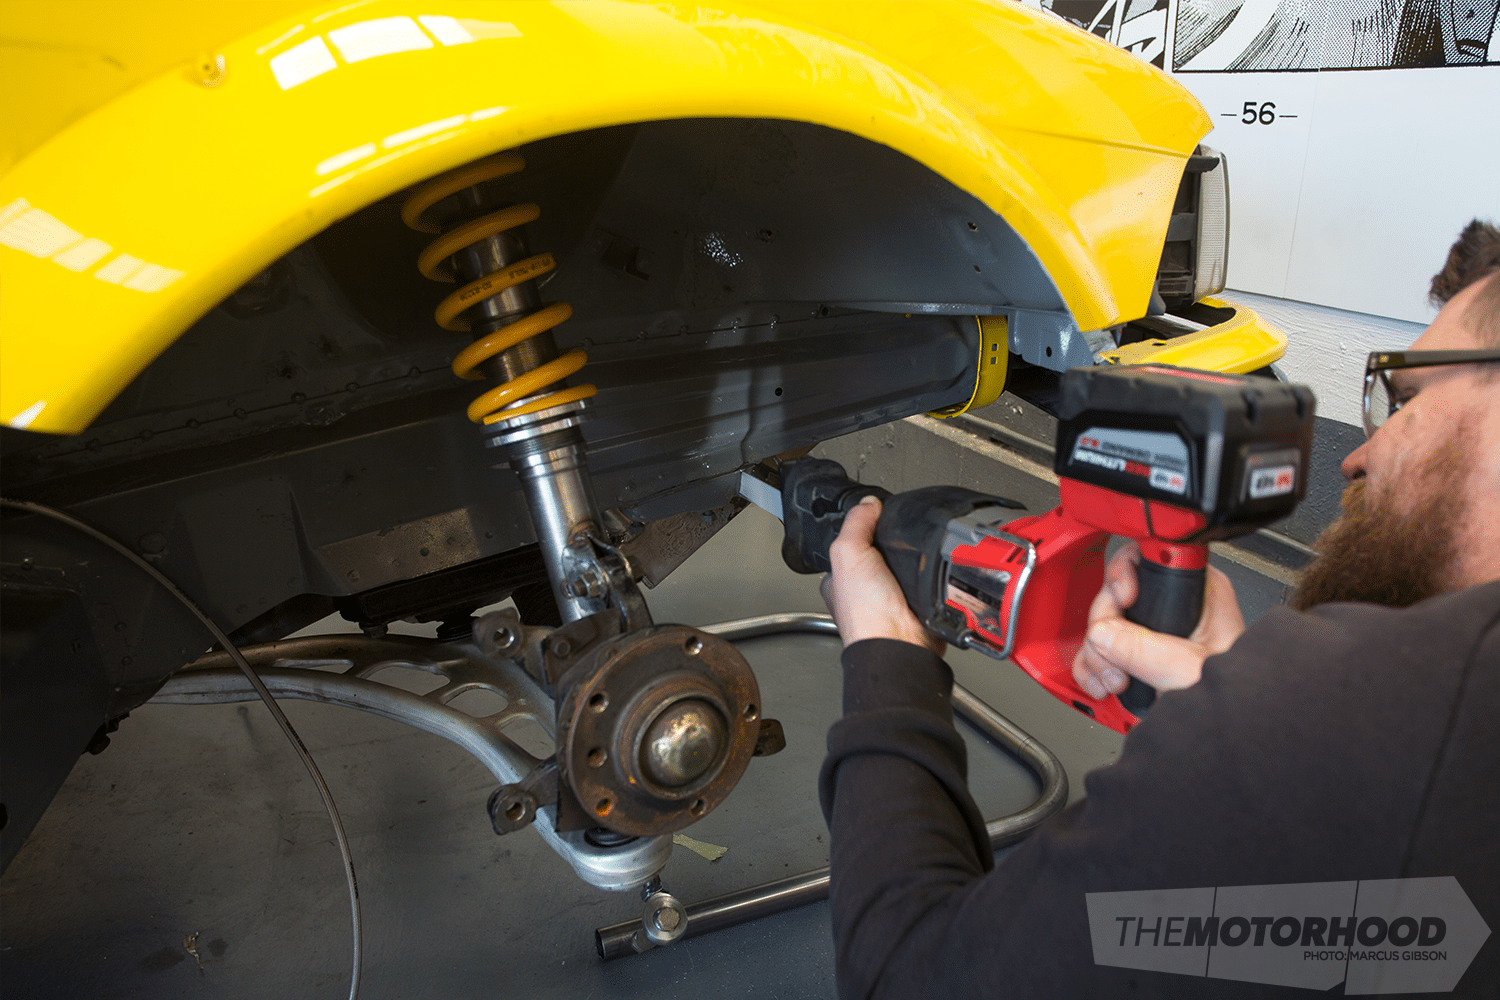
it was time to quite messing around and pull out the big guns. Milwaukee had given me a ton of their M18 FUEL range with the new 9.0Ah batteries to try out, so I was looking for any excuse to bust out the Sawzall. The one thing I still do not have is a mandrel bender, so SMS Fabrication bent me up a replacement bash bar using 38mm roll cage tube.
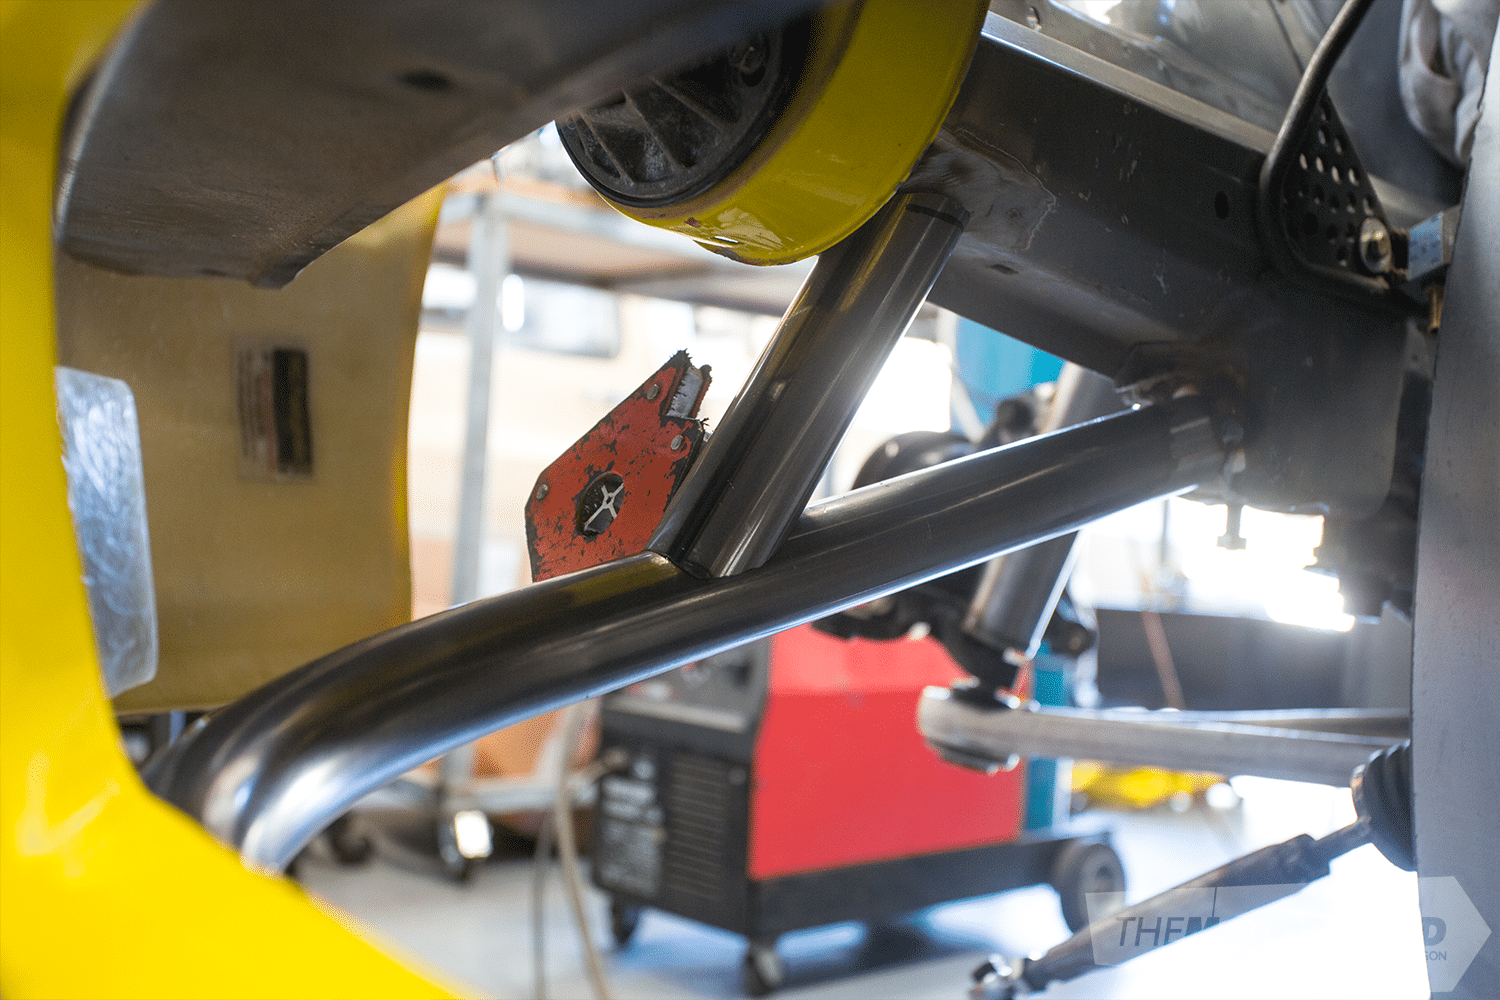
The new bar extends much further forward into the bottom lip of the bumper. This will also become a mounting point for the front splitter. I tacked and triple-checked the fitment a few times before it was ready to weld in.
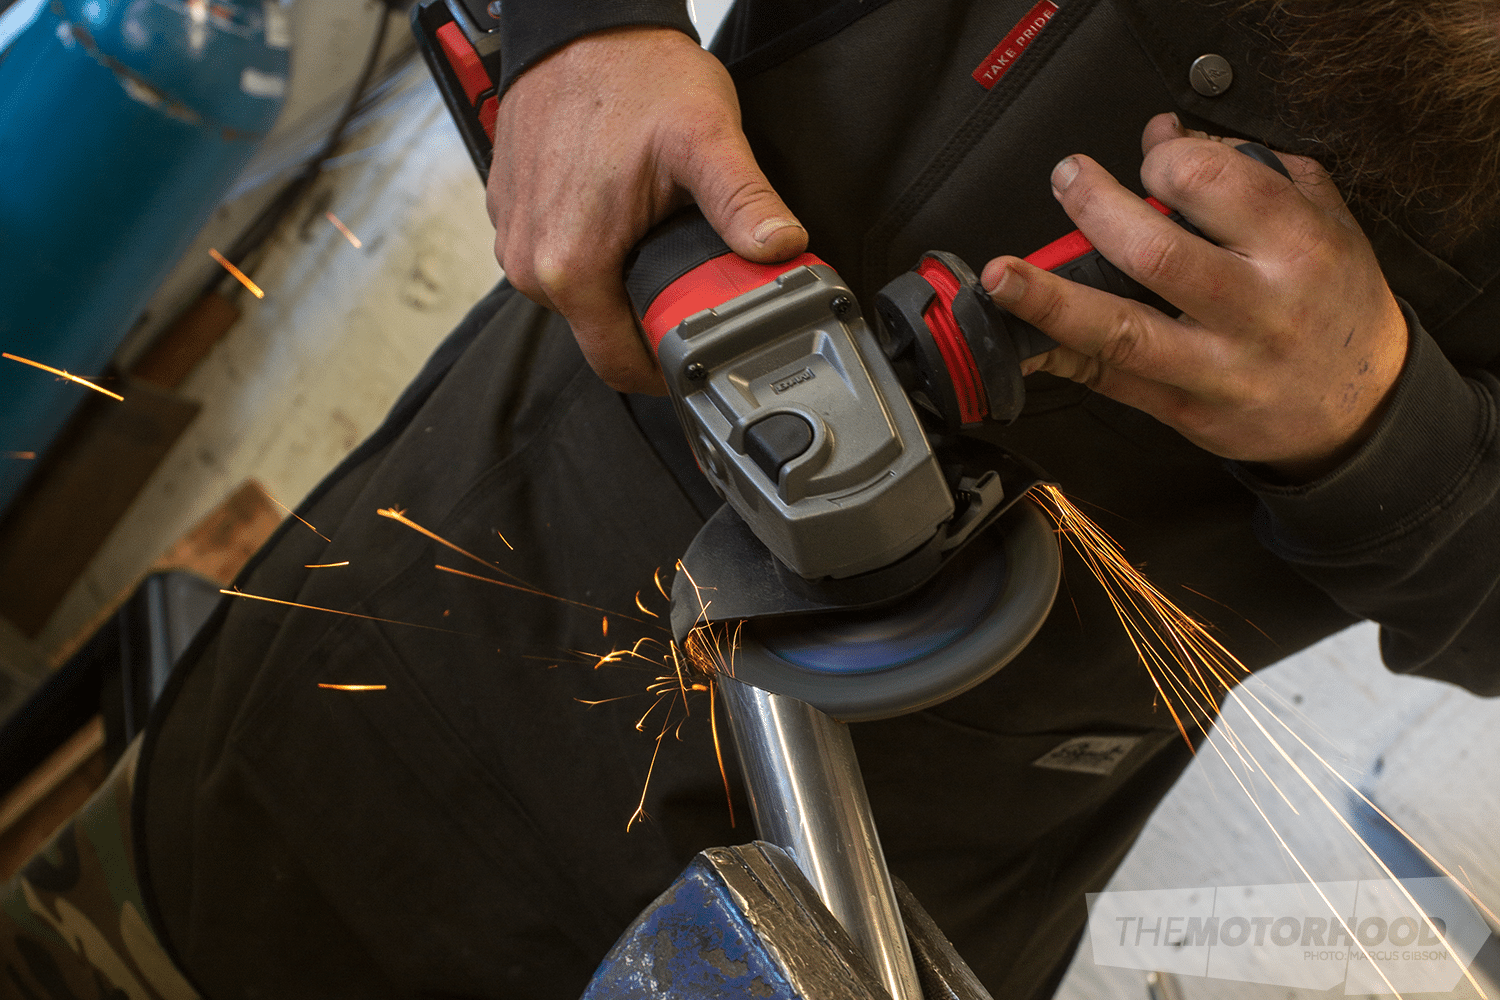
Not having tools like a pipe notcher was limiting to how nice of a fitment I could get on pipe joints until I found these radius-edged 40-grit sanding discs from PFERD. Although, sadly they are not cheap. It’s one cost factor in a heavy fab project that is often overlooked, but if I was to total the cost of all the 1mm cut-off wheels, sanding discs, and other related consumables, I would probably cry.

Before final welding the bar on, I TIG’d on the bottom mounts for the cooler. Using small Nolathane bushes in the mounts, which the oil cooler locates via small alloy studs welded to the cooler. There is also a top mount, which is alloy and should shear during any large impact. The cooler itself was custom built in New Zealand to my specs, and I’m really happy with the product. Oil-pressure drops kill rotary engines, so I wanted the highest-quality core I could find. We run these on a few cars without any dramas.
Do I regret all the changes I made along the way? No, not really — the way I look at it is every time I step into the shed I’m learning something, so any time spent with a TIG torch, working with carbon, turning on the lathe, or whatever it is, it’s experience — something I don’t think I can put a price on. But in saying that, it would certainly be nice to finally turn a tyre in anger before I go grey from the all-consuming nature such a build has.
A special thanks must go to Kyrie and Colin at Quest, and Grant at GT Refinishers for laying so much knowledge on me.