data-animation-override>
“We follow Jonny from The SignLab as he turns Matt Brown’s dream wrap into reality ”
It all started a few months back when New Zealand 3M distributor CL Auto announced its competition to win a dream wrap for your car from one of their nationwide installer network. While there may have been wrap competitions in the past, this was something a little different — a little special. Every entry had to be accompanied by a photo of your car, and a brief description of your dream wrap.

Forget simple single-colour changes; we are talking about wild-out designs, and there were 100s of entries. From them, 15 finalists were chosen to work alongside their local installer to turn concept into rendition, and those then went head to head in the ultimate test: who could get the most likes on Facebook. There was a lot at stake — the winner would get the real deal applied to their car, and we would be there to see exactly how the pros make modern vehicle wraps look so damn good.

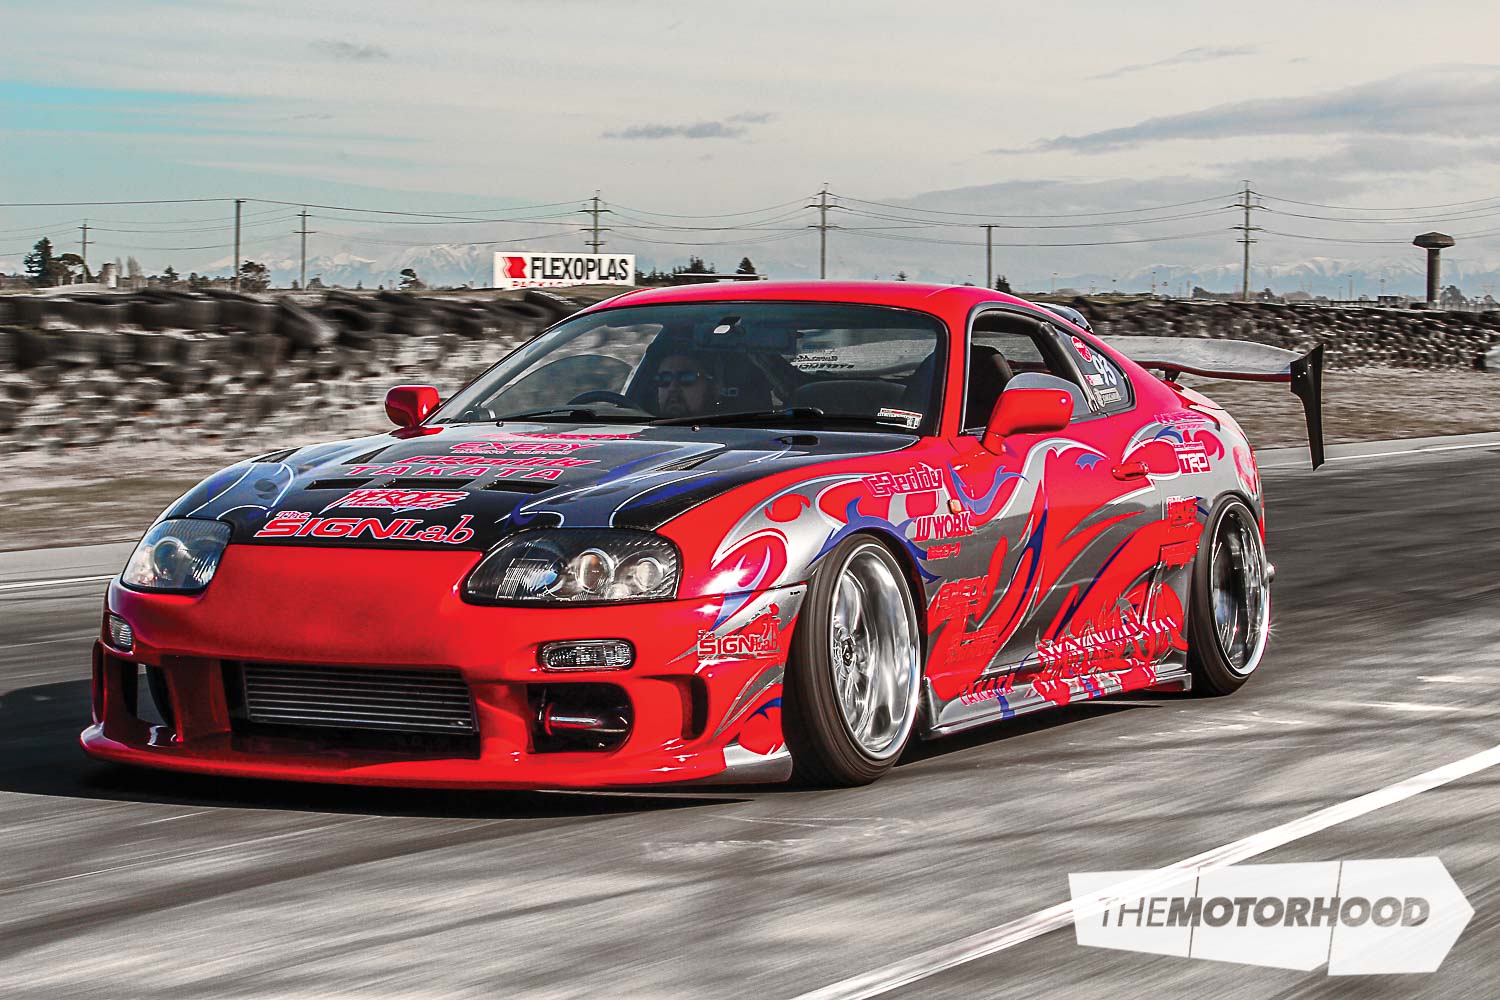
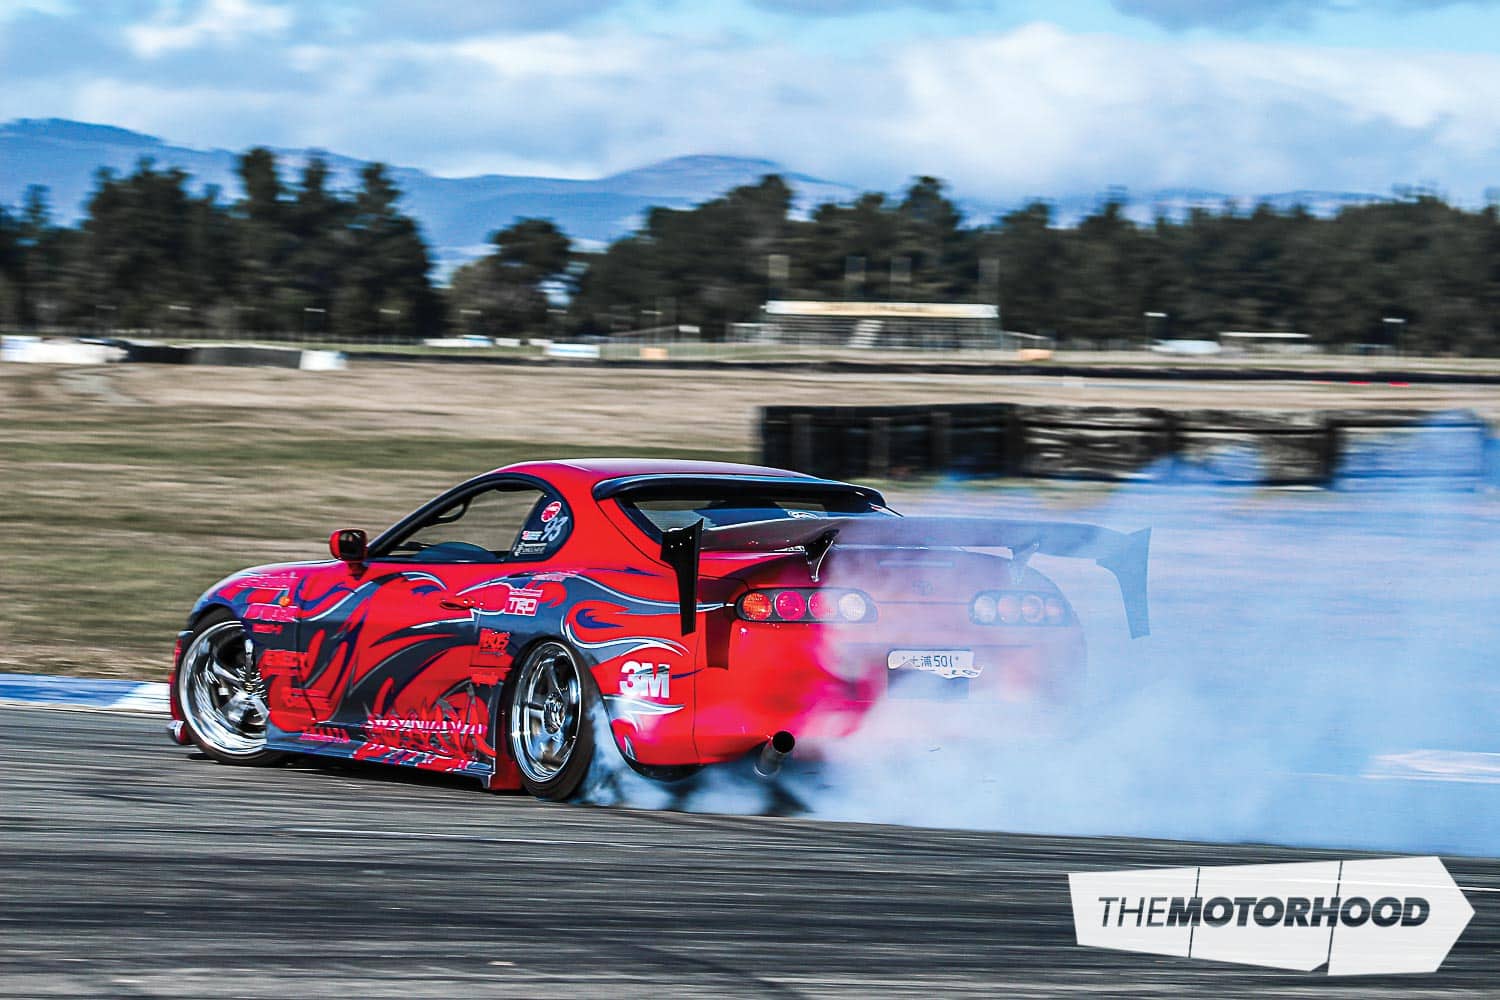
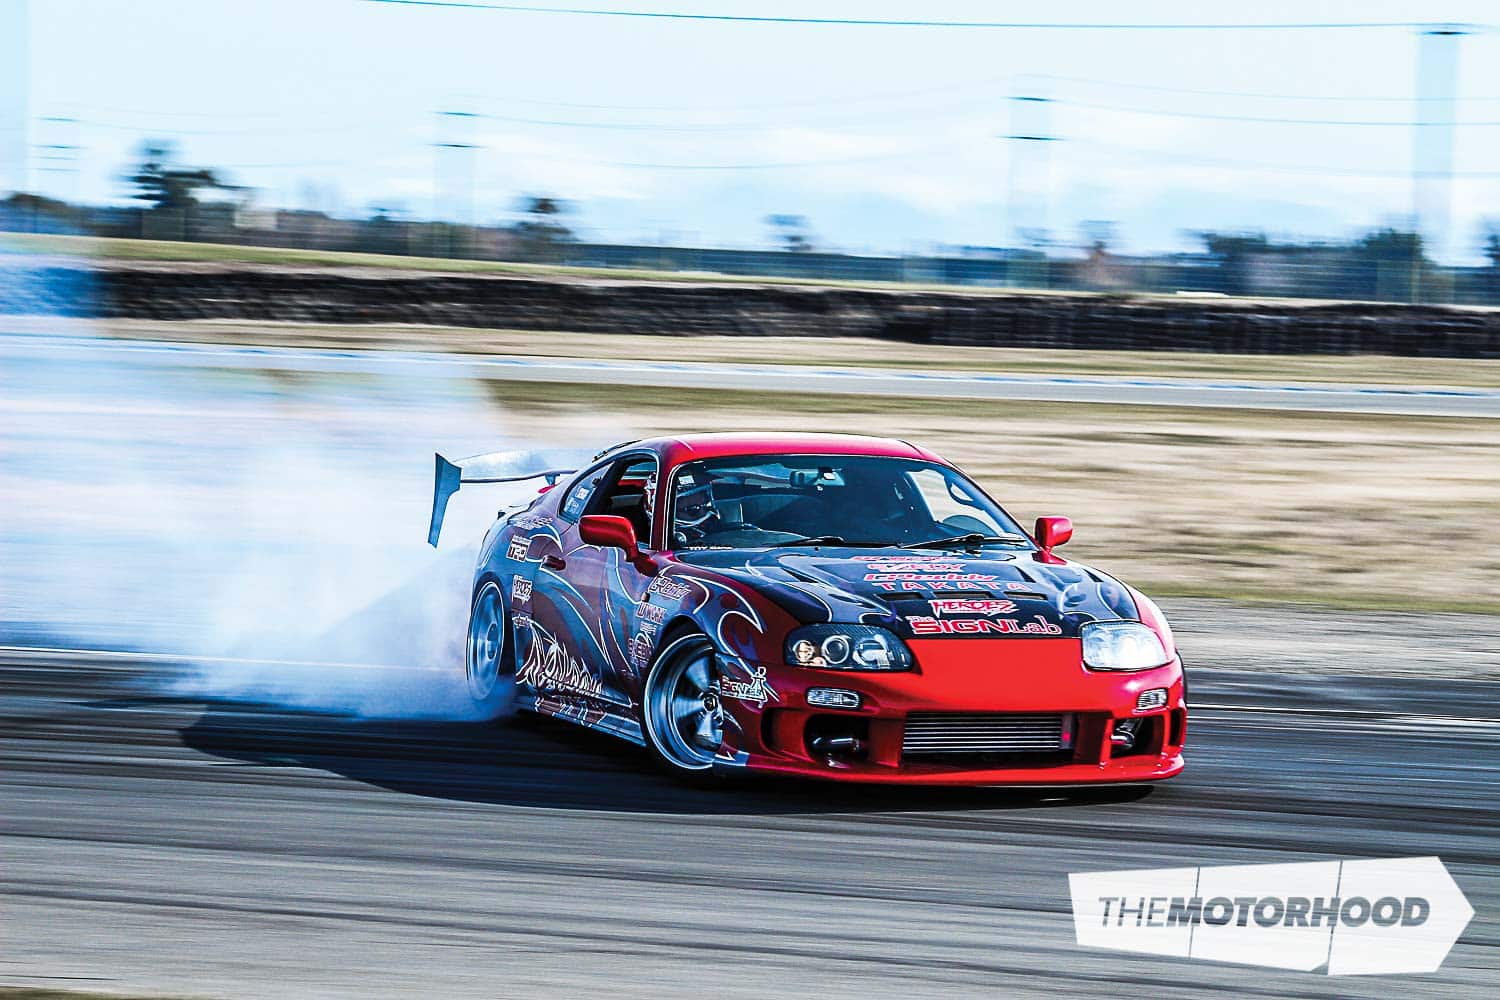
There were some real badass concepts in the group, but, after the flurry of blue thumbs-up icons cleared, there could only be one winner, which turned out to be Matthew Brown’s super-sweet street-legal 1JZ-powered MkIV Toyota Supra.
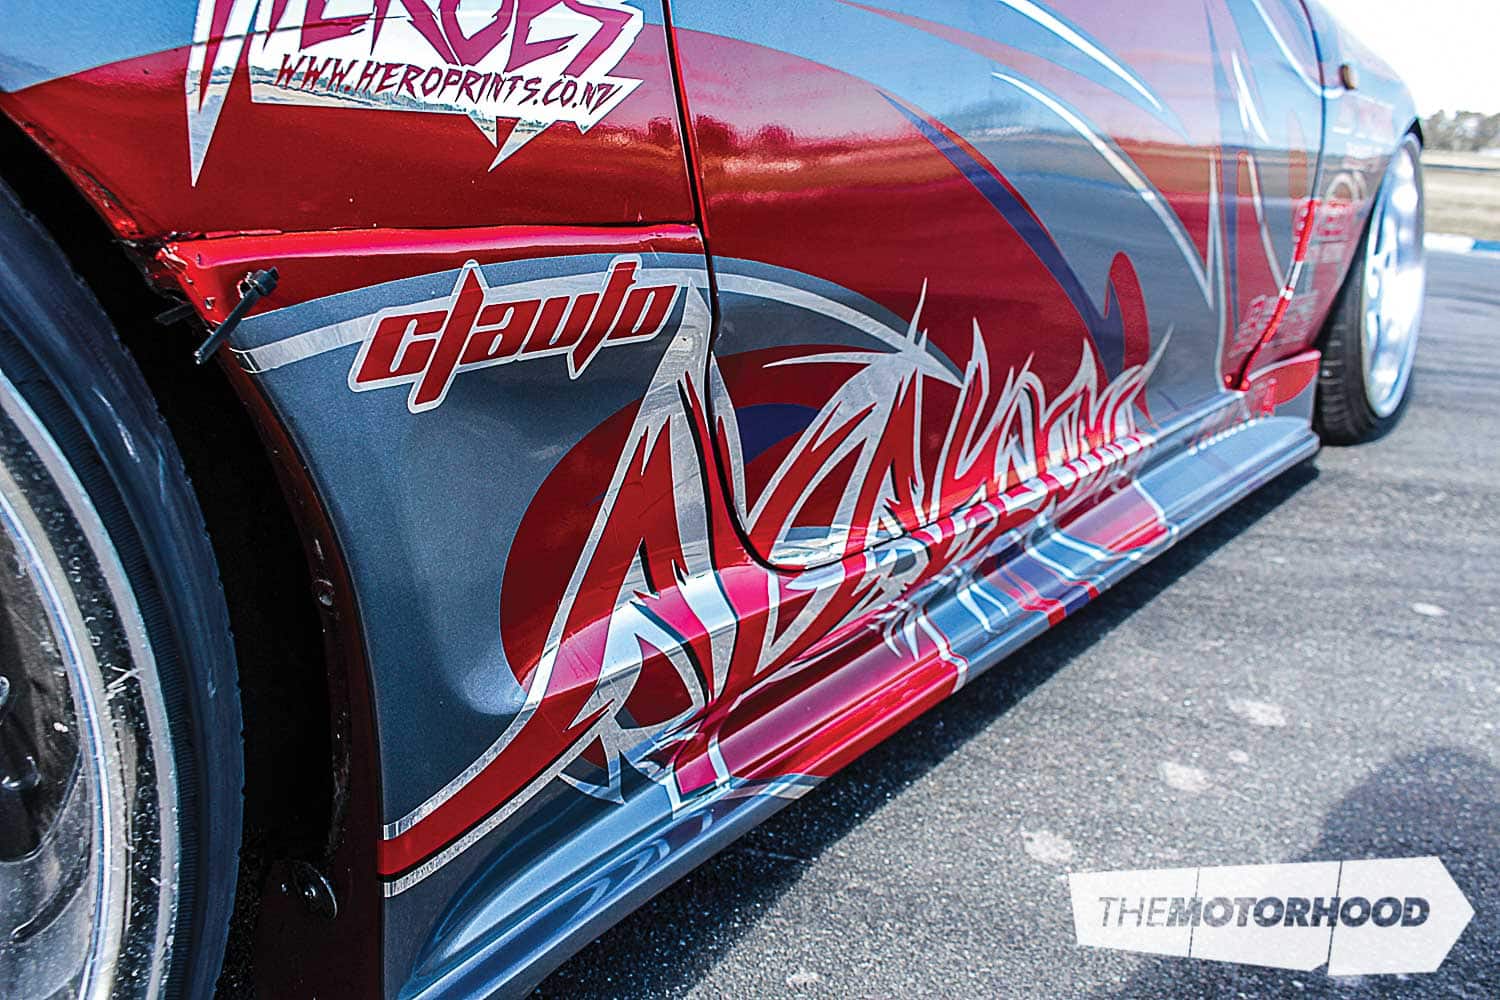
Matt is a real fan of the way drift cars used to be, so he worked with Ash from Hero Prints and Jonny from The SignLab to come up with the idea. “With the design, I wanted to capture the vibe of all the early 2000s Japanese street-styled cars, when style was king and form ruled function. There’s just something about that in-your-face style of a really low-and-loud drift car, covered in a shiny team vinyl that you really take note of.

Animal Style has done this really well recently, and its cars have been a big influence, along with the Japanese legends of the 01 Era. I’m just trying to lead grassroots drifting back in the direction that first caught everyone’s attention in the first place, and, hopefully, this design goes a small way in doing that,” Matt explained. So, let’s take a look at exactly how Jonny transformed the big-body Toyota.
Preparing the shell for application
As will any coating, the biggest factor affecting how the end result will turn out is the prep work. Before any cleaning can take place, the car will be stripped of any and all parts that can be removed — wing mirrors, wheels, door handles, locks, rear wings, that kind of thing. This not only allows the installer to properly clean the surface but also ensures that the film edges can be effectively hidden.
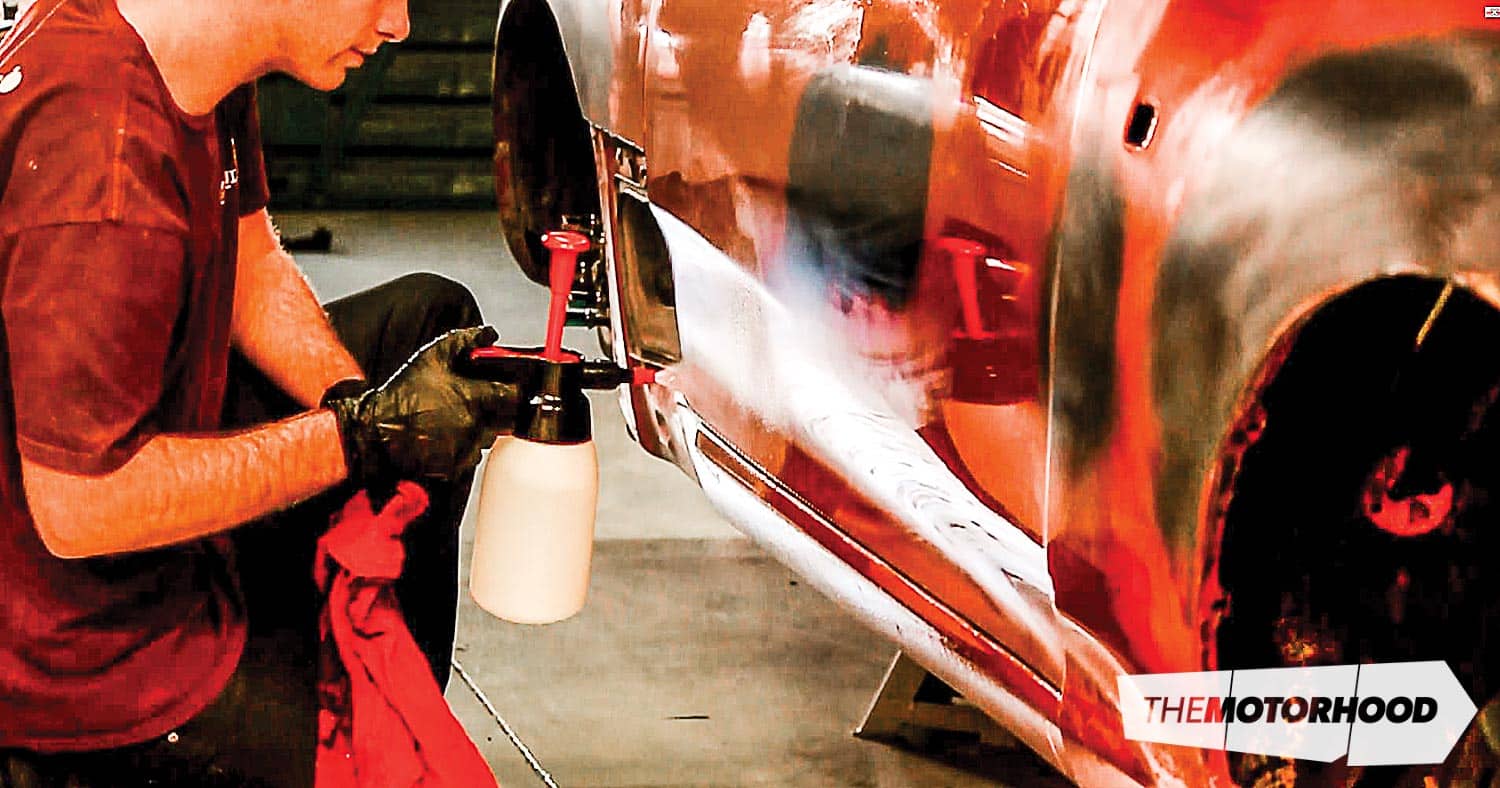
Any contamination on the surface will be likely to show through the film (it is, after all, under a millimetre thick). But, more important, the contamination will act as a barrier, stopping the film from adhering correctly. Any professional shop will use a three-stage cleaning process, as Jonny explained: “I do a three-stage clean, first with an auto-grade Prep-Sol to remove any wax, tar, or silicon contaminants. The next step is isopropyl alcohol, which removes any residue of the Prep-Sol. The third stage is a wipe down with a clean dry cloth just before applying the wrap.”
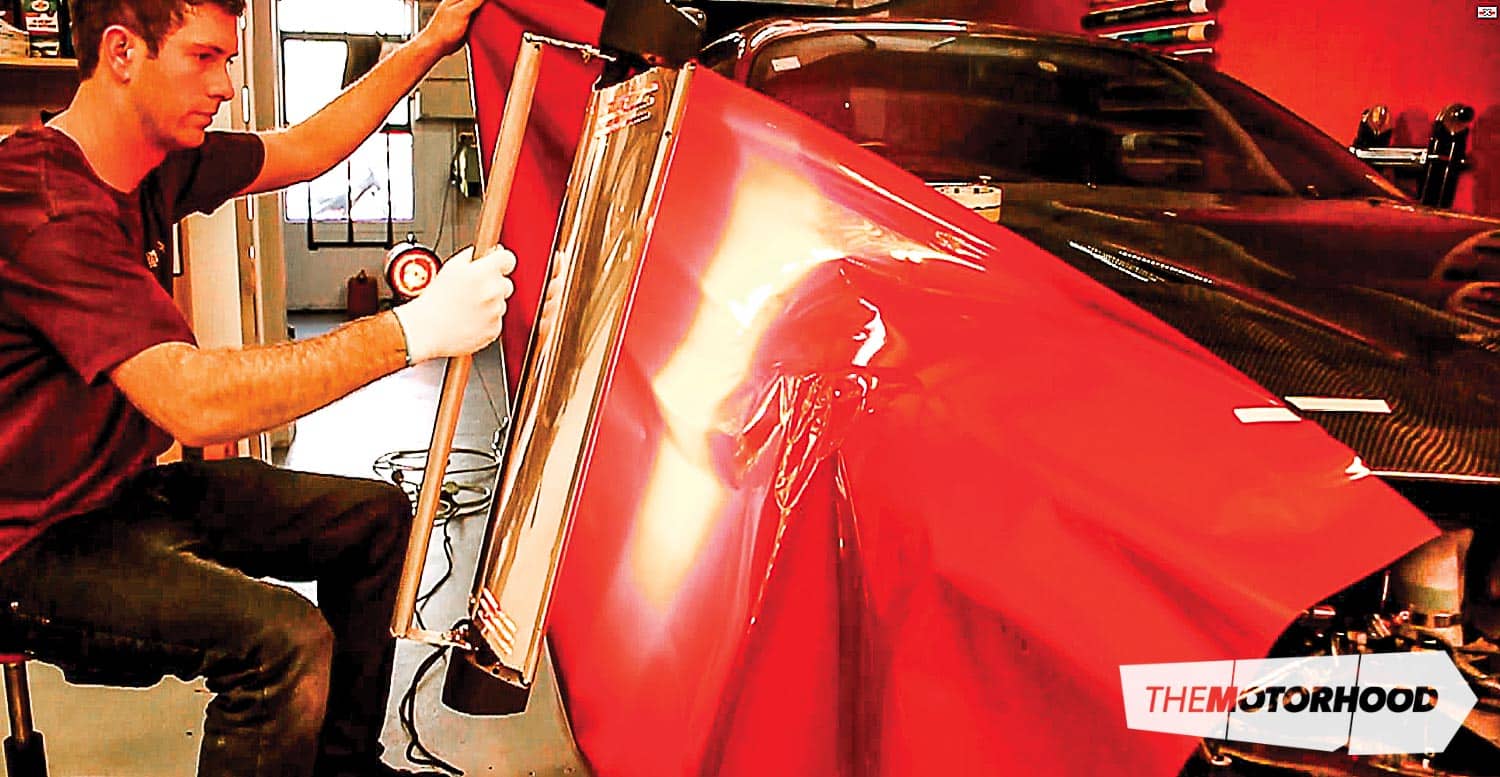
Temperature control is key
Any film needs to be applied within a specific temperature range to make sure it adheres properly to the painted surface. The film itself is very susceptible to heat, and this is what is used to shape the film around a form. Jonny uses a couple of different heaters, depending on the size of the piece. A heat gun is his weapon of choice, but its use is limited, as it only has a heat surface of about 100mm. So, when doing larger panels, his custom big hand-held heater is put to use.

Panel by Panel
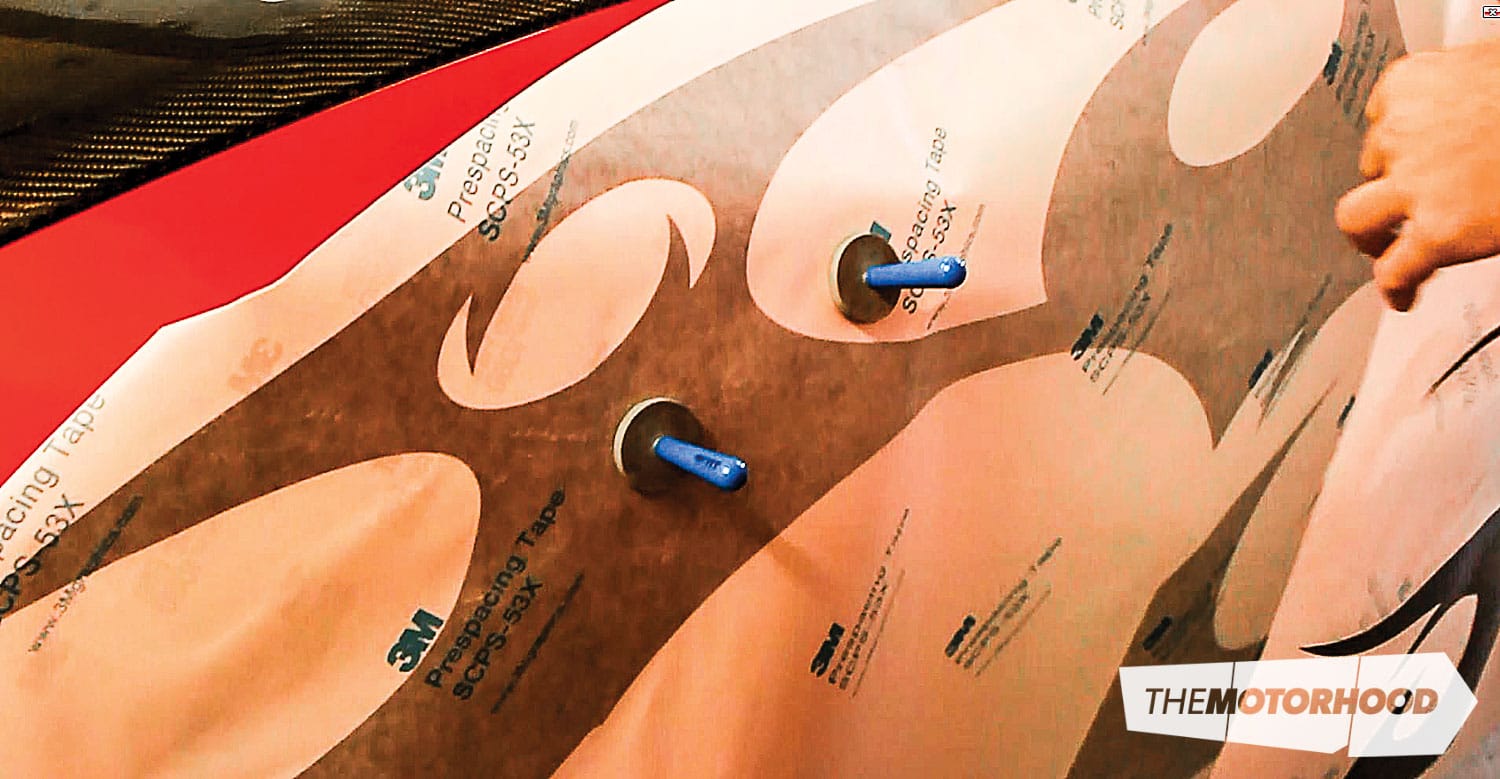
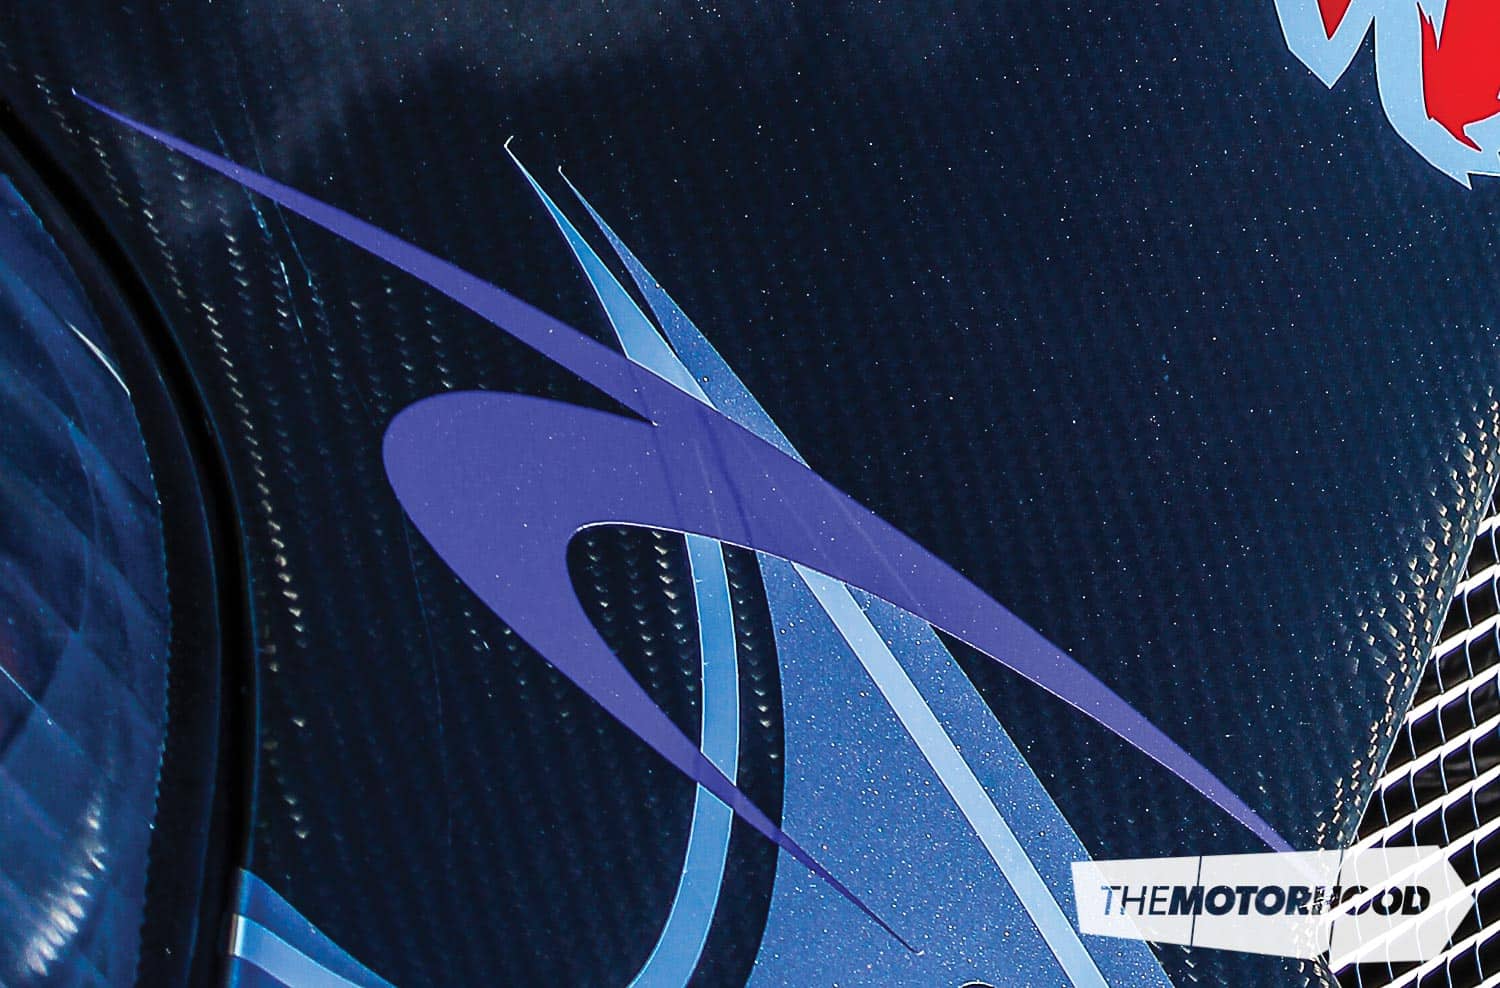
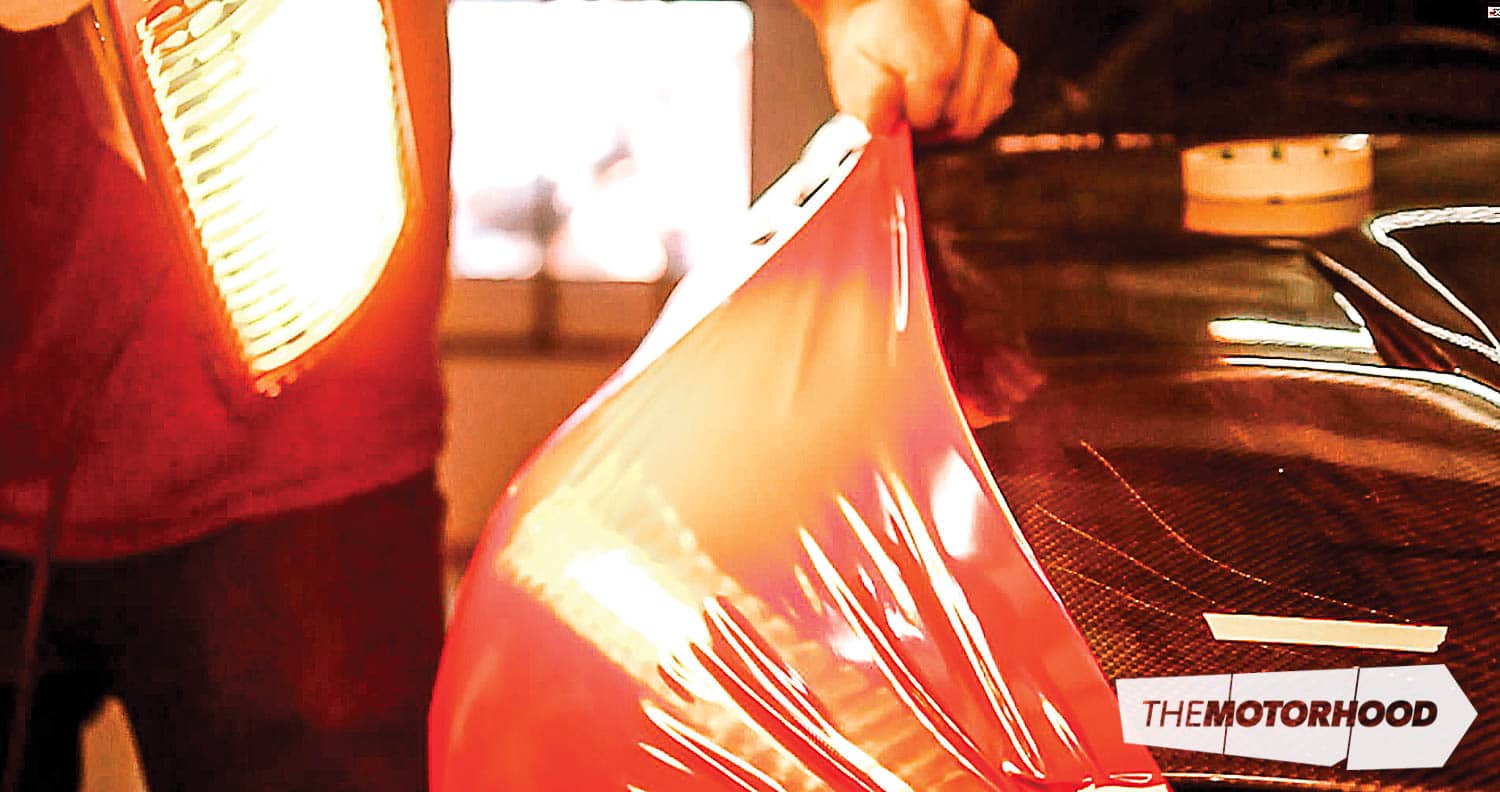
Matt’s car was first completely wrapped in 3M brand 1080 Gloss Dragon Fire Red, one of 83 colour options in the 1080 range. “I prefer to treat each panel separately rather than doing the entire side at once. This allows me to correctly hide all the edges. I will rough trim the piece to allow for about 10mm overlap that will form a hidden edge,” Jonny told us, going on to say that he likes to start on a panel like a front guard to get warmed up and get a feel for how a colour is going to work. Each finish available will be slightly different to work with depending on texture, which affects the thickness.
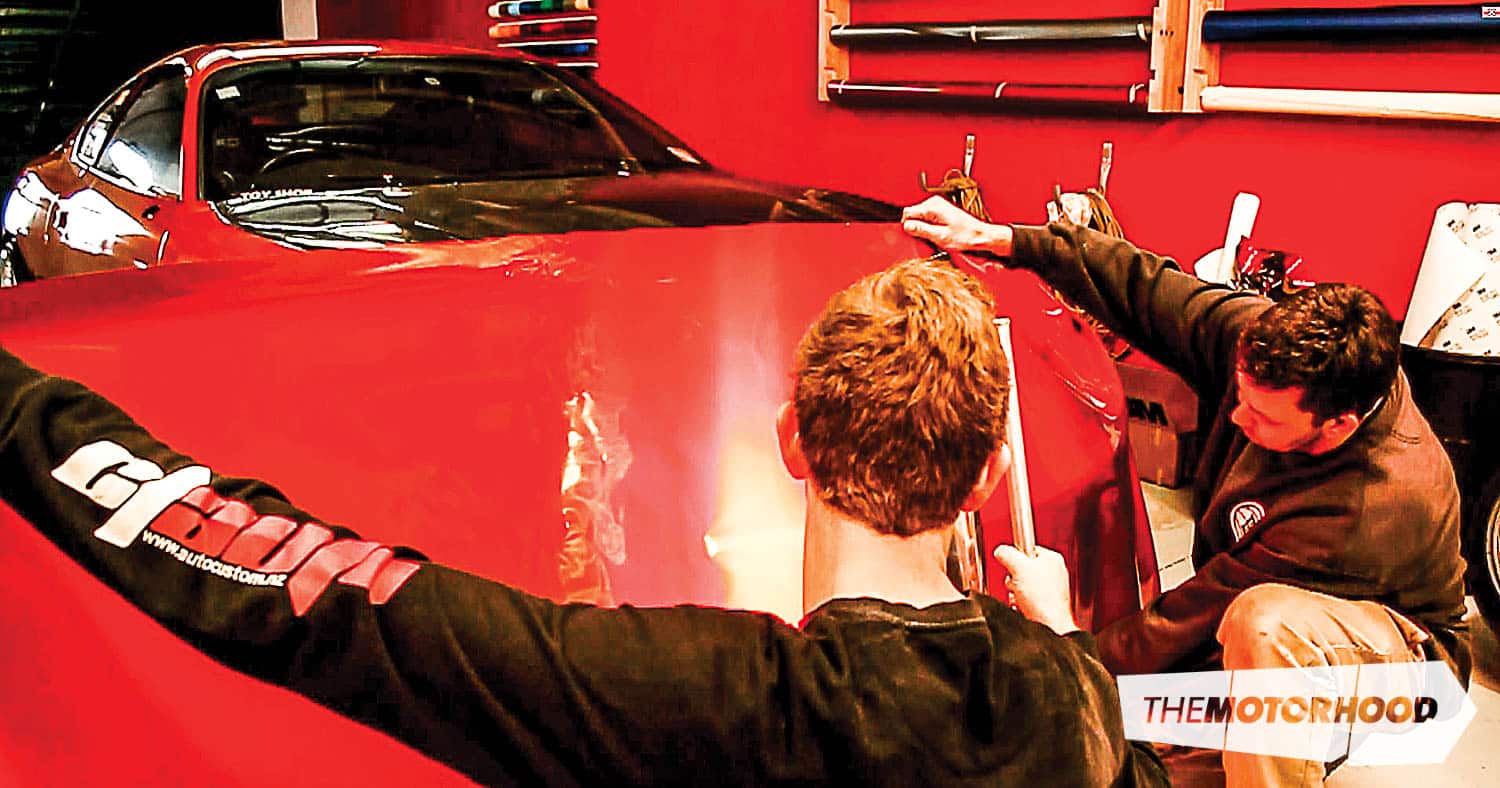
Once the backing gets removed, the piece will be laid on and the work will begin, with the vinyl heated and stretched to conform to the panel. This is when experience comes into play. “It’s a balancing act between heat and tension. If you overheat the vinyl, it will go all milky, or, if you over stretch it, there will be imperfection in the finish (stretch marks where the colour is thinned out),” he said.
Those hard-to-reach places
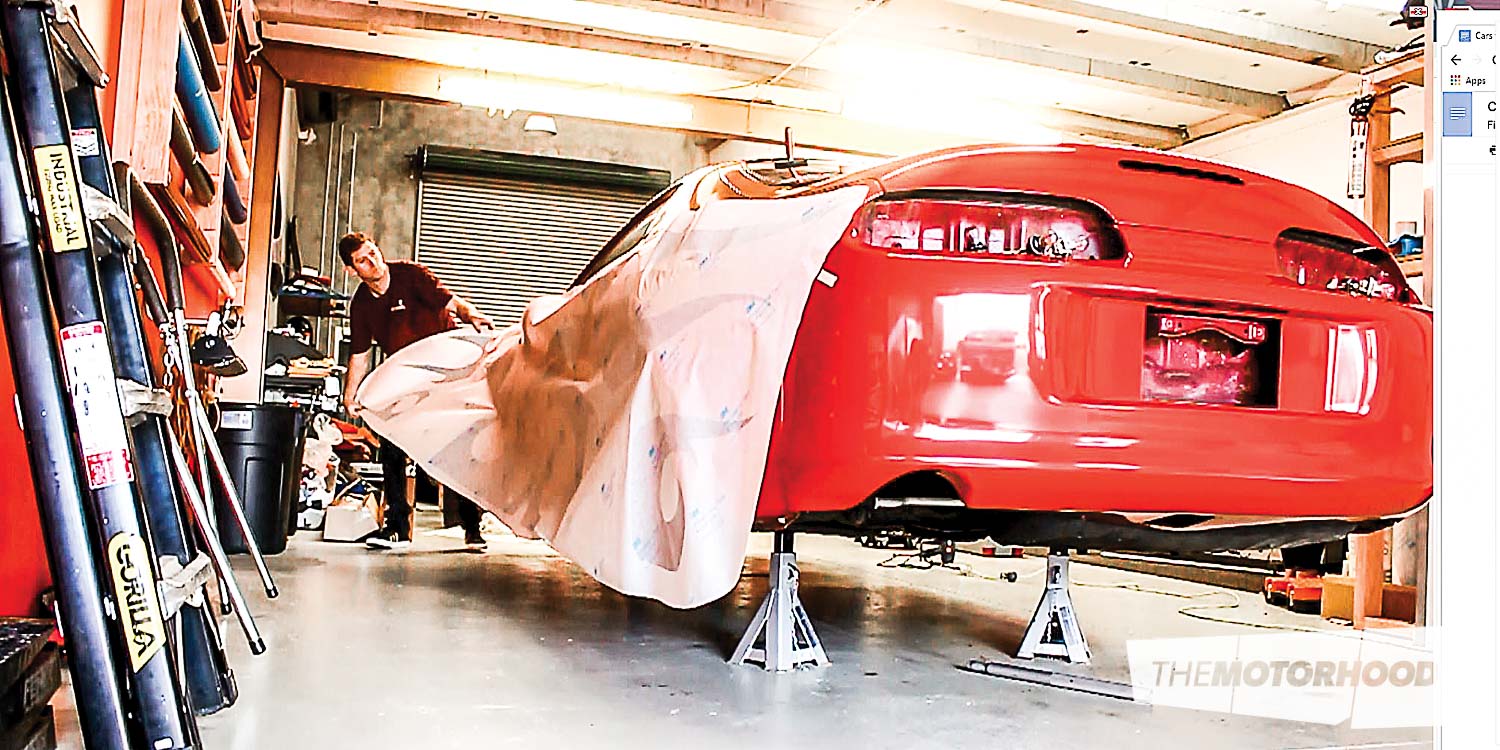
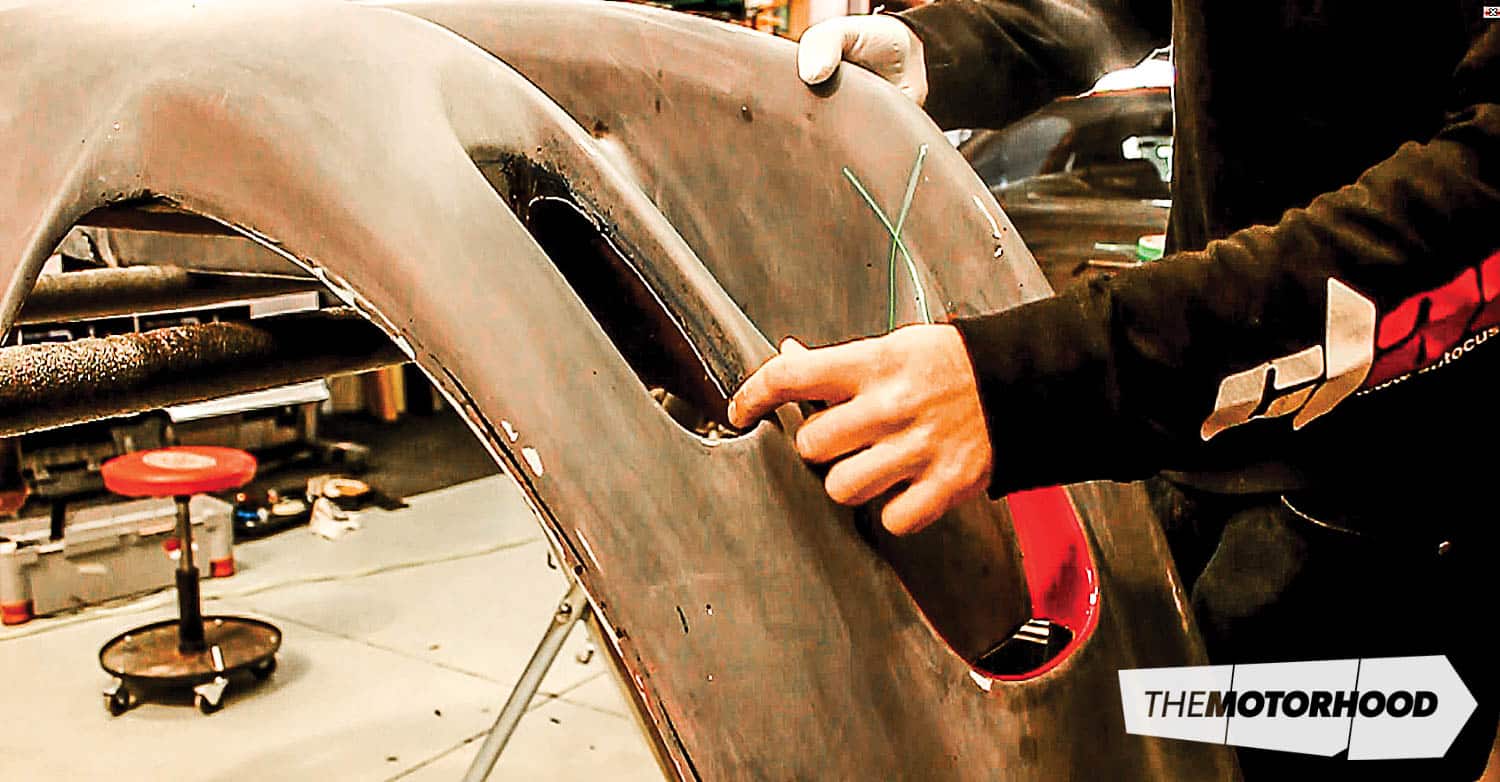
Big panels such as doors and quarters are easy compared with wrapping something like the Top Secret front bumper found on Matt’s Supra, with its deep recesses. Jonny knew there was absolutely no way he would be able to stretch the film into those places, so patch panels were placed on first.

“I look at where the shadow or body line is to hide the join. Also, by putting the patch in first rather than after, when the final piece lays over top, the join edge is facing away from your eye, further hiding it,” he told us. When doing patches like this, a product known as ‘knifeless tape’ is used to get the perfect edge. Basically, it’s a masking tape that is laid under the wrap that cuts through it when pulled off. This ensures no damage to the paint underneath.
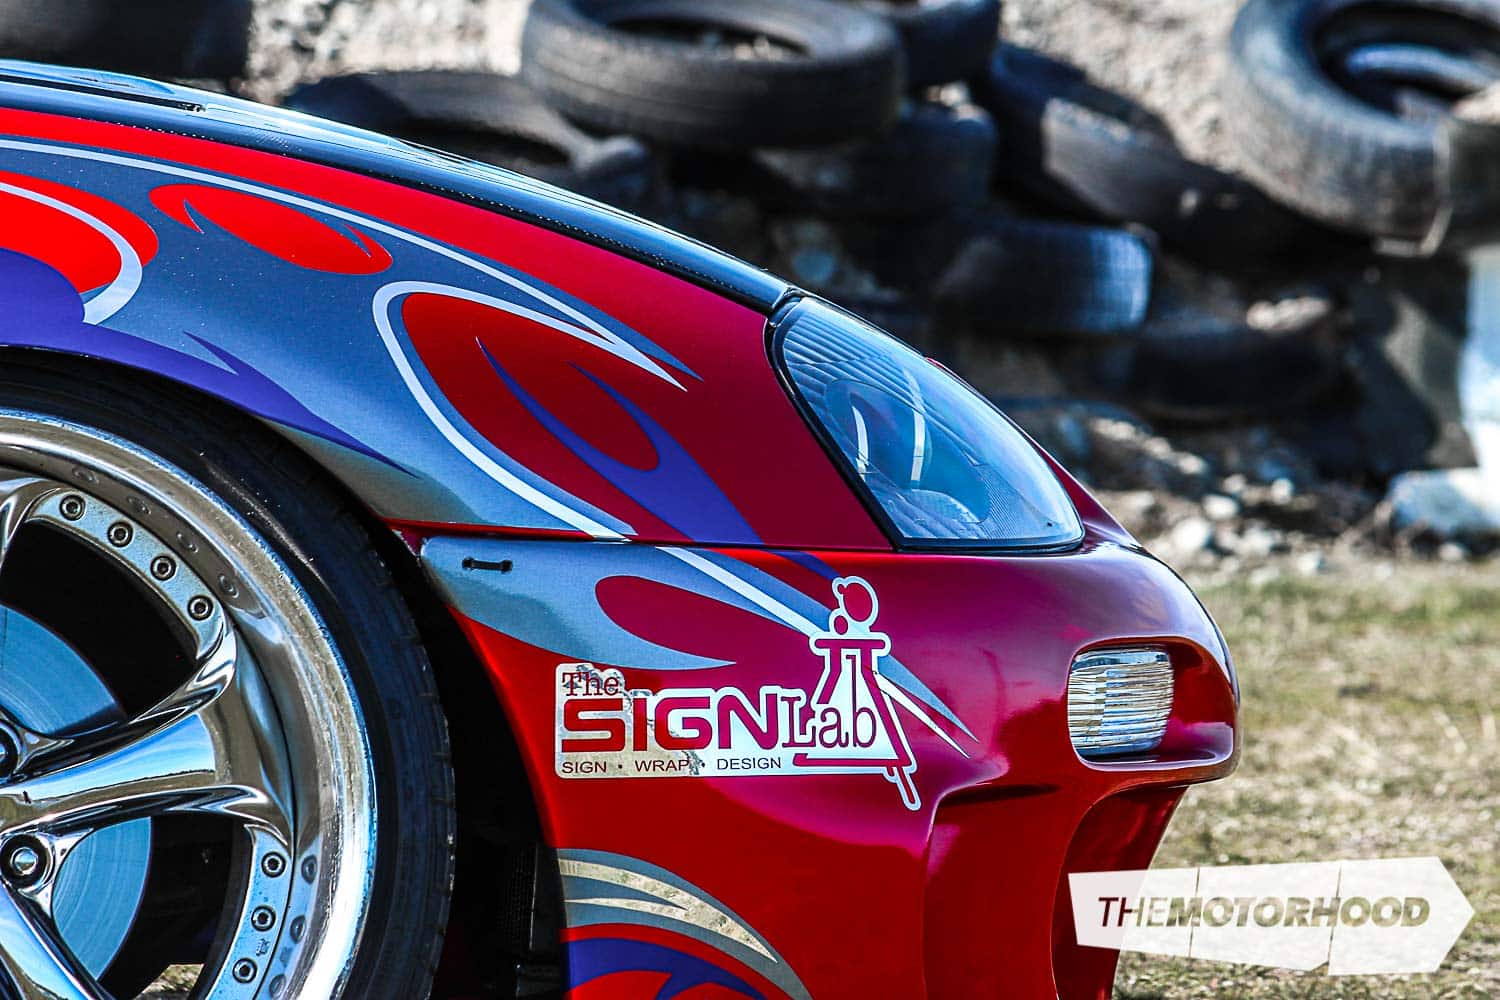
Adding in the RAD!
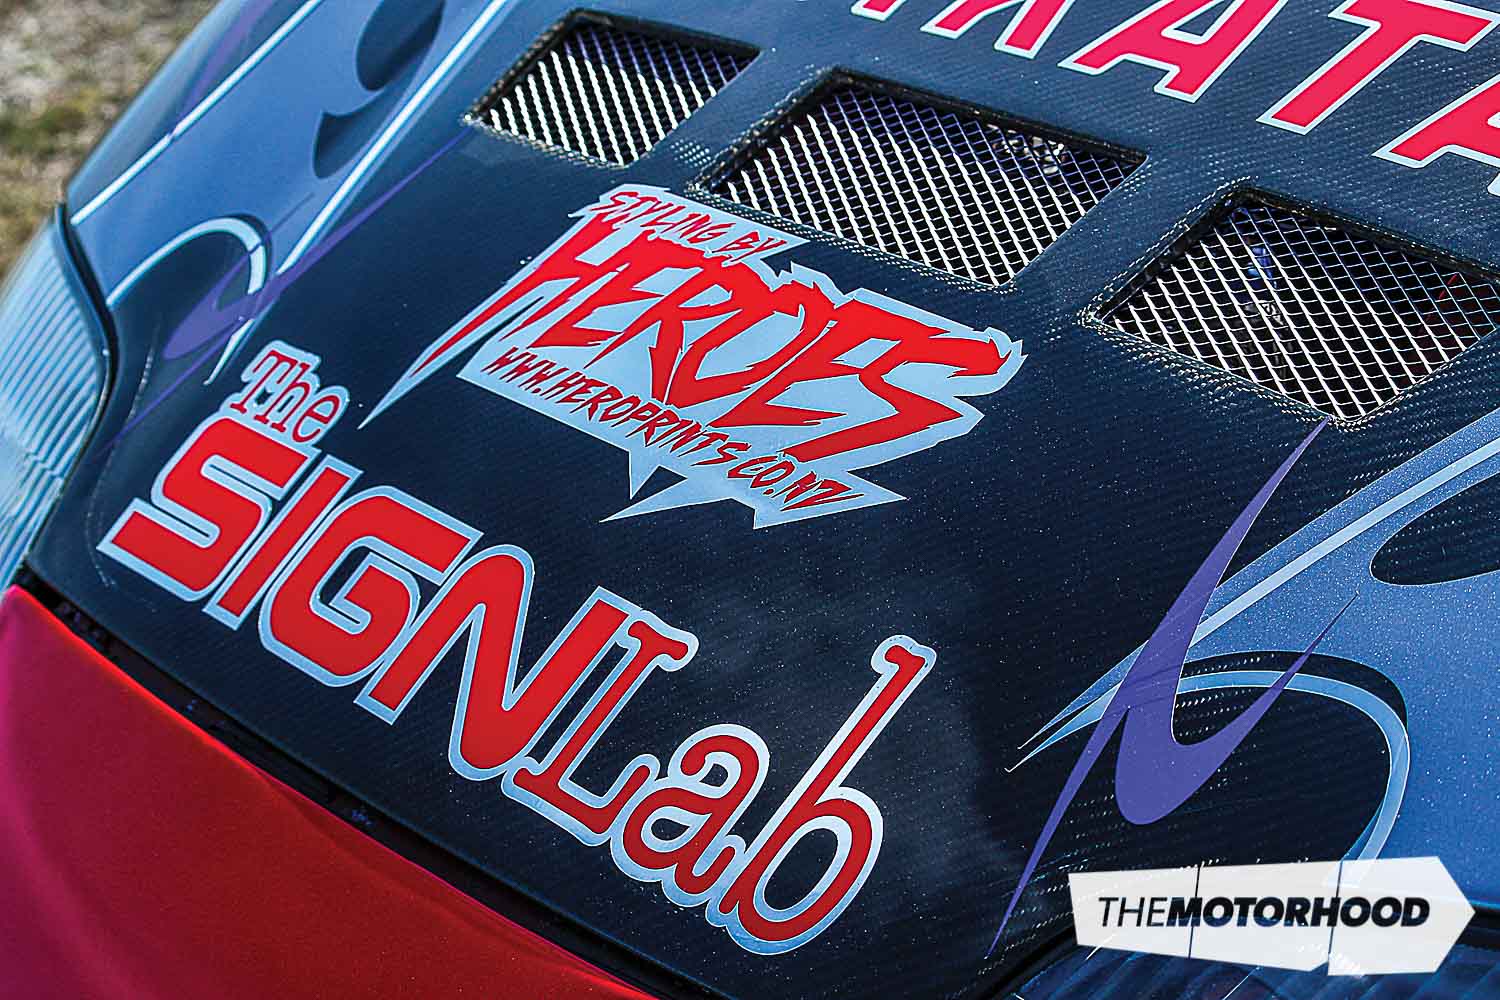
Once the entire car was one colour, the graphics could be laid over top. In this case, they were cut using a vinyl cutter, but getting the perfect scale takes a little work — to achieve this, Jonny will take a side-on shot of the car and measure something like the door to get the scale. Then he’ll measure the same part on the concept drawing and calculate a percentage that he will then feed into the cutting program.

The base graphic for each side of this car was laid down in one big piece, with subsequent layers applied over top. Once the vinyl goes through the cutter, it then gets covered in application tape and the backing is removed. The application process is then the same as with the 1080 film.

1993 Toyota Supra MkIV (SC)
- Engine: Toyota 1JZ-GTE VVTi, factory turbo, three-inch exhaust, GReddy intercooler, Mines ECU
- Drivetrain: R154 five-speed, TRD two-way LSD, Exedy six-puk, lightweight flywheel
- Interior: TRD Bride Zeta III driver seat, Momo fighter wheel, Takata four-point harness
- Exterior: Top Secret front bumper, Do-Luck side skirts, Origin Labo wing, ABflug carbon bonnet, OEM roof wing
- Wheels/tyres: (F) 18×9.5-inch (12) Work VSKF, 20mm spacer, (R) 18×10-inch (-5) Work Euroline SL
- Suspension: BC gold coilovers (F) 20kg, (R) 14kg, modified knuckles, Whiteline rear sway bar, rack spacers


Images: Tony Crossed, Andrew Costain