OK, so I’m about three months late with this second instalment on our new digs, but give me a break, it’s been a very busy time getting everything squared away and finished. Judging by the amount of emails and messages I have had about our new place, it’s fair to say that this is a common dream amongst us. If you missed part one, check it out first here —it’s hard to believe what we have achieved since.
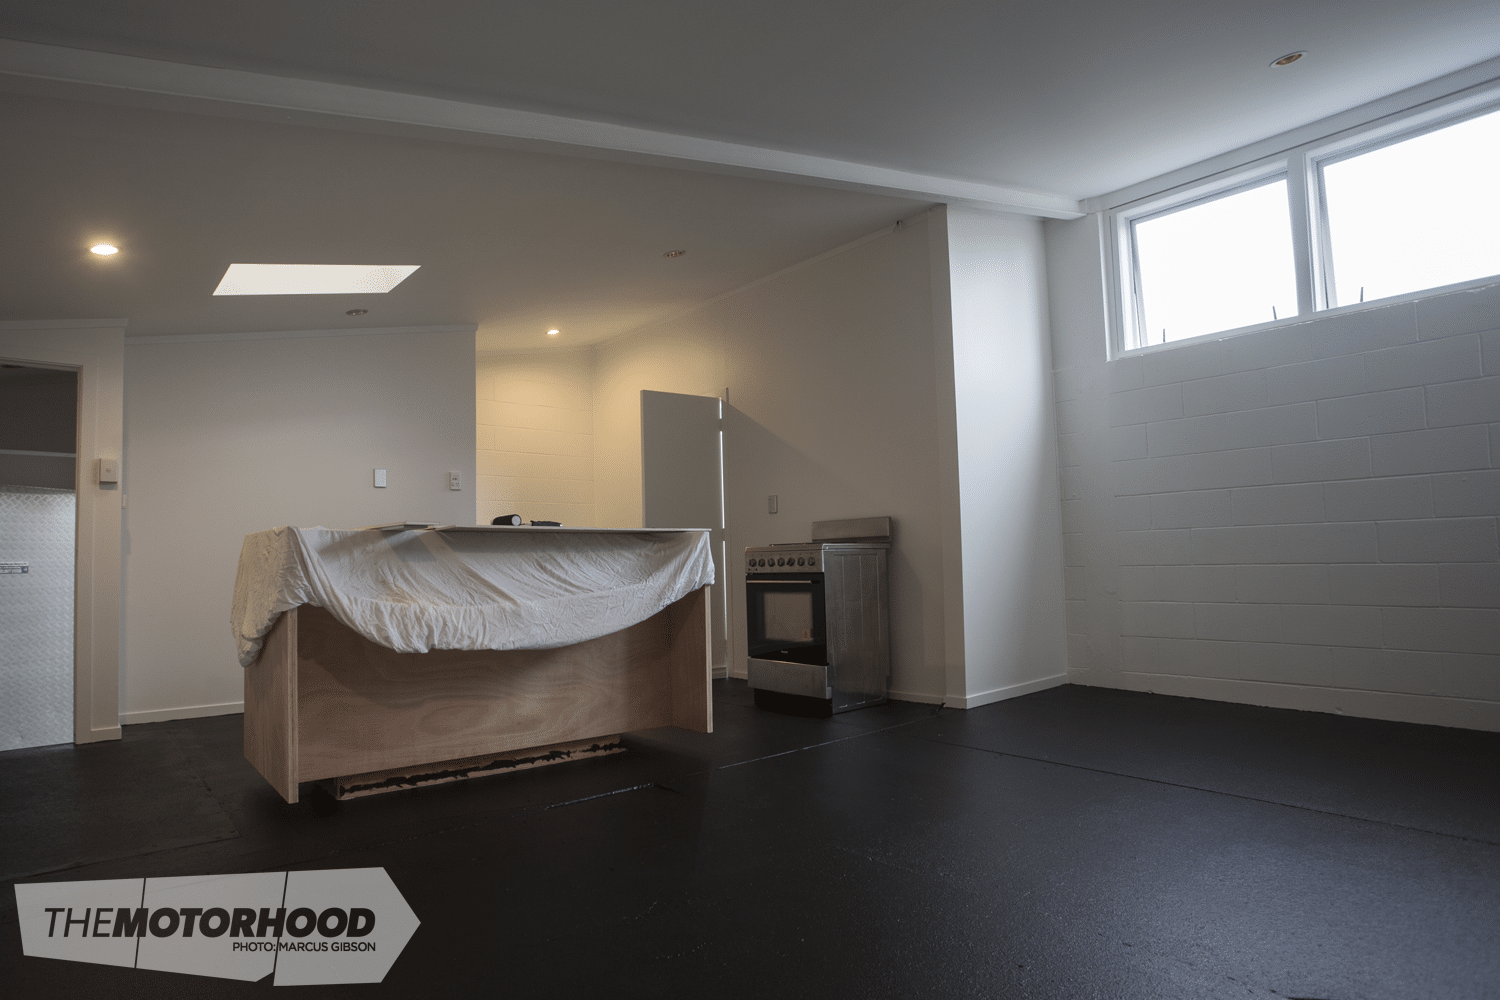
After we had all the plaster sanded and give it a lick of paint — white on the walls and black on the floor — we then began the fit-out. My partner, Michelle, knew what she wanted — I just had to build it. Plywood became the material I mostly used as I was able to purchase a bunch from my local importer quite cheap.
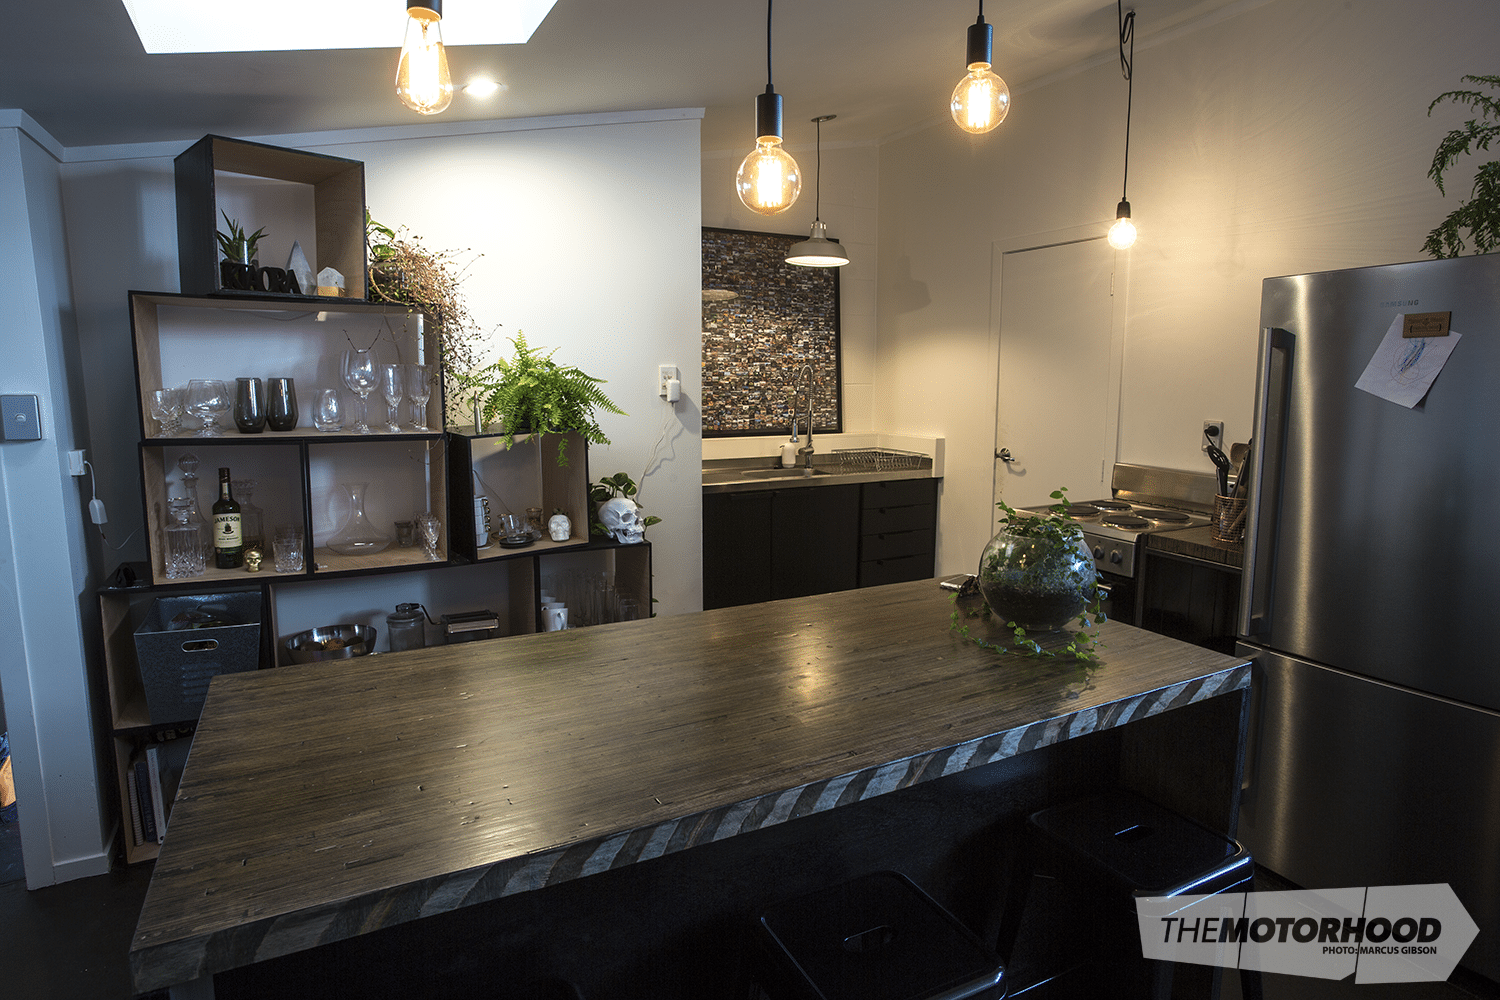
Working with 15mm ply, an old Skilsaw, and not much else, we whipped up the island, cube pantry, and new doors for the cupboard under the sink. Everything was then painted black and the insides were rubbed with beeswax to seal them.
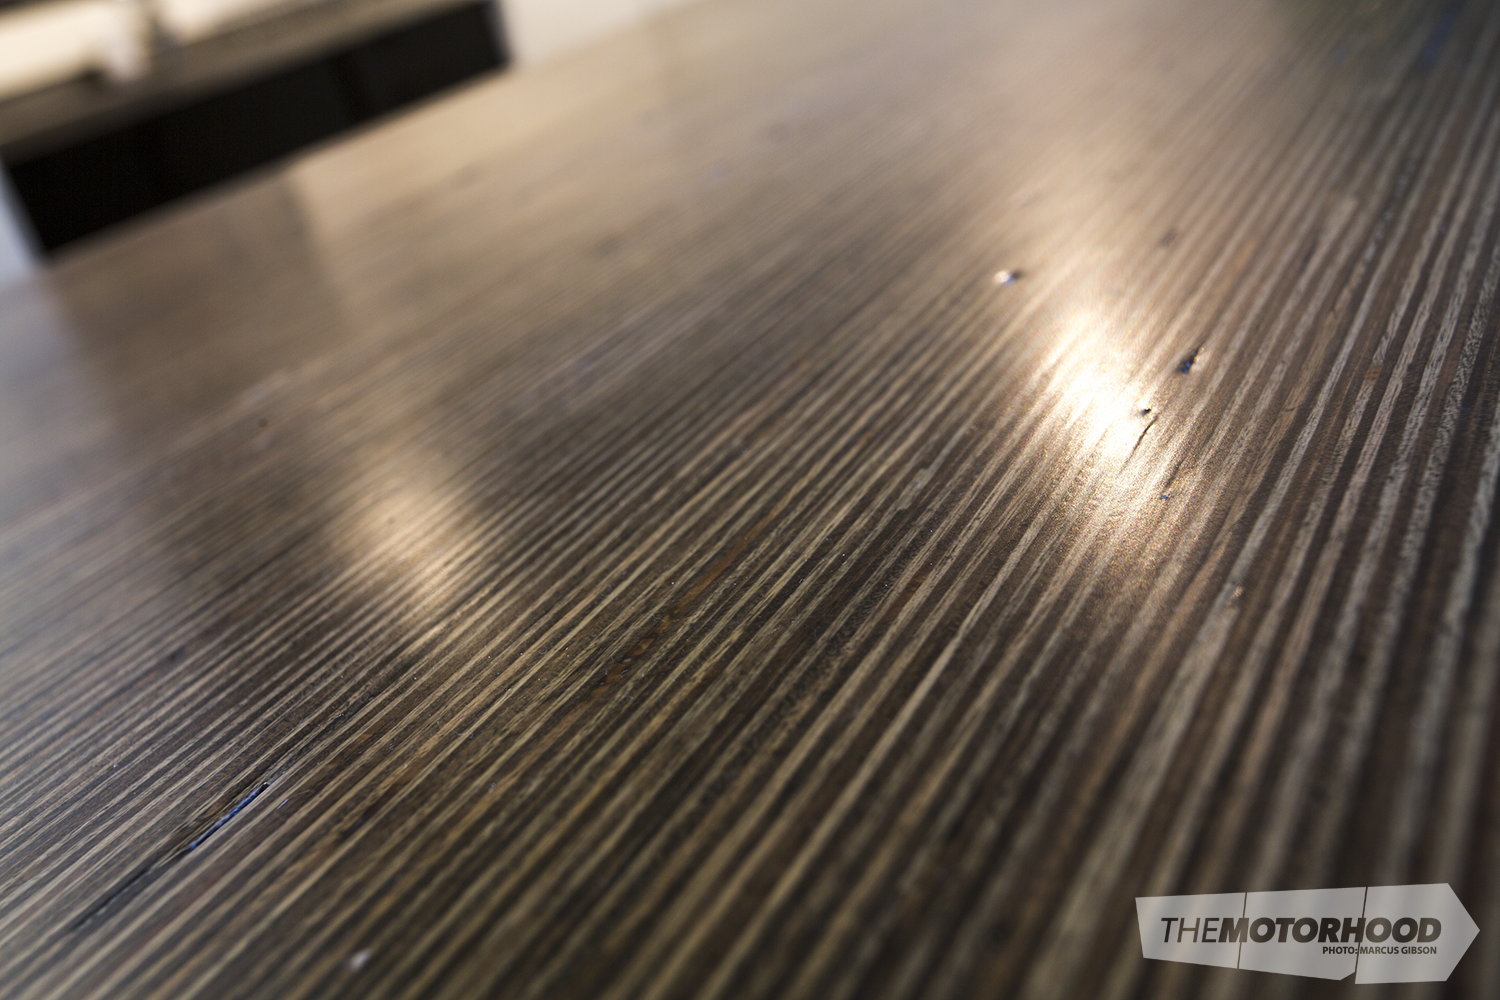
The bench top itself is made from recycled plywood offcuts. It’s actually hundreds of 60mm ply strips glued and sash clamped together, and then sanded, stained, and polyurethaned. At a guess I put about 40 hours into it all up. Best of all there was enough to make a large chopping board and a side island next to the stove.
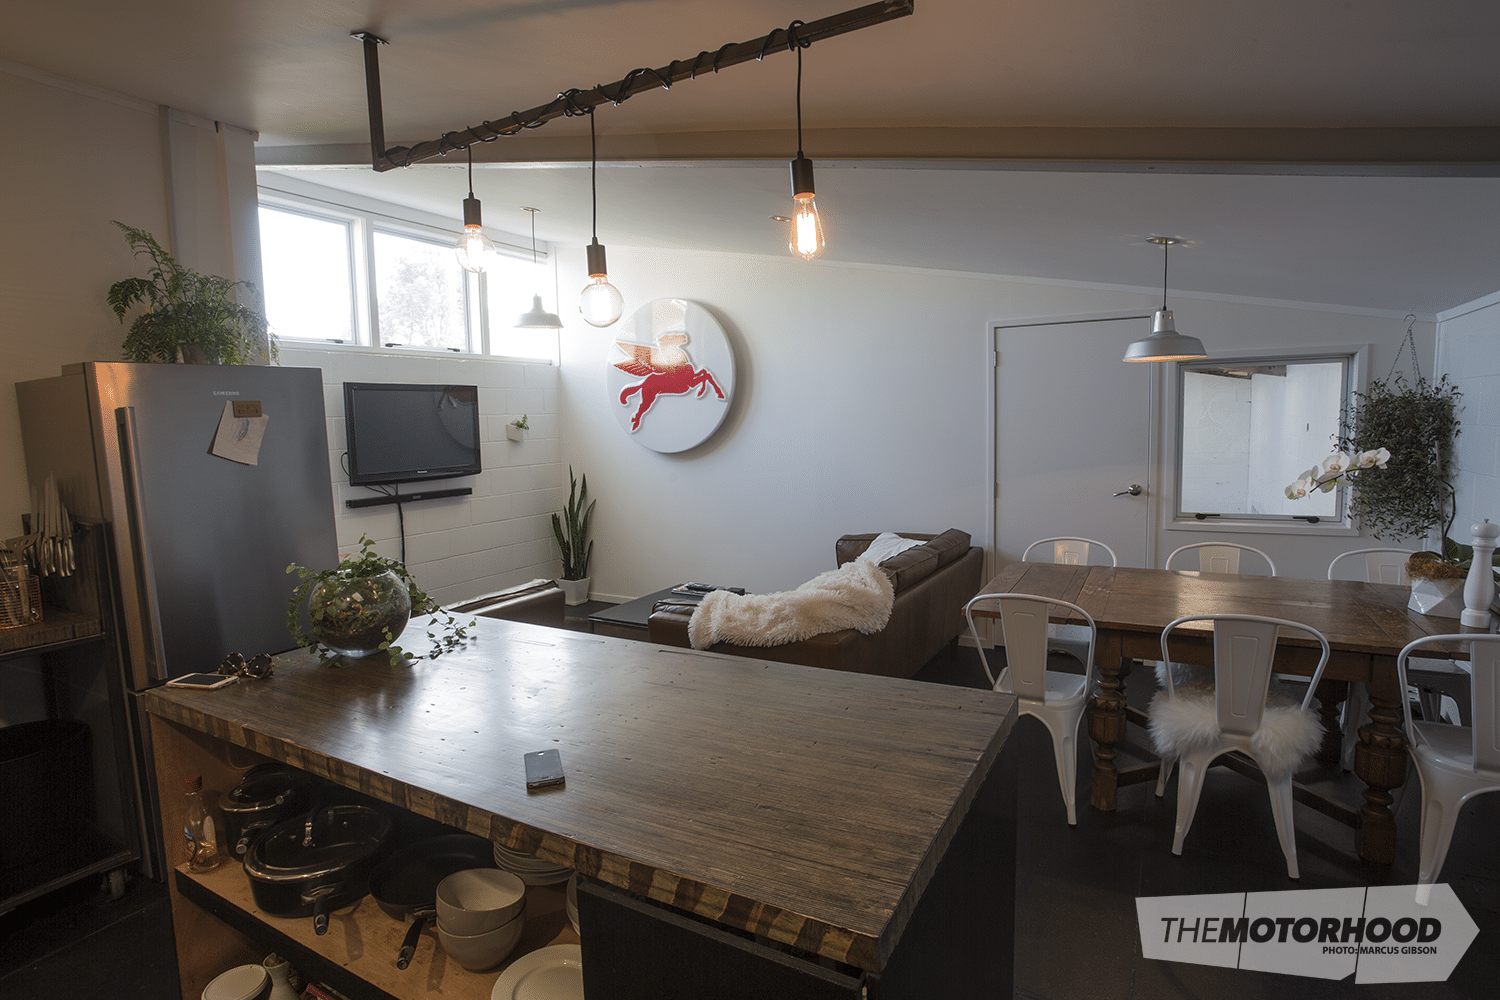
The living area is small, but fits everything two people need. The Mobil Pegasus hung outside a Mobil in the ’80s, and has all the lighting stuff inside. It’s on my to-do list to get it working again.
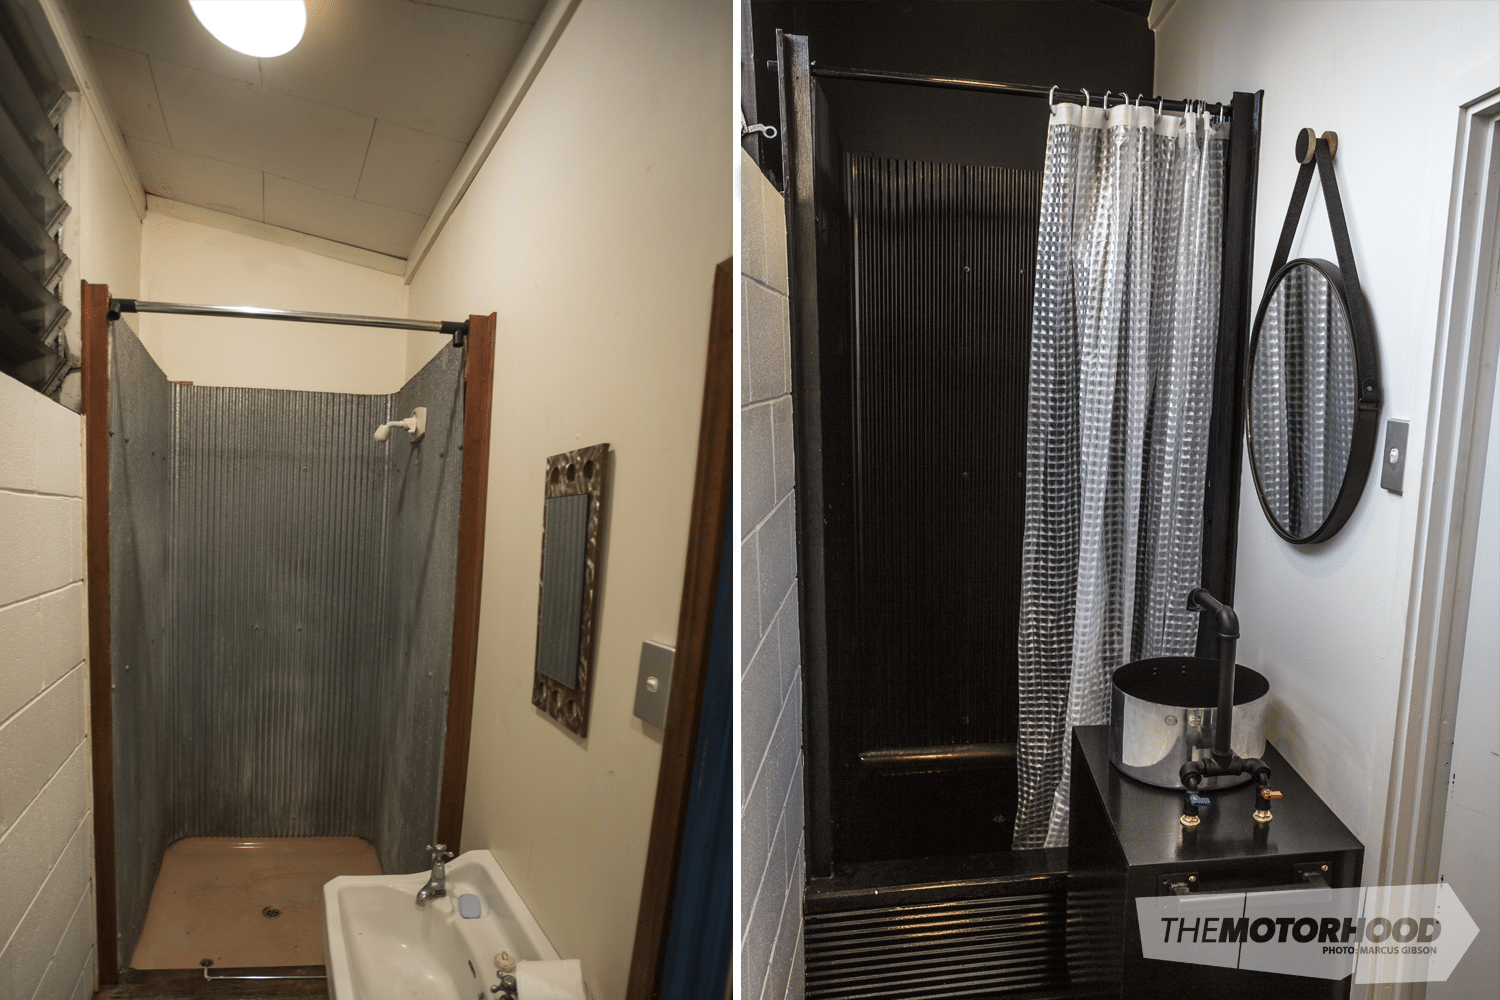
The shower was probably the most disgusting thing in the place, but its amazing what you can achieve with a little hard work. My favourite feature would have to be the sink and tap. The sink is actually an old pot that we polished and pressed a plug recess into. The vanity is more plywood cabinetry.
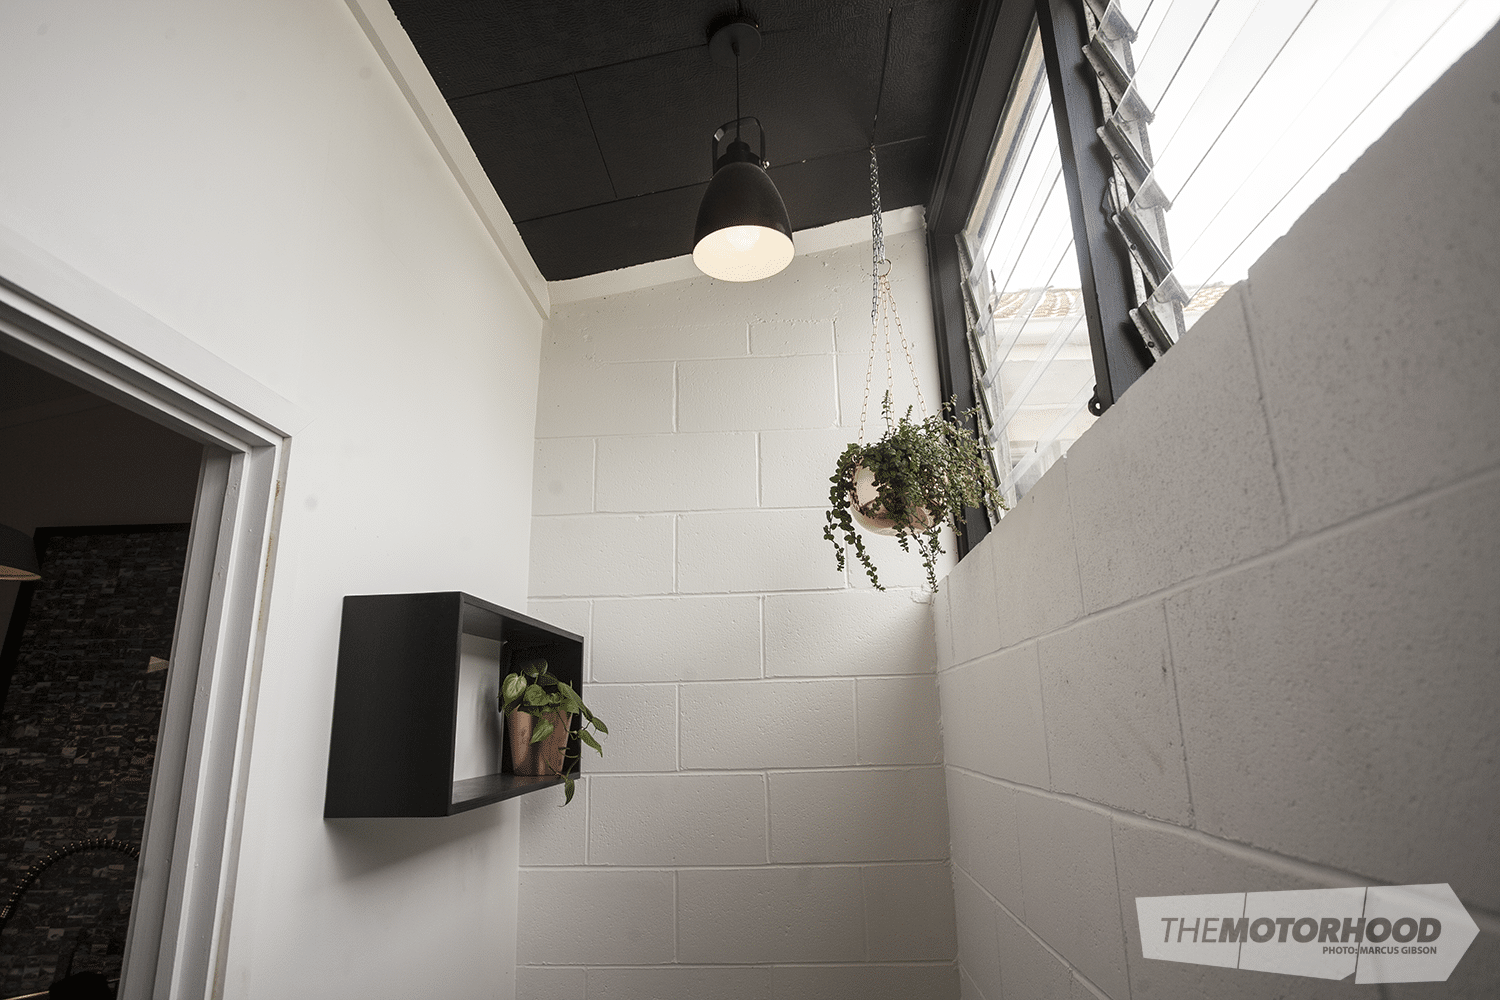
More ply, more black, and some plants for good measure. When you don’t have a back lawn or a white picket fence, then bringing the outdoors inside is about your only option.
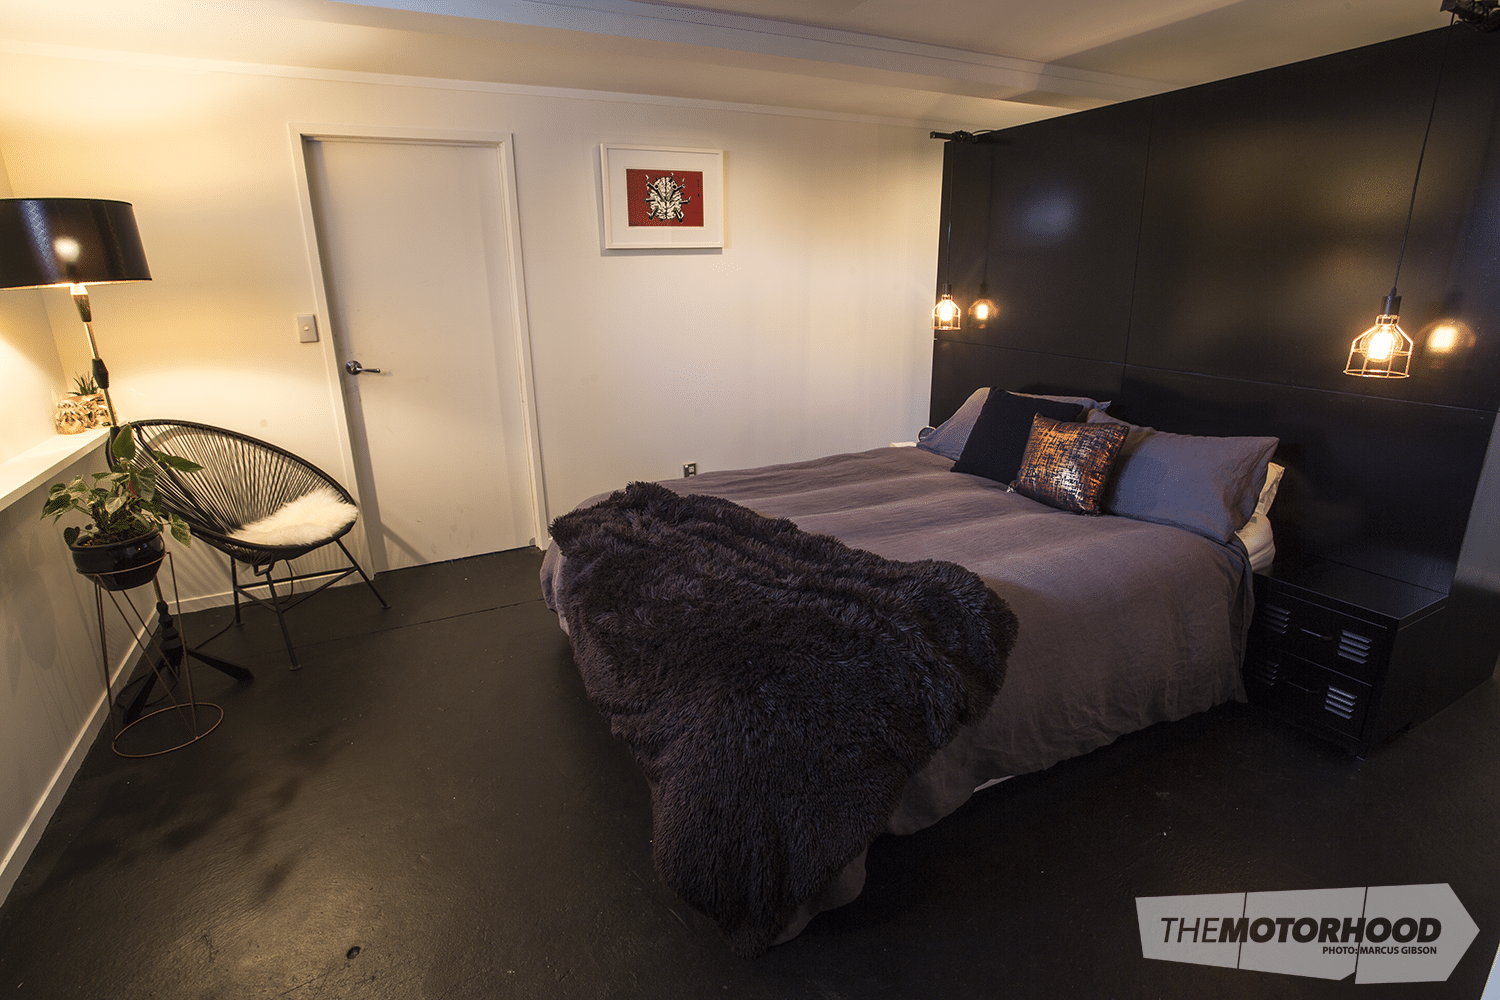
Downstairs, the bedroom required a little bit of outside-the-box thinking. It lacked storage in a big way. Solution? An MDF floating partition that forms a walk-in wardrobe with industrial cabinets to hold the clothes. We also utilized some tiny industrial cabinets as bedside tables
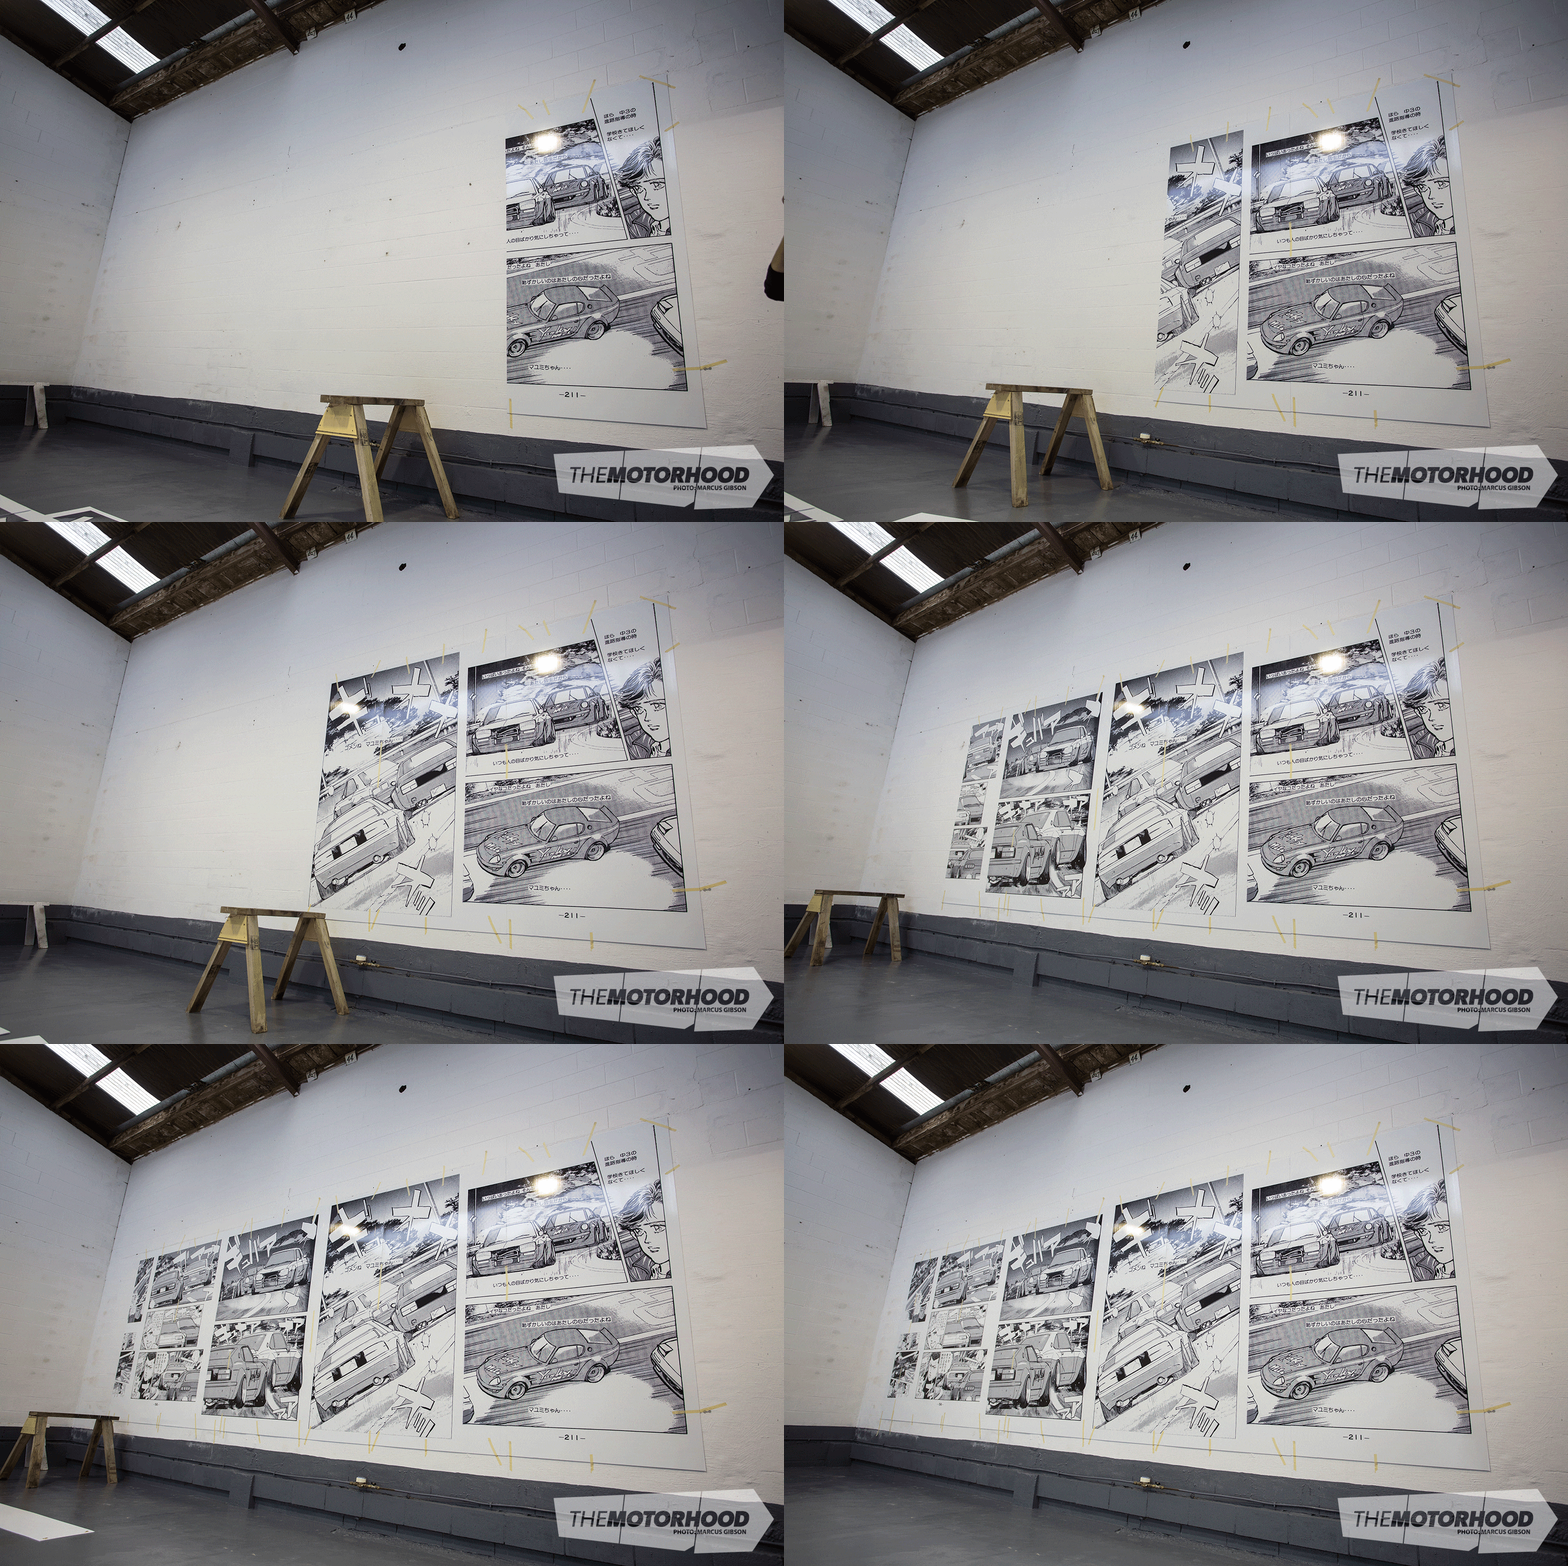
Enough of the home interiors on a budget — now on to the workshop, the real reason we moved to the industrial slums. After we had cleared it all out and cleaned the floor about 10 times, on went two coats of Epotread in my favourite colour — engineering grey. As soon as we got the place I knew exactly what would cover the workshop wall: some very special artwork that Speedhunter Mike Garrett help source from Japan. A strip from Initial D.
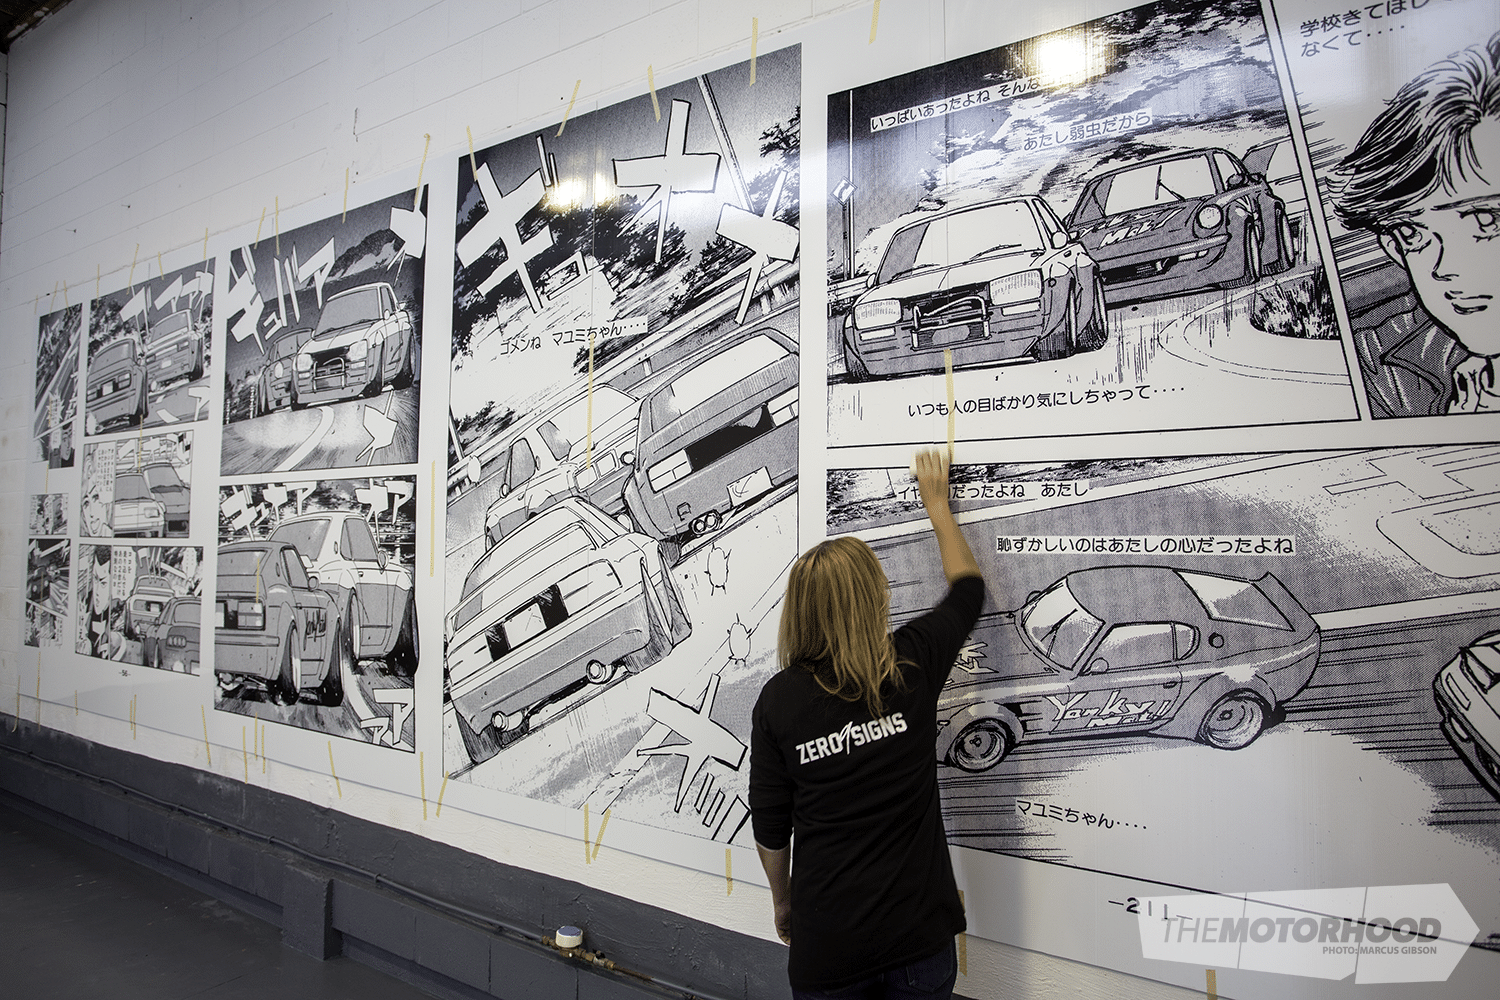
The team from Zero9 Signs printed out and fitted the massive 7×2.8m print, which turned out to be a big challenge getting it stuck to the rough wall surface. In the end they applied the vinyl to corflute and glued the sheets to the wall.
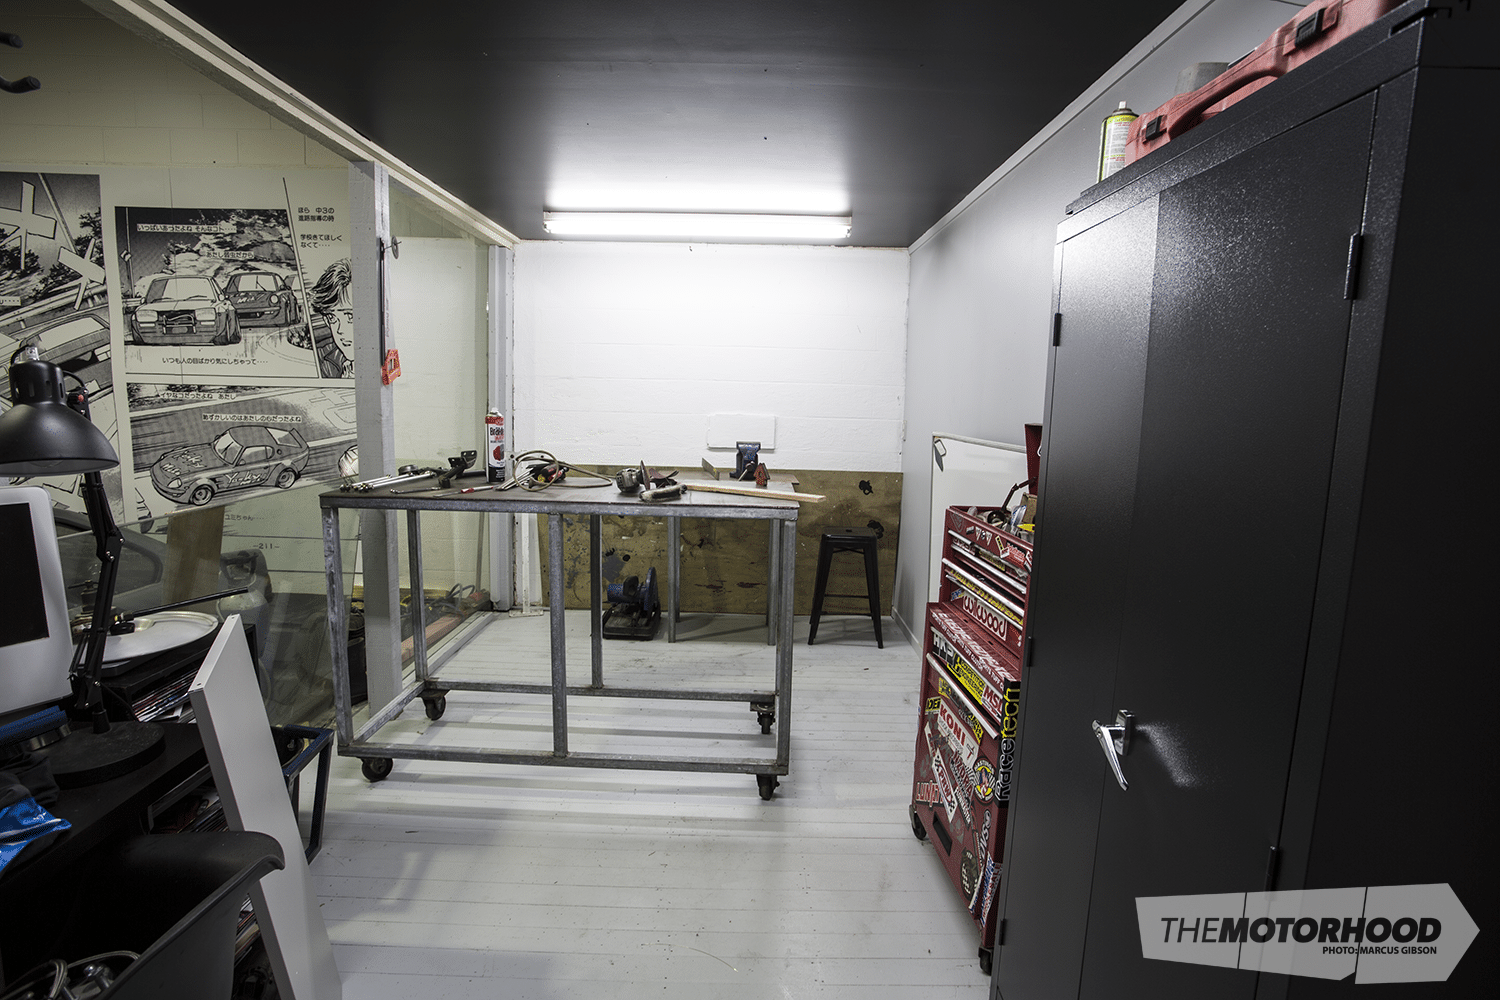
The small workshop area off to the side of the main workshop serves as a mess room and assembly area. I managed to score a small pallet of 2.8m galvanized 40mm box-section lengths for a bargain. Enough to make a small welding/fabrication bench using a slab of 10mm thick steel I scored for $20 off the net, and two larger parts benches, both of which are on wheels. The one pictured has a steel-plate top. I have also used large old windows I got for free to separate the two areas. While glass is not ideal to be hitting with sparks, it was free so it will do. I have kept everything mobile so I can shift it around to suit any job I’m doing.
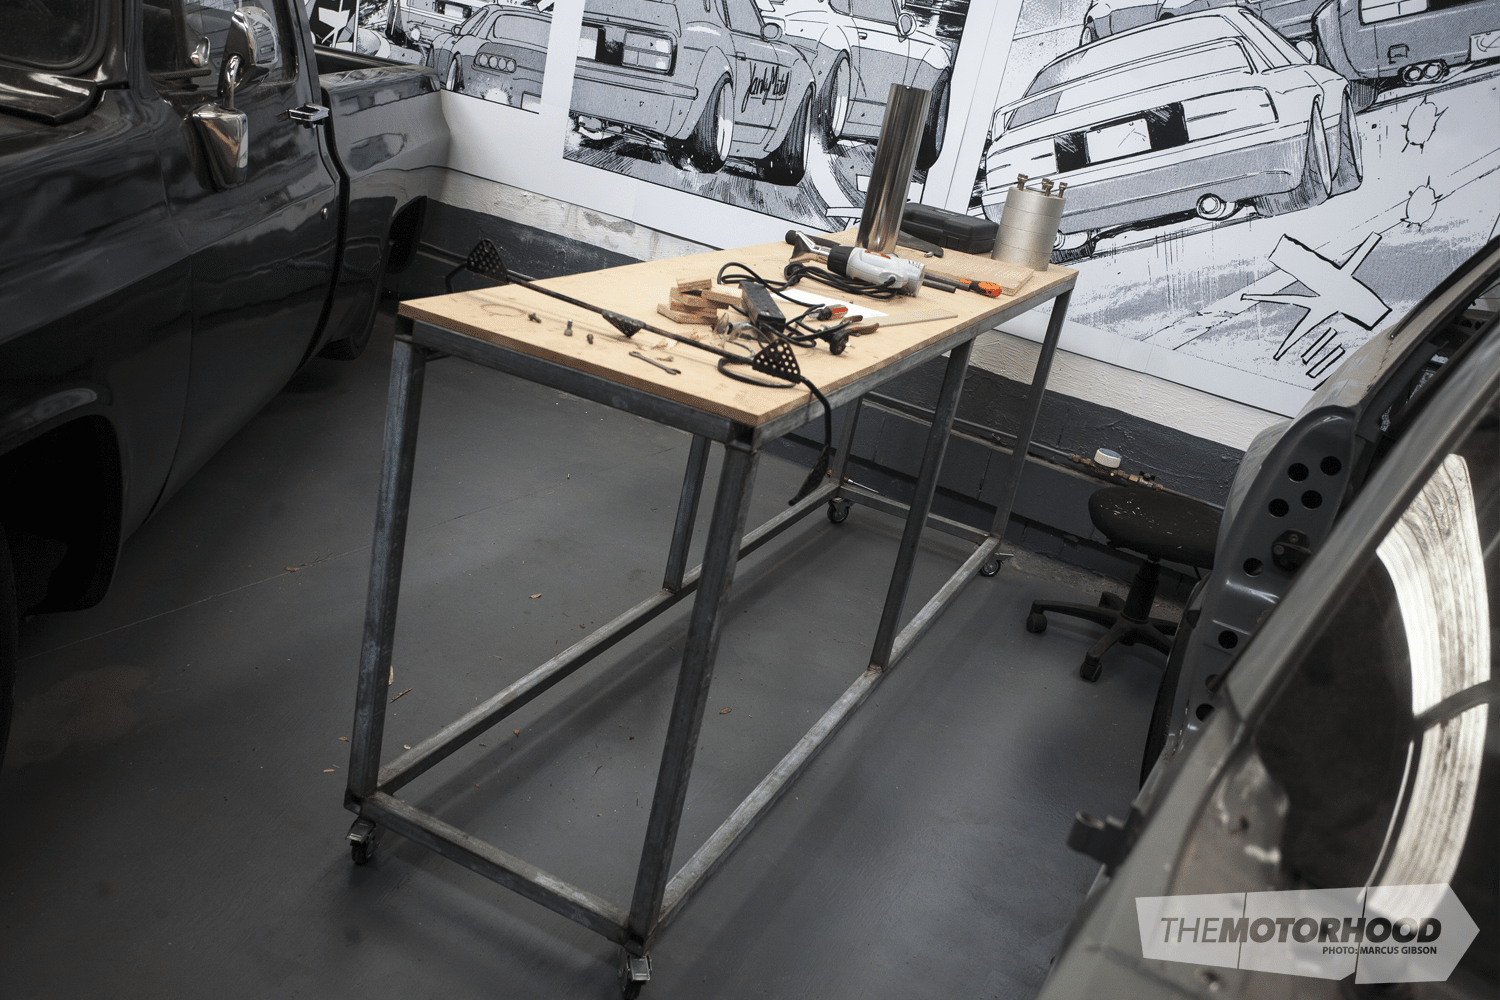
This is the second of the two larger benches at 2.8m long. I have some black ACM to go on the top, which will make it easier to keep clean. I wanted the workshop to also remain mobile so anything can be easily moved should I need to, and to also keep everything off the floor.
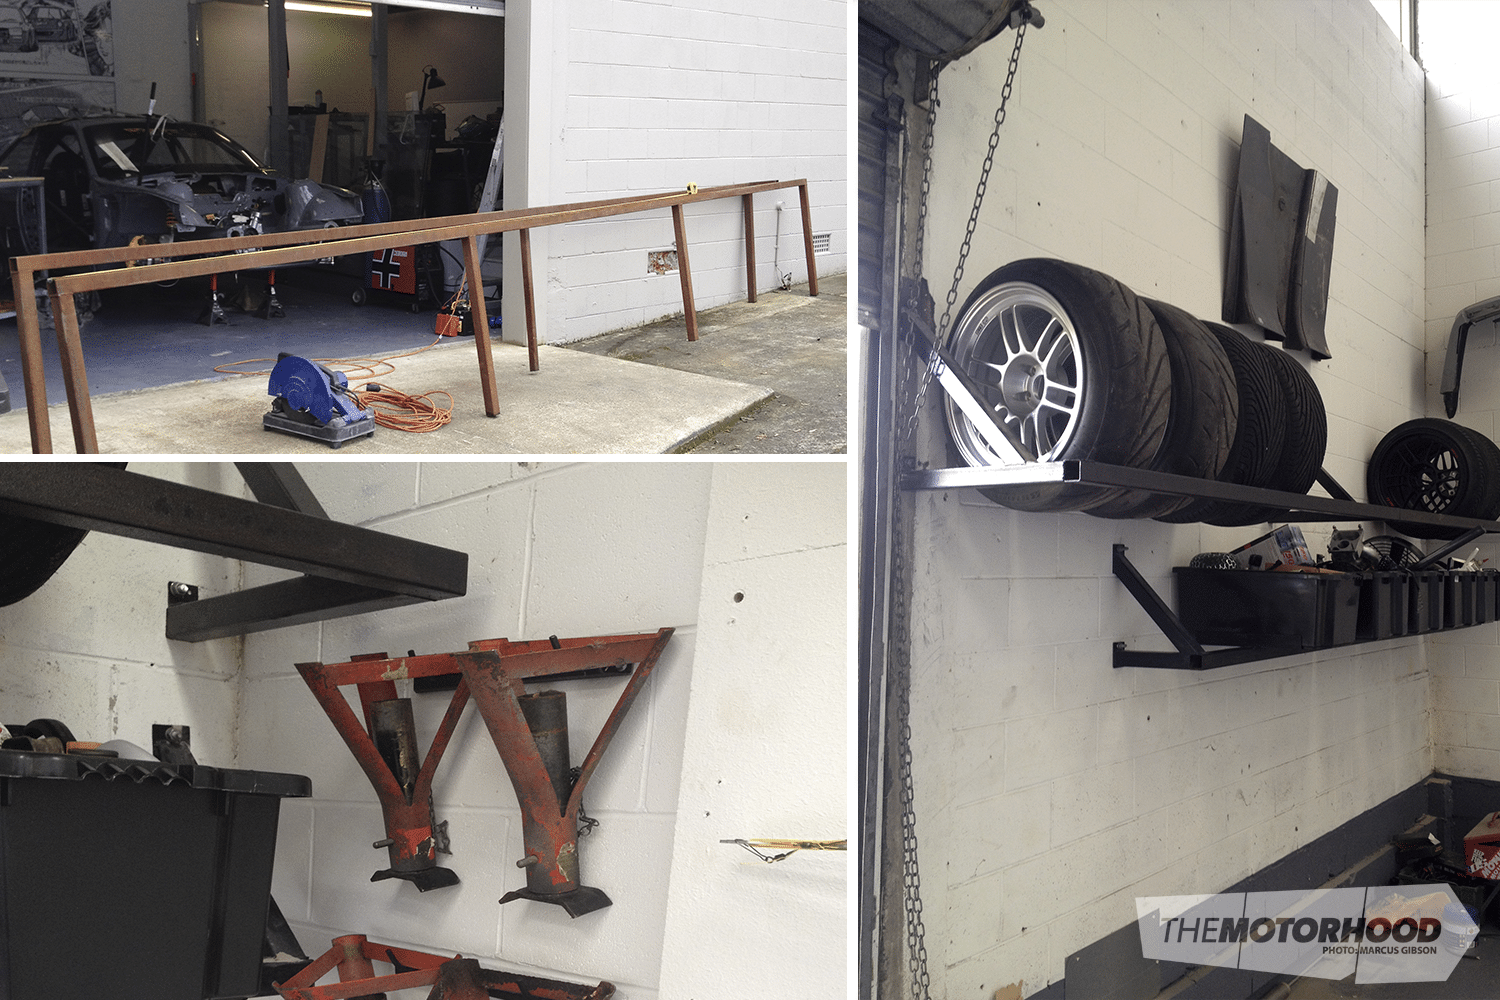
The boys from GT Refinishers had a bunch of 50mm box out the back of their shop gathering rust. It’s now a tyre rack and fish-bin rack.
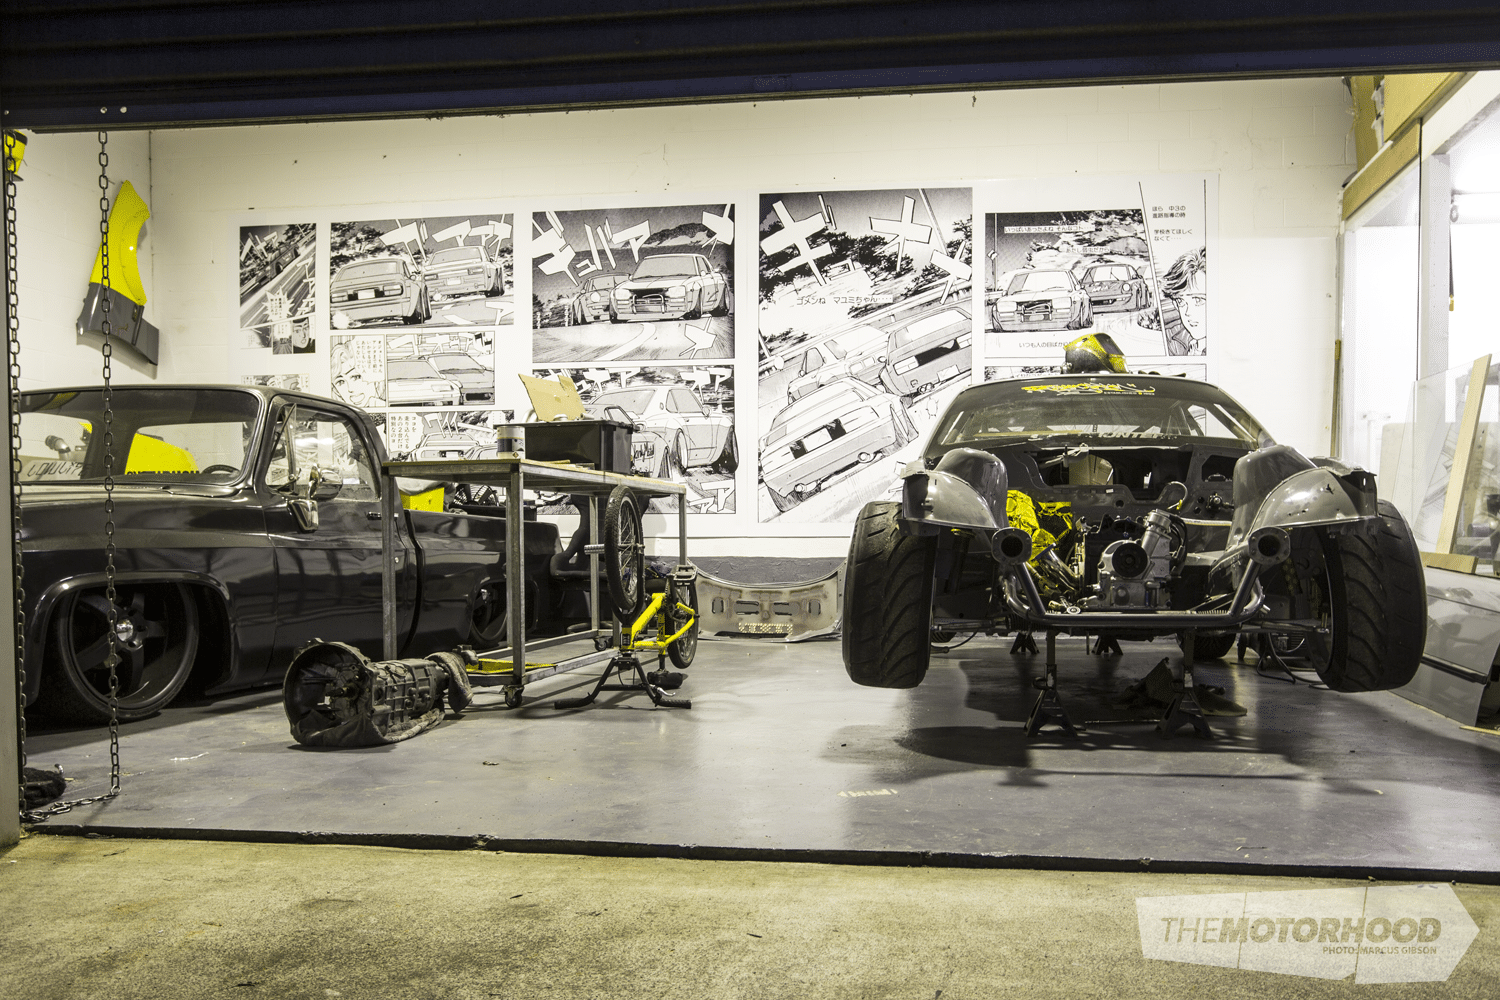
I have already had everything in a few different positions. Oh how I can’t wait to get a hoist in here. I have a bunch of small jobs to get sorted before the place can be called finished, but I just wanted to say thanks to all the mates that lent me a hand day in and day out. I will be resuming normal car-related blogging from now on, so don’t worry guys, I haven’t gone all home and garden on you all.


