Welcome to the Weekend Workshop, a place where you can save some cash by getting your hands dirty. These tech guides aim to arm you with the necessary info and knowledge to get out there and give it a go yourself, with no professionals needed, and at a price tag that won’t break the bank.
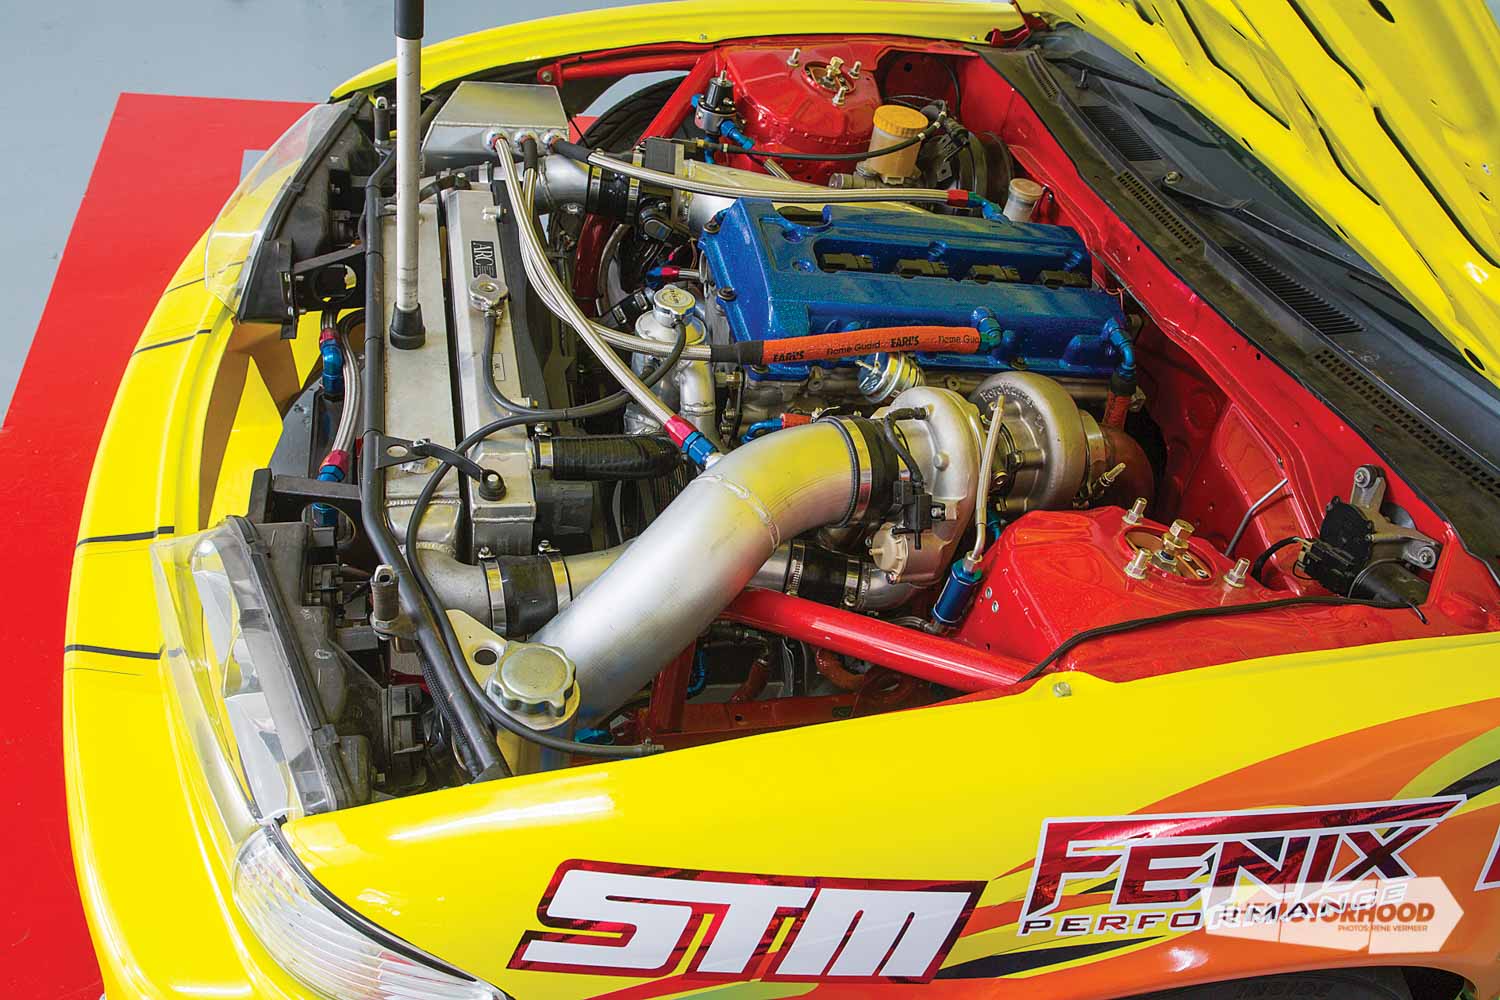
In this instalment we will cover what is needed to convert your rear-wheel-drive SR20DE/T engine to the much more efficient NEO VVL VE head. A handful of people have done the head swap in New Zealand, guys such as Ben Cox with his 745kW-plus (1000hp-plus) Datsun 1200 drag car, Hans Ruiterman with his 500kW (670hp) time-attack car, and Adam Hedge in his 447kW (599hp) S14 drift car, but there has been no real guide or part list available for people to go by until now.
There aren’t many people in New Zealand who have more experience with VE engines than Brendan Parker from Pten Developments and Hans Ruiterman from E&H Motors, they have been selling and modifying SR20s for over 10 years, so it was a no brainer when it came to deciding who we’d talk to about the VE conversion guide — and we roped them in on the project.
What is a NEO VE head?

First of all, some of you are probably wondering what a NEO VE head is, why it’s better than the DE/DET head, and if it’s any different to Nissan’s VCT (variable cam timing) system.
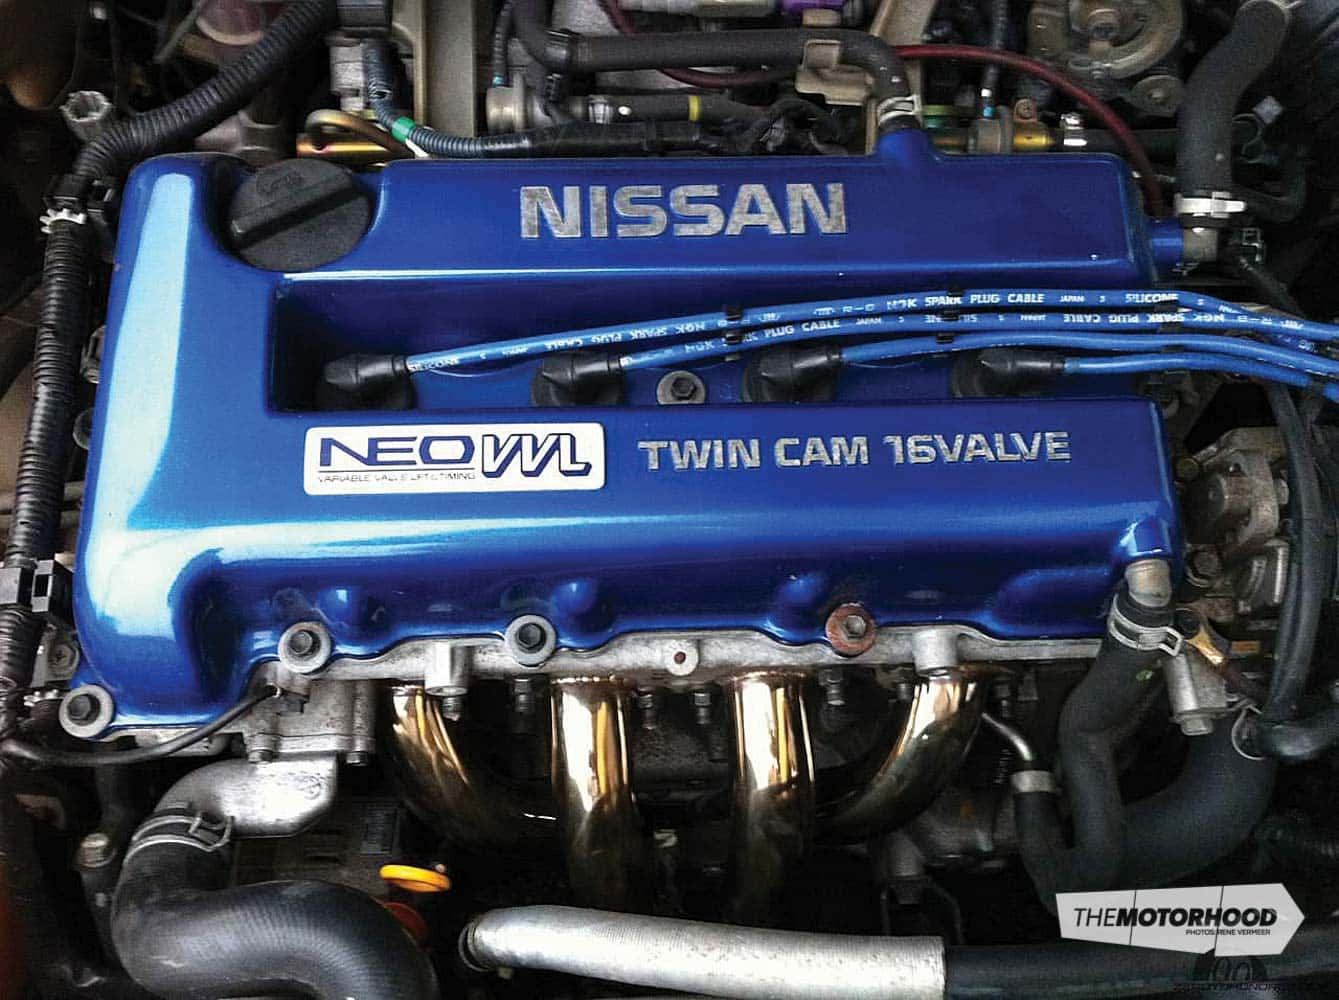
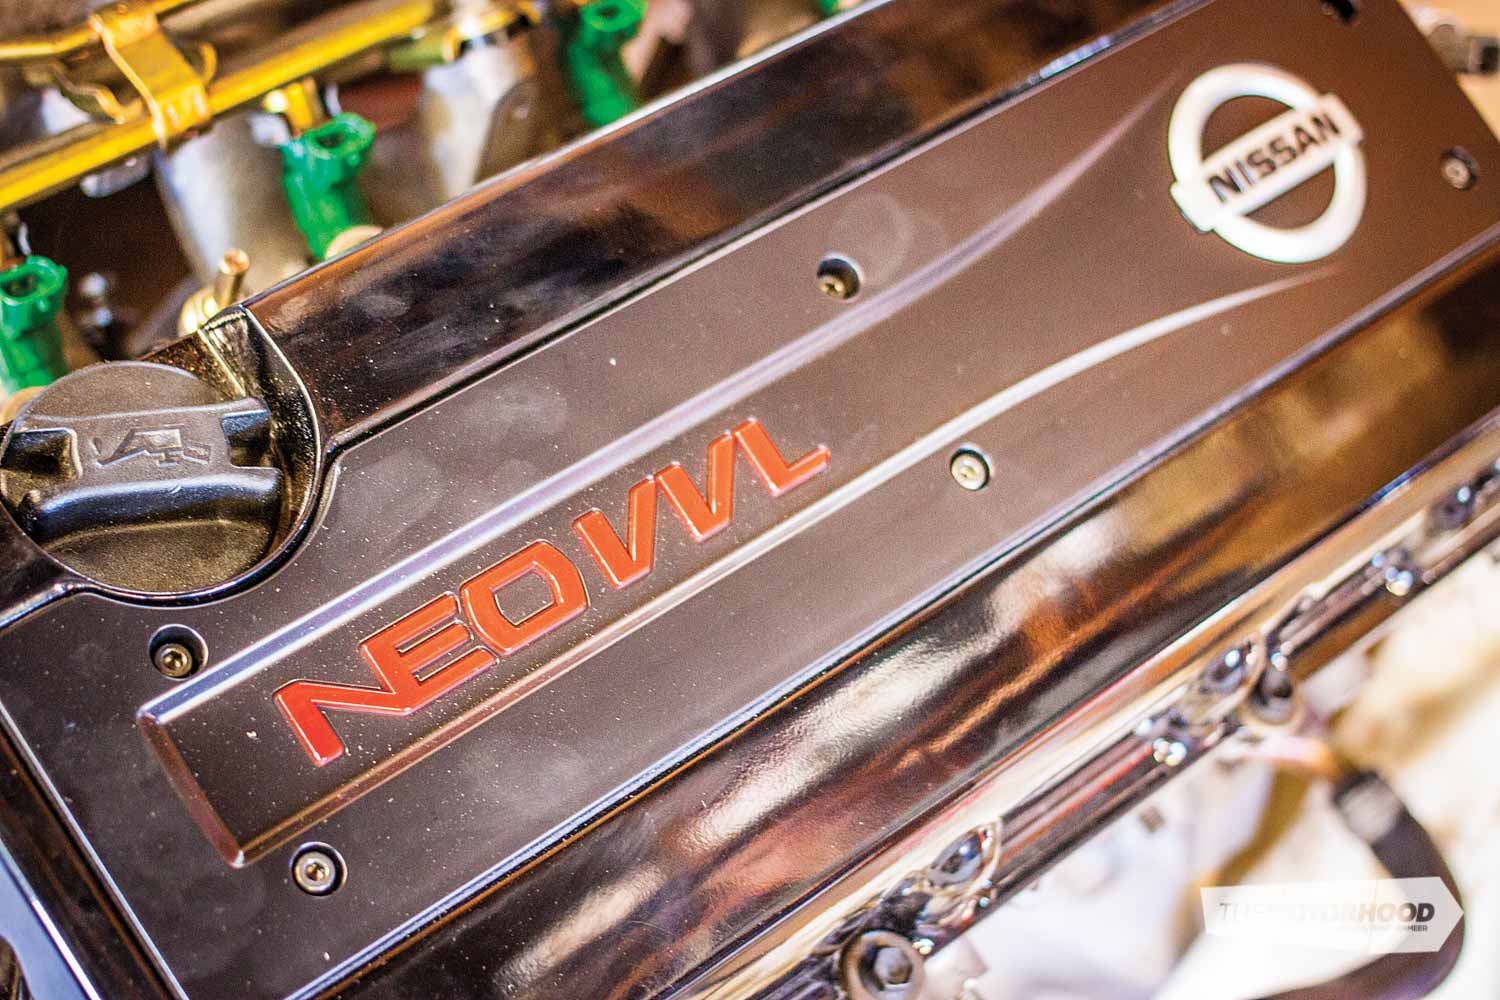
Nissan Ecology Oriented Variable Valve Lift, or NEO VVL, is a variable valve lift and timing system designed by Nissan as part of its answer to the forever-tightening emissions limitations battle.
The VVL system varies cam lift and duration by use of hydraulic pressure to switch between two different sets of camshaft lobes, one lobe suited for efficiency, low-down torque and driveability, and the other a much more aggressive cam suited to making power high in the rev range; something that the VVL head has also been designed to cater for. All this efficiency has its benefits in terms of air flow, as the VE head flows a great deal more air than the DE head, and as we all know, this is great for making power.
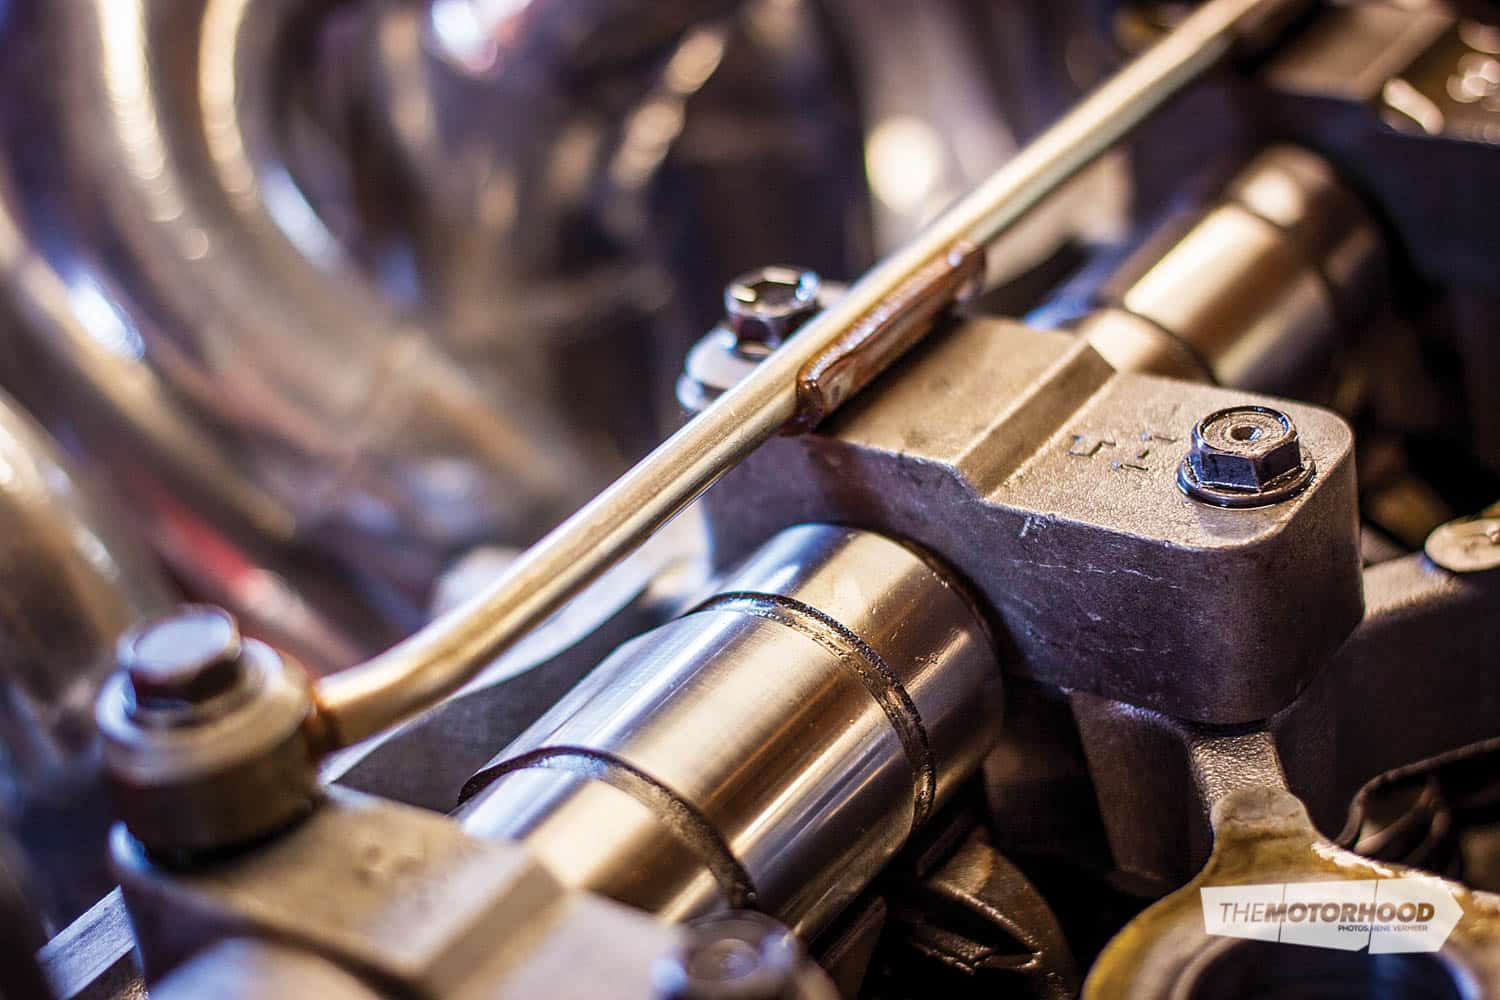
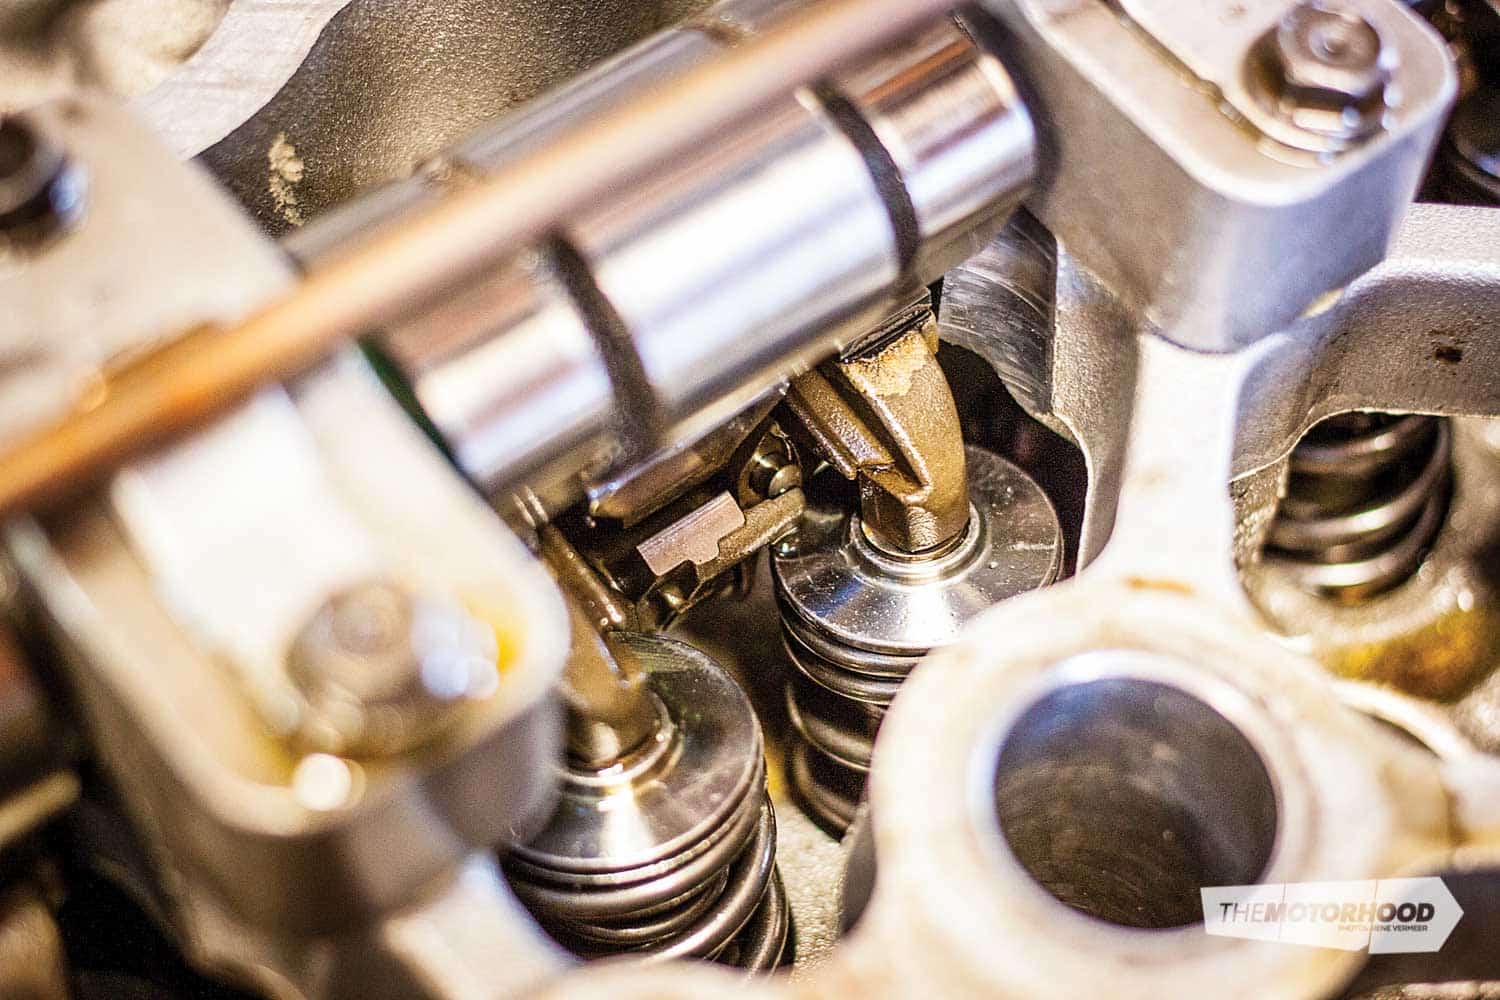
Proceeding with the VE head conversion eliminates the VCT in your SR20DET engine, but that’s not a worry, as the benefits of VVL greatly outweigh those of VCT. All this aside, one of the best parts about converting to a VE head is moving away from the floating rocker set-up that DE heads run, as these are the weakest link in a built SR20. The VE rockers pivot off a dowel and will never come adrift or break, making them much more reliable with big amounts of boost and high rpm use. Hans recommends a VE head to be used if the power levels required or wanted are over 350kW.
What vehicles did Nissan put the VE head in?
The most common variant of the VE head is found on the SR20 in the Nissan Primera P11. With 139kW (187hp), it was no slouch compared to the 126kW (168hp) SR20DE variant which is also offered in the P11. In addition Nissan released a revised naturally-aspirated SR20VE engine in the P12 Primera. This SR20VE is commonly referred to as the 20V, and it featured a higher-flowing head, coil over plugs, larger cams, and CAS (Crank Angle Sensor).
These small upgrades resulted in the naturally-aspirated 2000cc engine producing 152kW (209hp) in what is essentially a family car. Like Honda’s VTEC system, Nissan utilized the NEO VVL technology to boost power output on its smaller-capacity engines. The Nissan Pulsar VZ-R was released with the SR16VE engine from the factory. With more aggressive cams than its bigger brother, the smaller 1600cc produces an impressive 129kW (173hp).
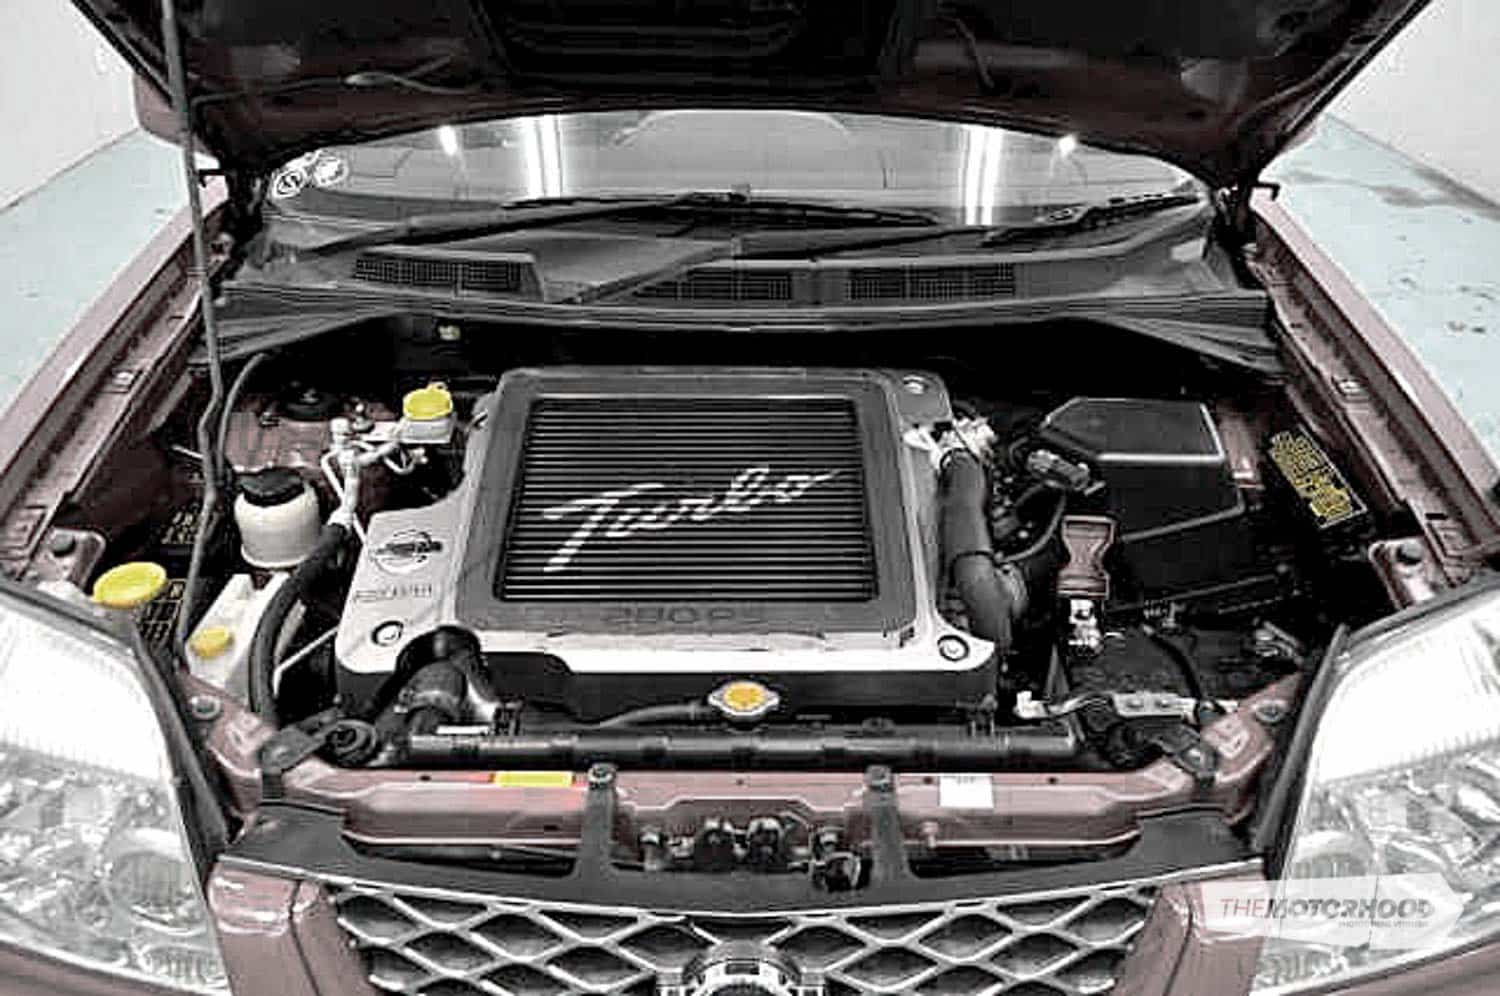
An N1 SR16VE version was released in limited numbers, and featured further-upgraded camshafts, eight fuel injectors and an upgraded intake manifold, with the result being a staggering 147kW (197hp). The only boosted SR20VET engine to come from the factory was fitted to the 2002 Nissan X-Trail. The SR20VET engine produced 206kW, and 309Nm of torque.
So what VE head should I use?

What head you should use comes down to availability, funding, and your power goals, as each of these heads has their own unique ups and downs. By far the cheapest head of them all is the P11 Primera head, or the Pulsar VZ-R head, which are identical apart from the camshafts. The Pulsar is more aggressive and better suited to naturally aspirated set-ups.
Although the P11 head is by far the cheapest to buy from the get-go, it does need a lot more money spent for it to be suitable for a rear-wheel-drive conversion. A Primera P12 CAS has to be purchased, and extended ignition coils have to be used or external coils and leads, as the P11 still runs a distributor. One remedy for this is using the P12 rocker cover on the P11 head, which will allow you to run S15 or P12 coil packs, and these rocker covers can be sourced through Brendan at Pten Developments.
A Nissan Primera/VZ-R head will set you back around $400–$600 dollars depending on the condition and mileage, plus the cost of the P12 CAS, extended coil packs or external coils and leads, and a solenoid relocation kit.
By far the most superior head is the later-model Primera head from the P12. This head is named the 20V in enthusiast circles, and is by far the best total package. Firstly, there is no need to purchase the CAS as it comes installed from the factory. Secondly, it comes factory with the correct coil packs, which are identical to that of an SR20DET from the Nissan Silvia S15. Thirdly, the cams in the 20V head are the best of the lot, however, the exhaust cam isn’t as good as the SR20VET exhaust cam. Lastly, the 20V has one solenoid as opposed to the P11’s two, this is important because the P11 solenoids hit the firewall in a rear-wheel-drive application, whereas the 20V single solenoid clears the firewall with a bit of angle-grinder work. Another benefit of the 20V head is the injectors are top feed and, for example, Injector Dynamics ID1000cc are a direct fit without any modification, yet again saving you money as you don’t have to modify the fuel rail on the P11 head. The SR20VET head found in the Nissan X-Trail is identical to the P12 20V head, but it uses a different exhaust cam that is better suited for turbo applications. The exhaust cam doesn’t actually have VVL in the VET head, although both sets of cam lobes are present on the cam. By simply installing P11 or P12 rockers, this fantastic VET exhaust cam can be used.
What do you need for the conversion?
1. Block and head
First off, you need to decide what head you are going to run, the P11 or the P12.
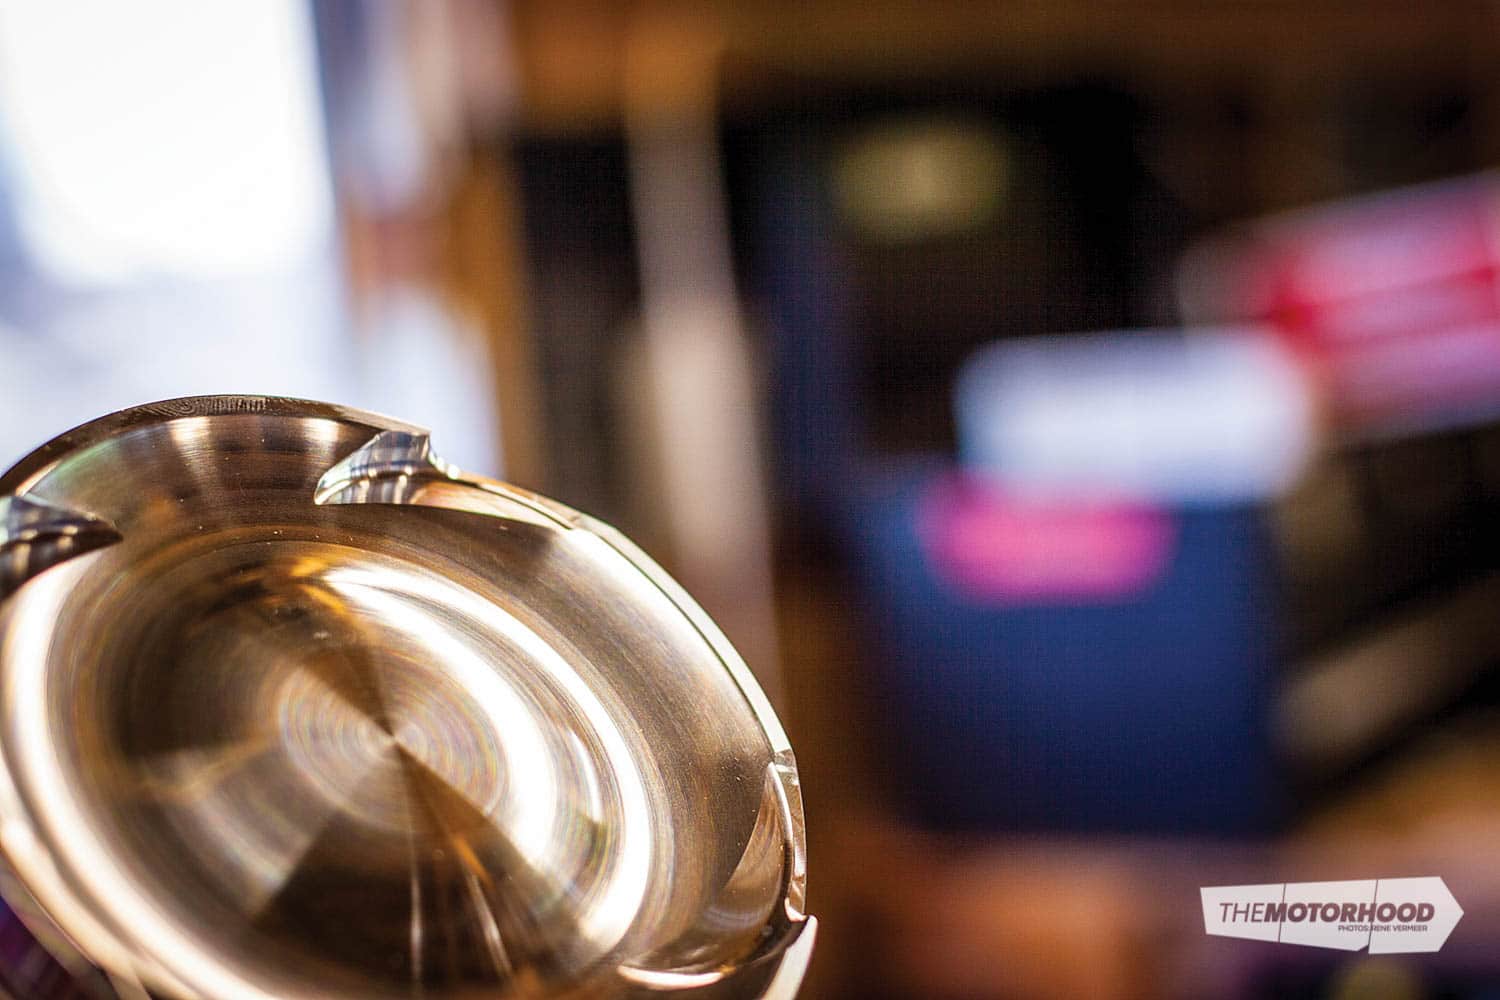
You need to think about the bottom end you will use, and if it’s up to the task of the turbo/cam set-up you plan to have. If you use factory DET pistons, you are limited with your cam choice — the pistons don’t have notches for valve clearance as a set of aftermarket CP pistons does, like those pictured. The extreme lift on these VE cams is no joke.
The oil pump from your DE/DET engine is not ideal to use with the VE head. Although there are no fitting issues, the DE/DET pump doesn’t provide enough of a consistent high oil pressure, which is needed in a VE engine, so a VE oil pump and front cover should be used. That means the crank pulley needs to have 3mm machined off the rear and a VE oil pump spacer/pump driver needs to be used, as it is longer.
The head oil drain at the rear of the block on the SR20DET engine needs to be blocked up, and there are a few common methods to do this: hammer in a bung (one which doesn’t protrude over the block height), weld up the hole and have the block decked and smoothed, or drill and tap the hole and screw in a suitable bung.
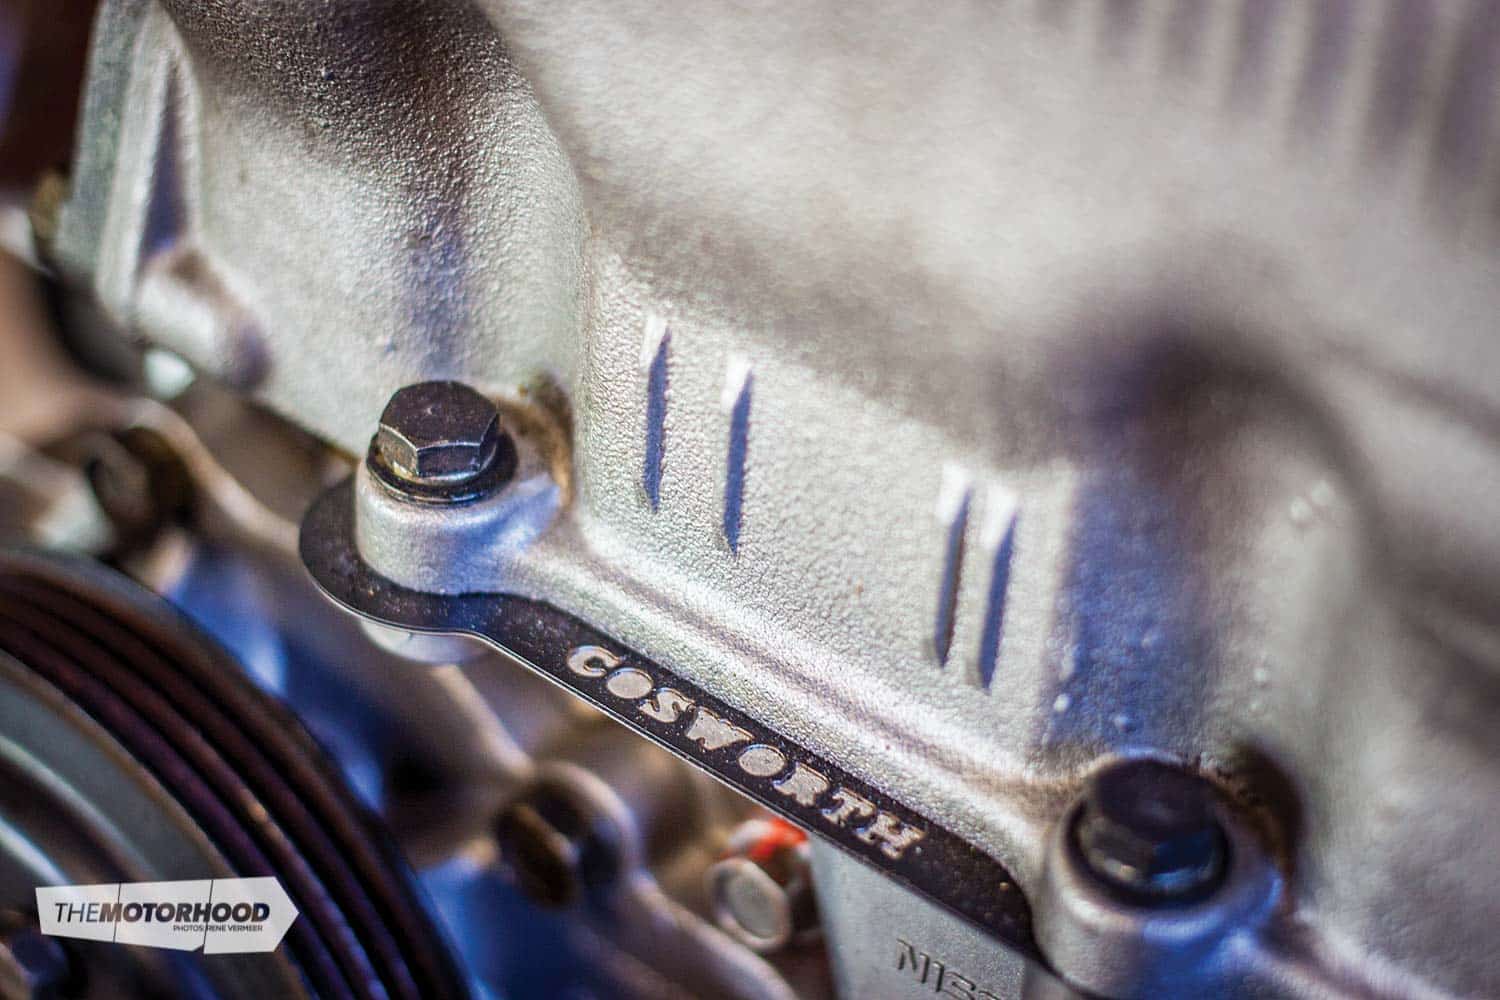
Because the head is already off, you will need to replace the head gasket before the head goes on. DET head gaskets aren’t suitable for this application, but VET items are. A factory-rated SR20VET head gasket will only cost you around $80 through Pten, and they’re strong enough for 447kW (600hp). If you are hunting power and want some serious security, by far the best option is the range of head gaskets from Cosworth. They’re multi-layered steel and come in a range of thicknesses — 1.1mm, 1.5mm, and 1.8mm.
The valves and valve springs will need to be replaced if you plan to use the engine for racing, or constant high-rpm abuse. The factory exhaust valves can’t handle racing heat conditions, so they can be a weak point.
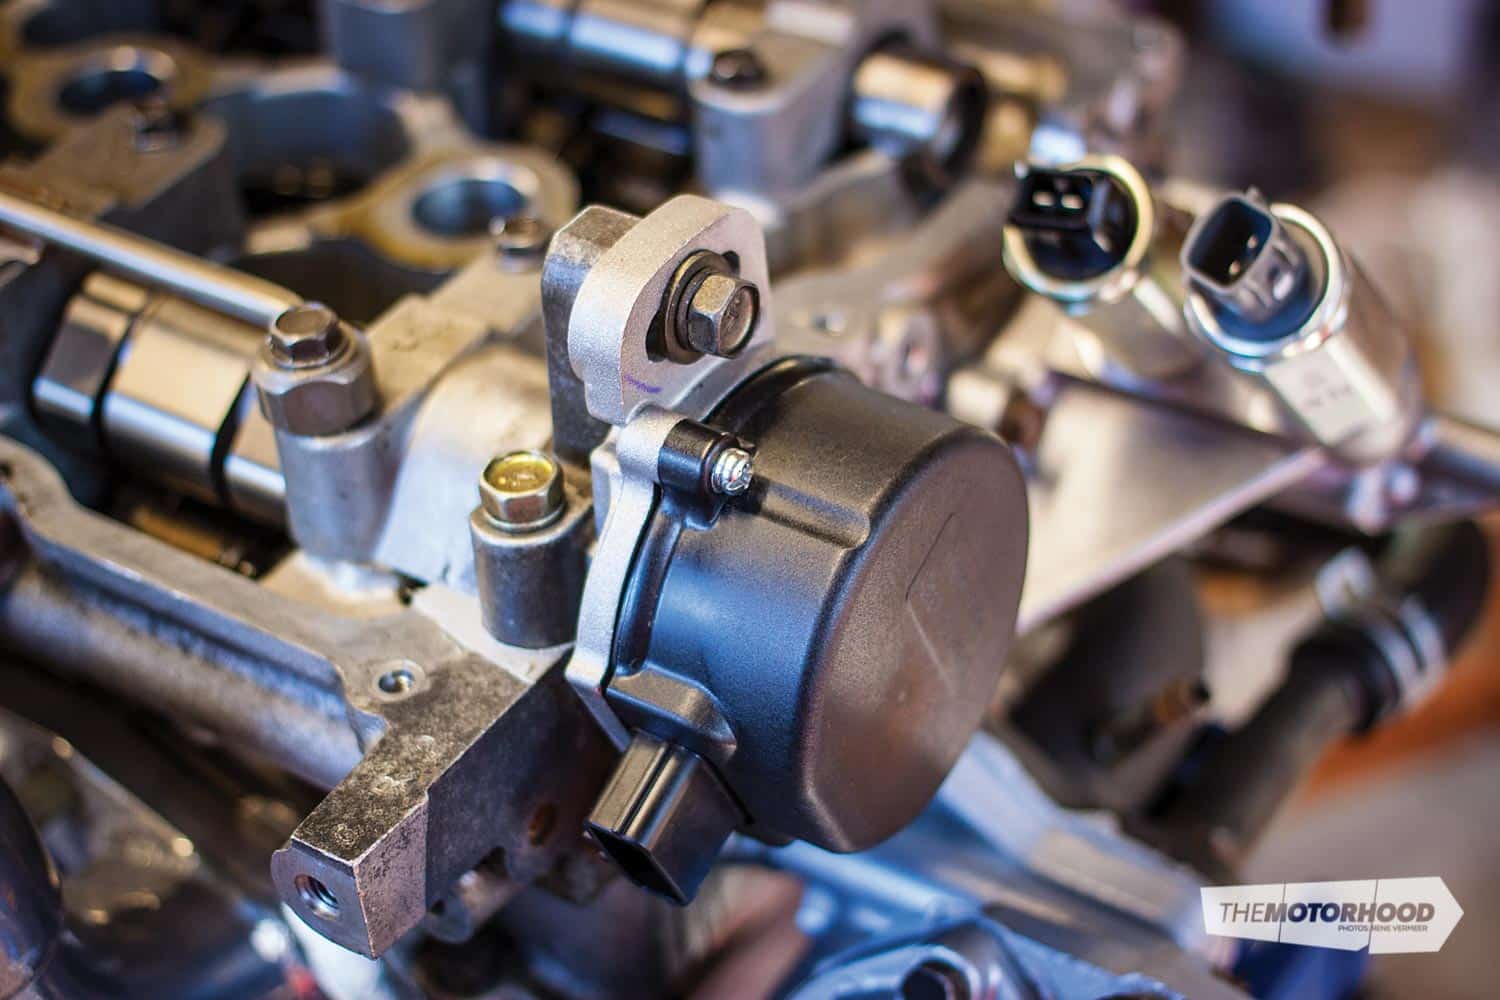
2. Solenoids and ignition
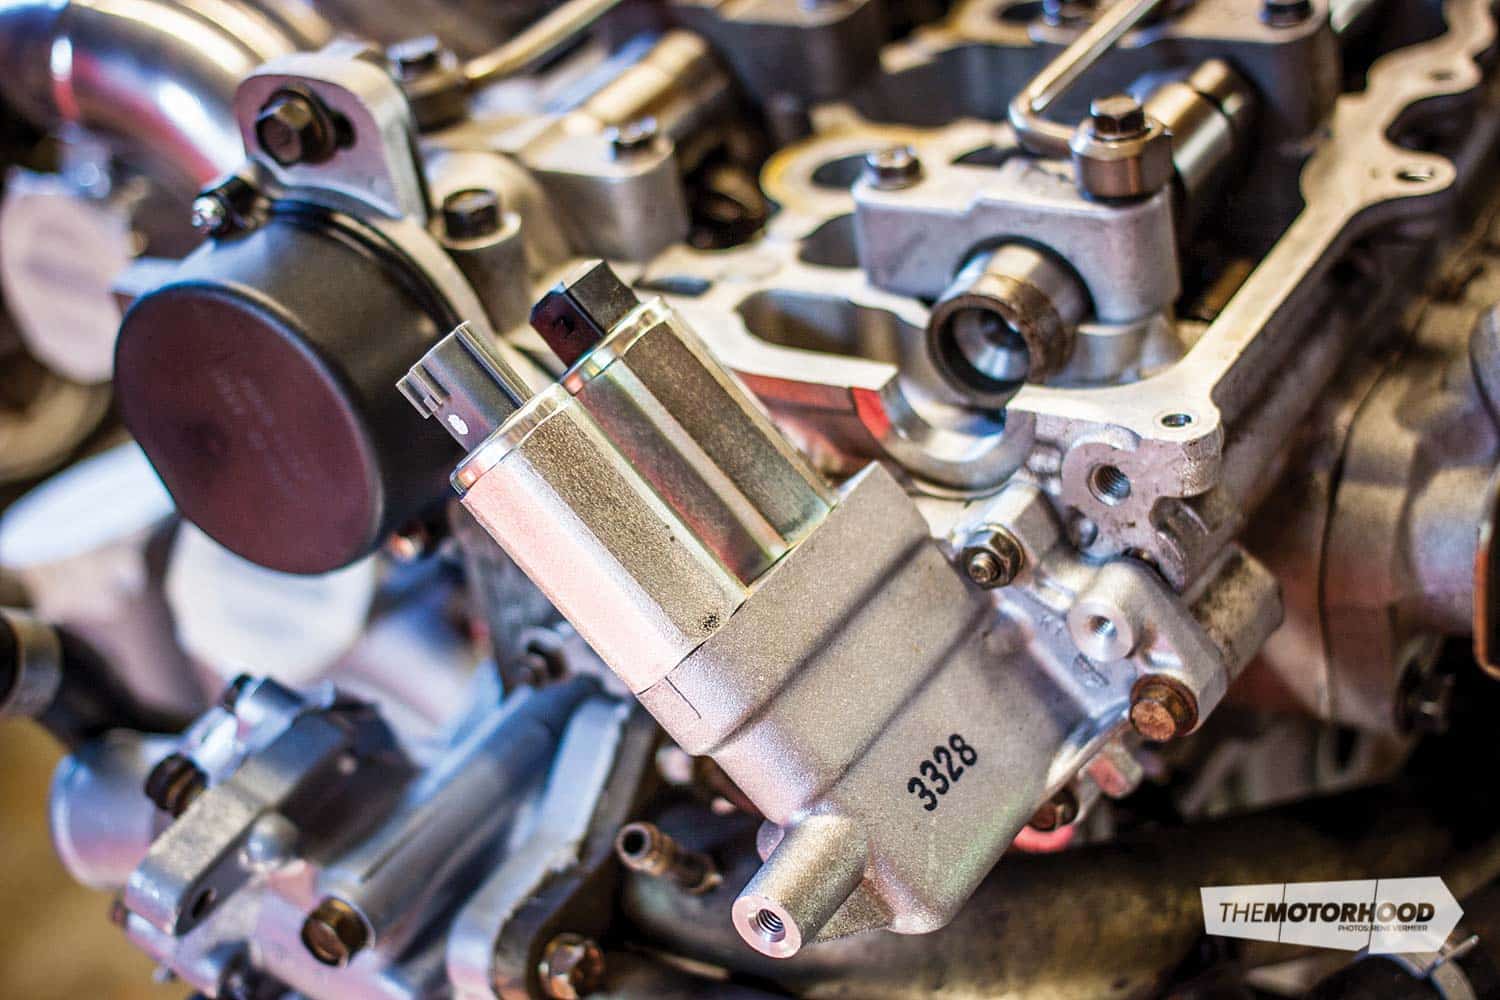
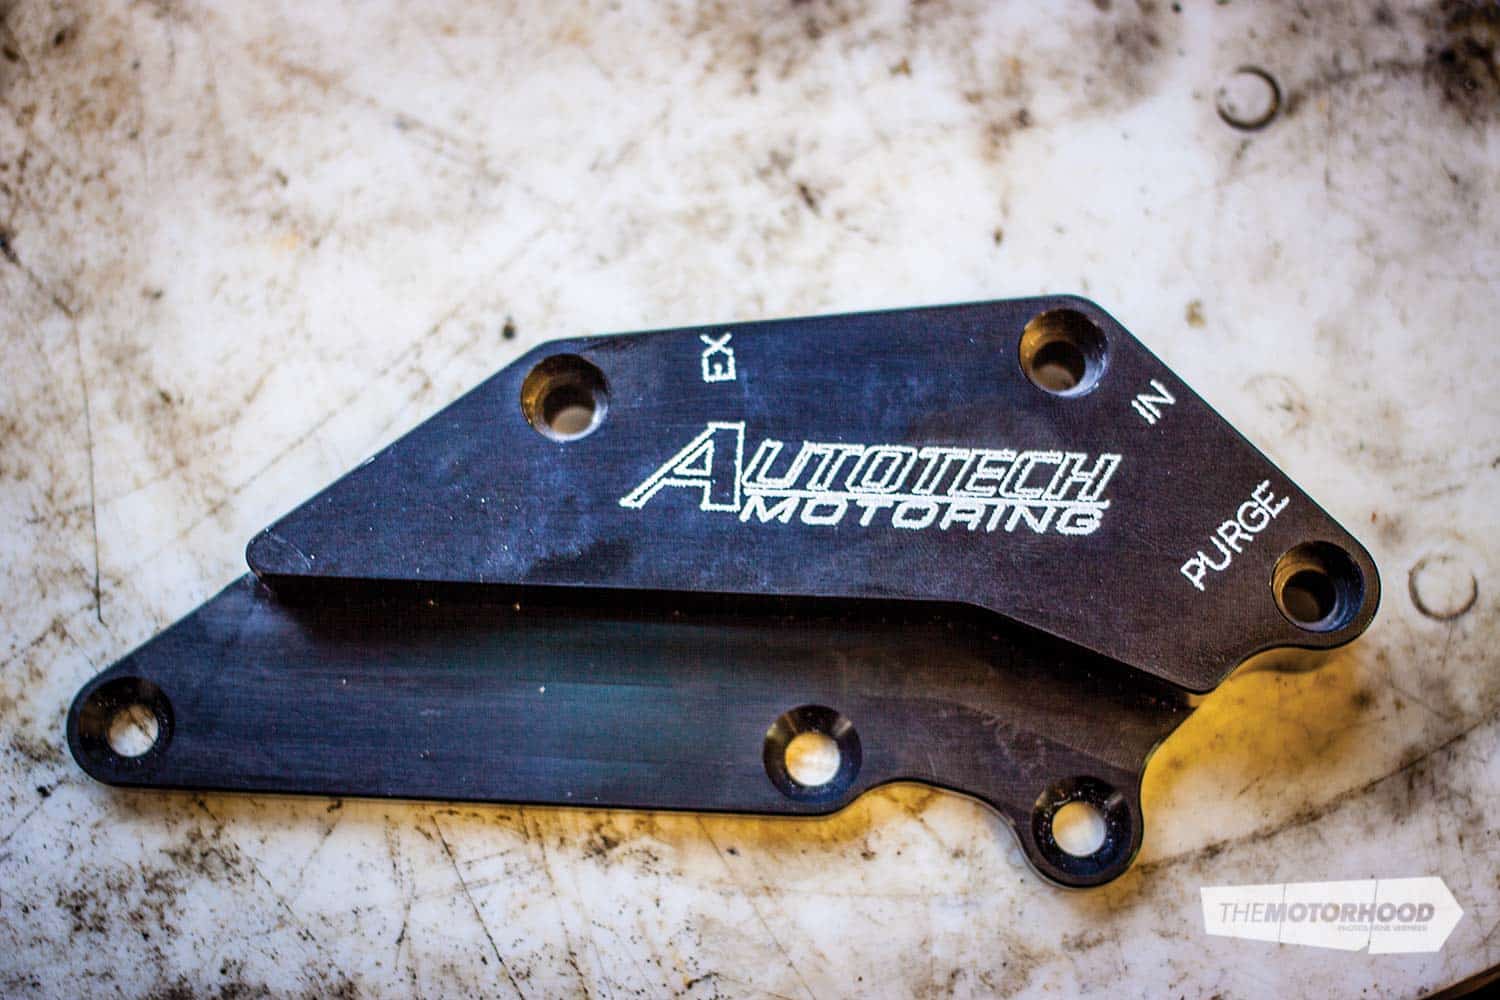
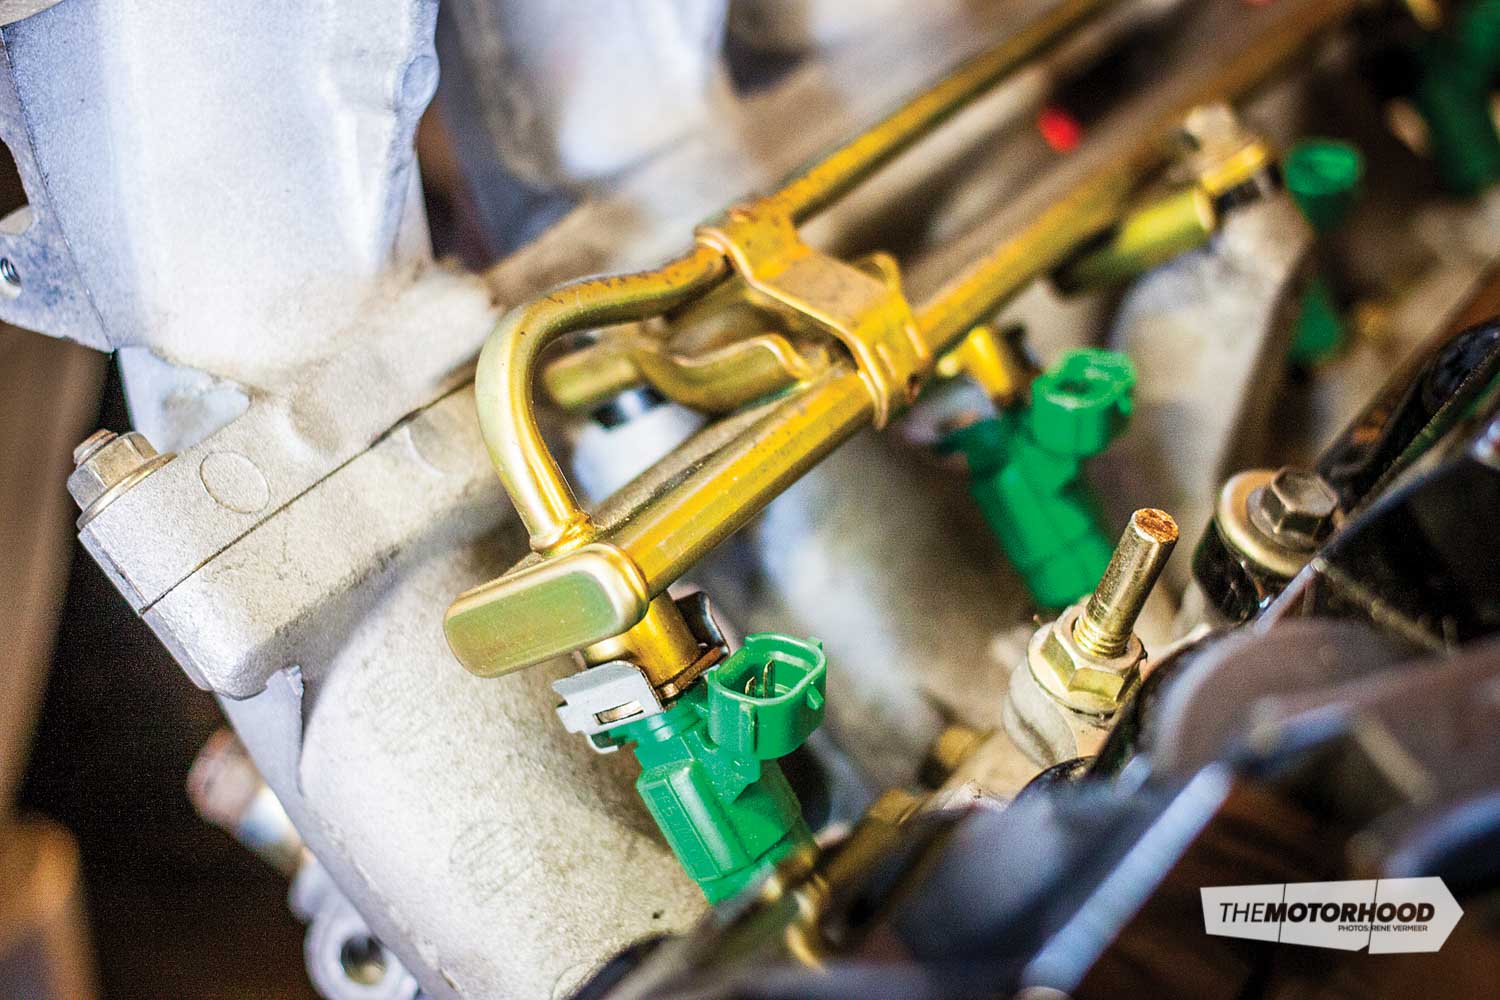
The factory solenoid positioning on the Primera P11 head won’t work in a rear-wheel-drive application. Off-the-shelf kits are available to move the twin solenoids to a more suitable location. Alternatively, the Primera P12 20V only runs a single solenoid. What this means is both the cams switch over at once, as opposed to the two switching separately like on the P11 head. Because the 20V head only has one solenoid, the solenoid mount is physically much smaller, and with minor modification will work in the factory position without the need for relocation.
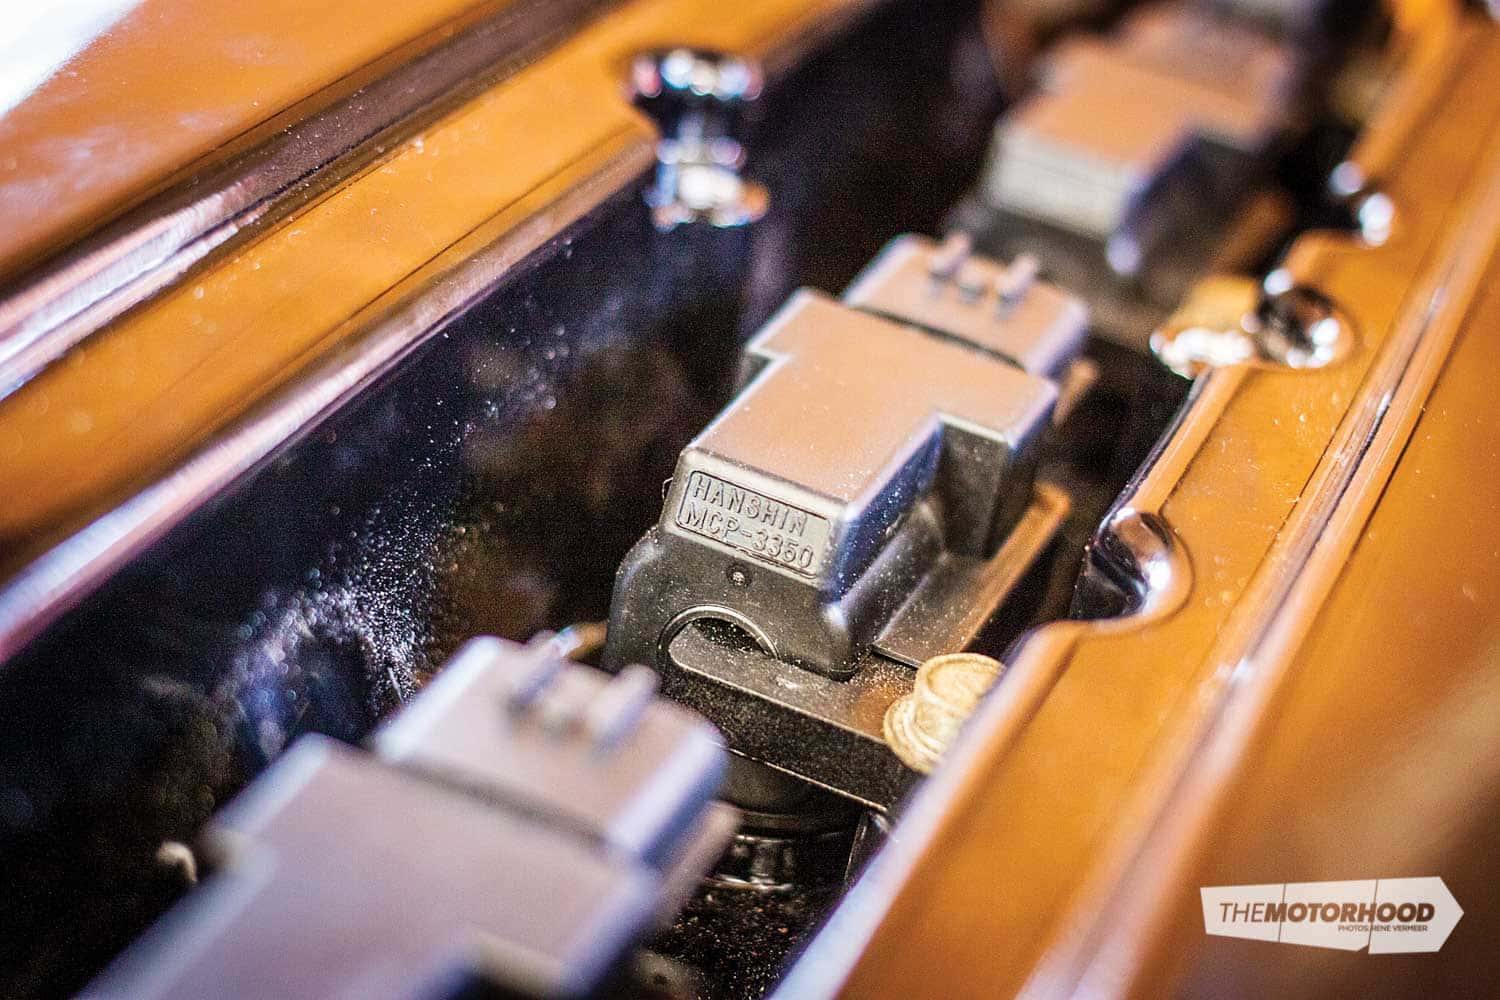
Another problem you will run into with the P11 head is the ignition set-up. On a P11 head, a distributor sits next to the two solenoids. This, along with the two solenoids, won’t fit in-between the firewall and the head. To remedy this, a P12 CAS needs to be used along with S15 coil packs, or P12 coil packs (both are identical). If you go this route and choose to run these coil packs, you will need to have a P12 rocker cover to sit them in. If you can’t source a P12 rocker cover, you can run external coils with a lead running down to the spark plug. Another solution is to source an extended coil pack from the likes of Bosch or AEM. Depending on your application, you may need to shorten the CAS cover, or have a new case made to get it to fit.
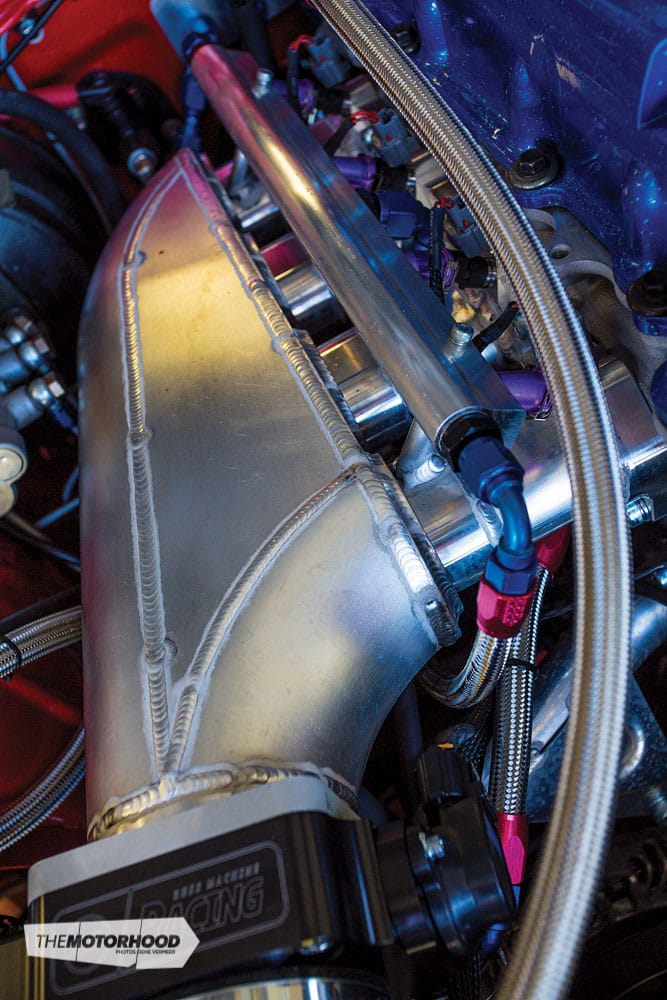
3. Intake and exhaust

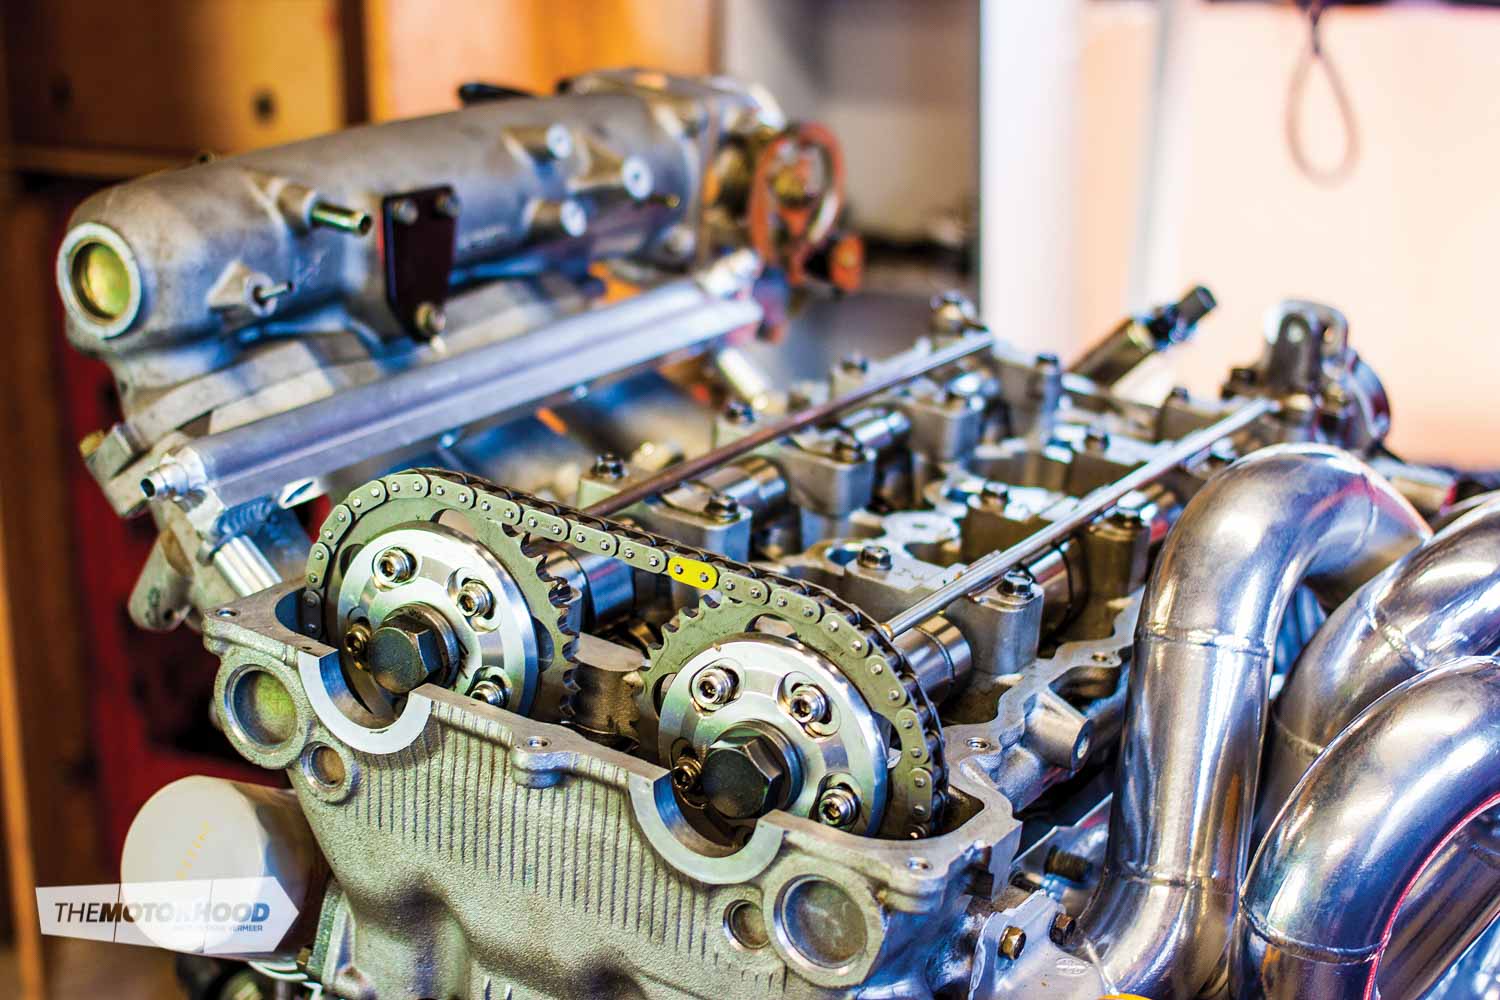
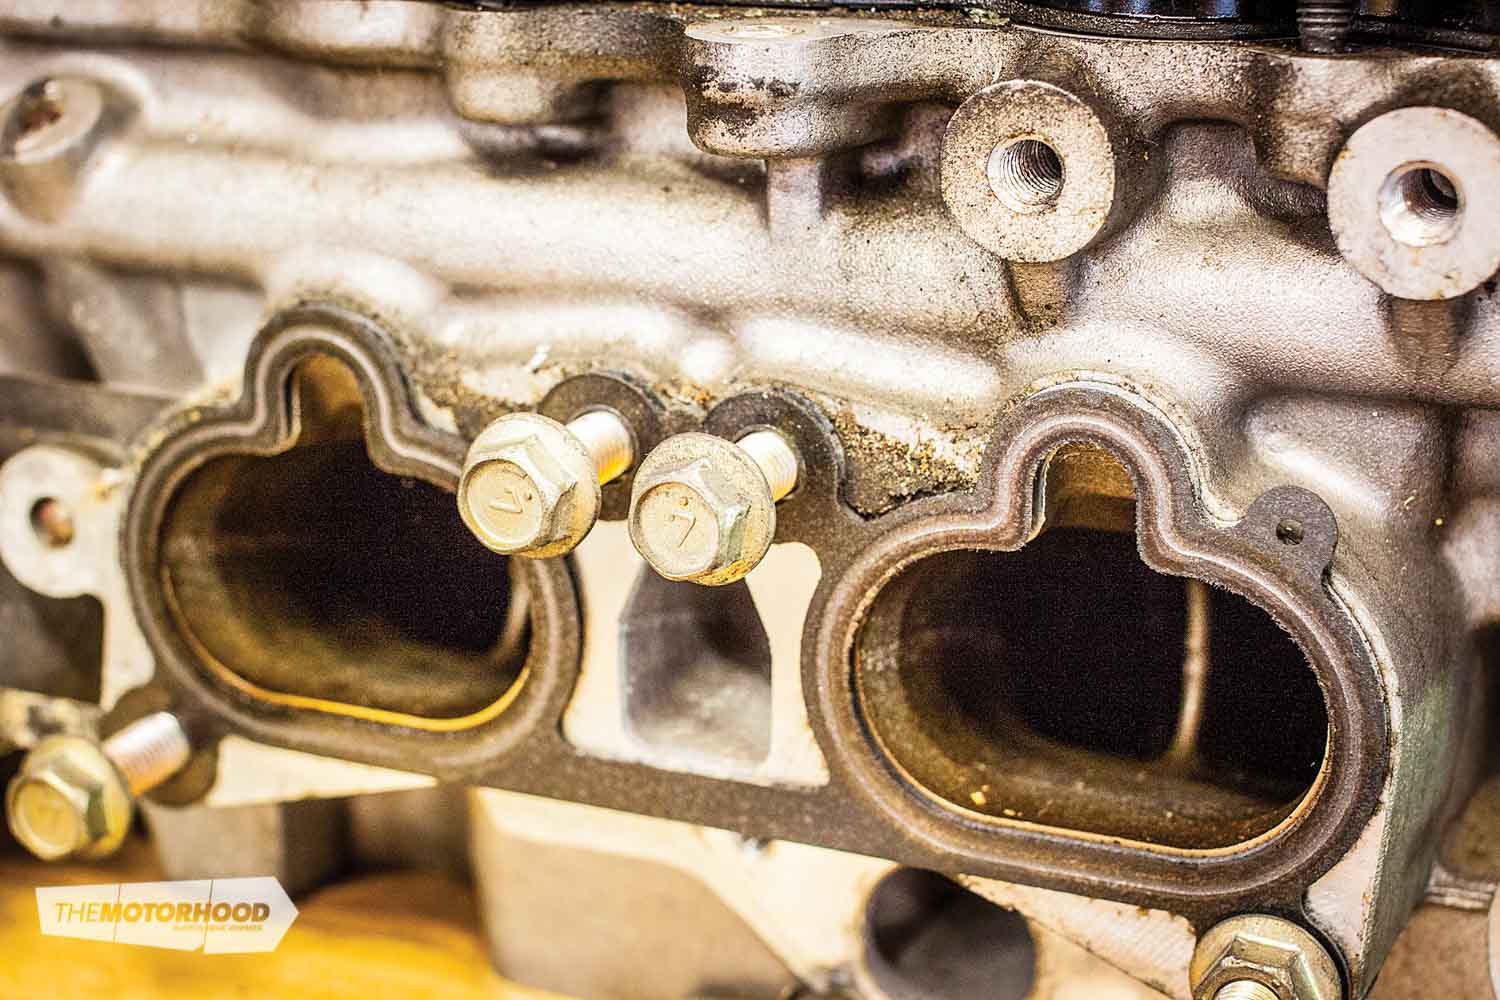
The next problem you’ll encounter is the intake manifold. If you go to install the Primera, Pulsar or X-Trail intake manifold with the head, you’ll notice that the throttle body is facing the firewall, which is not ideal. Any seasoned fabricator will be able to sort this out, and all they require is your intake manifold so they can use your original runners to fabricate the rear-wheel-drive plenum onto them. This will cost you around $850, but will net you some serious gains.
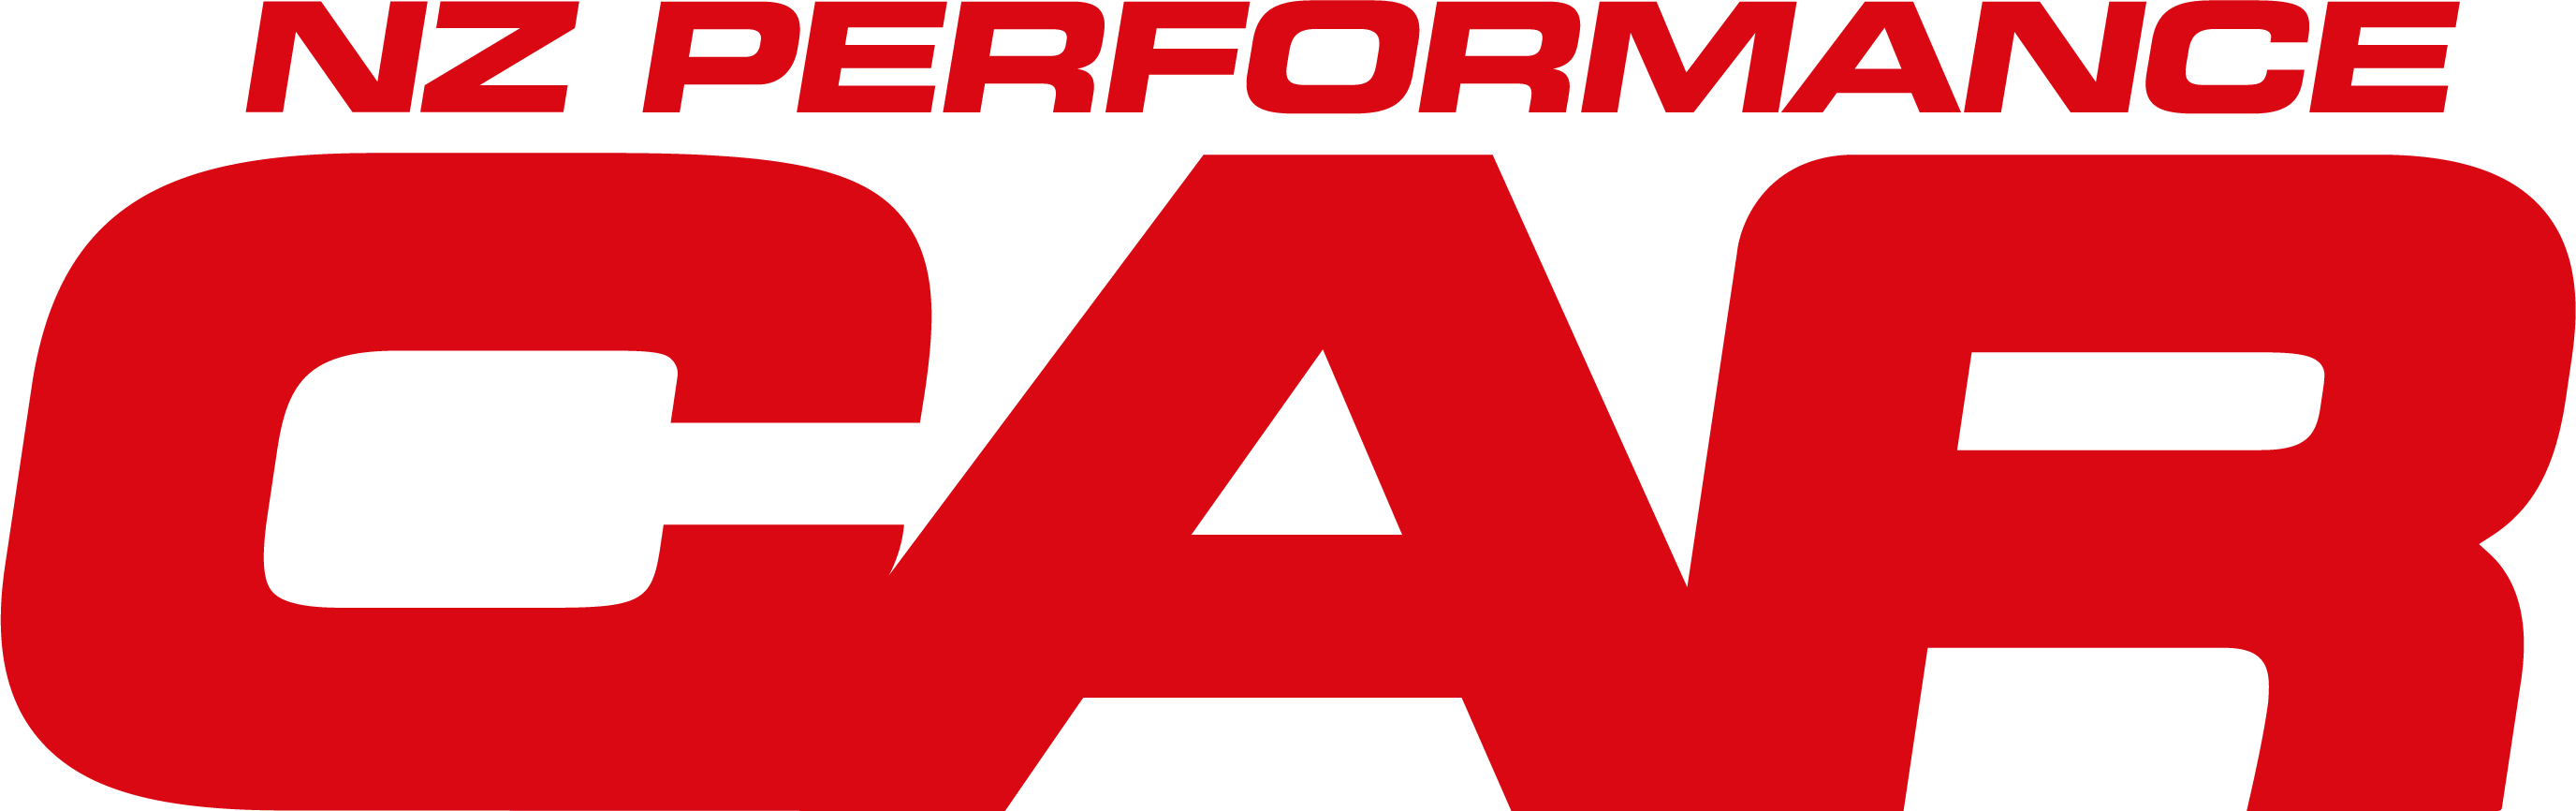
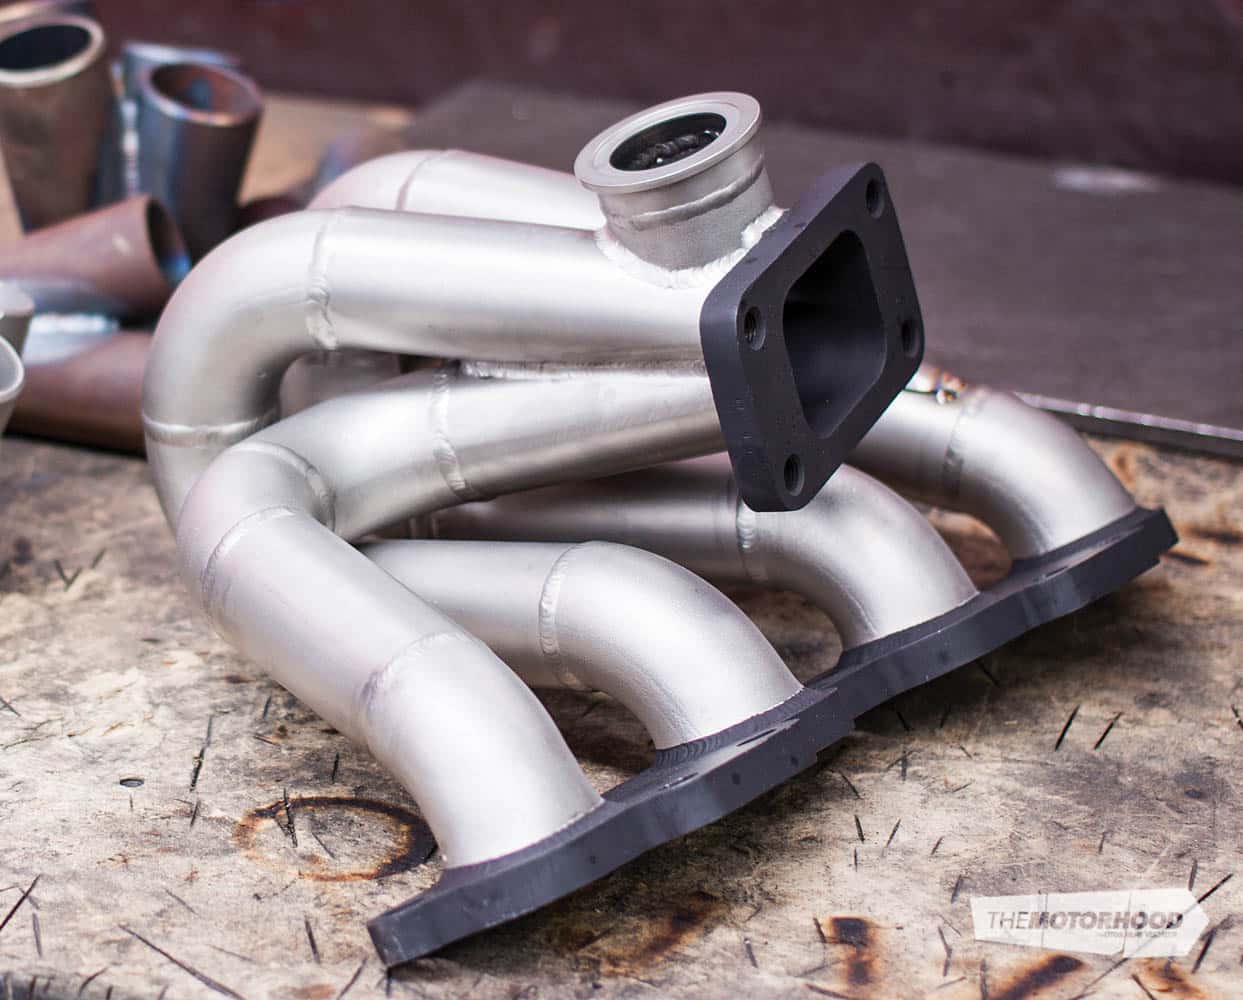
Last but not least is your exhaust manifold. Although the manifold does bolt on, it needs some modification to fit correctly. Slotting of the original holes on the manifold is necessary to match the manifold ports to the head correctly, as it needs to be slightly lifted. To make the most of the amount of air the VE head can flow, we recommend upgrading from the factory turbo set-up.
View fullsize
View fullsize

View fullsize
View fullsize
View fullsize
View fullsize
View fullsize
View fullsize

View fullsize
View fullsize

View fullsize
View fullsize

View fullsize
View fullsize

View fullsize

View fullsize
View fullsize
View fullsize

View fullsize
View fullsize
View fullsize
View fullsize
View fullsize

View fullsize

View fullsize
View fullsize