
data-animation-override>
“Beading up a tyre using fire is not recommended — but it’s still good to know how if you’re ever in a bind”
Before we start down this explosive, eyebrow-destroying path, let’s state the obvious. Using combustion to bead up a tyre is not the ideal way to get the job done, it’s not even a particularly good way, and it should be approached with extreme caution.
It is, however, something NZ Performance Car gets asked about a lot, and sometimes it might just be your only option. Let’s say you’re at the race track, you’ve had a mint morning out on the circuit at a grassroots drift practice day, the car has been running great, and you’ve been nailing that challenging sweeper. It’s just hit 3pm and there are a couple more sessions left but you’ve run out of tyres! Luckily, a fellow drifter has some secondhand rubber in the back of his truck that you can use, but it’d need to be mounted to your wheels. Without a tyre machine and bead blaster on hand, you’ve only really got one option, especially considering you’re trying to stretch 235s on to 10-inch wide rims — fire! For this demonstration, we are using a 18×10-inch Work Emotion XD9 and a 235/40R18 Goodyear Eagle F1 tyre.
A big thanks to Alex at Precision Wheels and upcoming Pro-Am driver and all-round handsome devil Ben Jenkins for risking their eyebrows, eyelashes, and nasal hairs to show us how it’s done.
Tools required:
- A couple of pry bars
- Soapy water
- Aerosol spray
- Lighter
- A mate or two
- Compressor or pump
Step one: removing the old tyre
Of course if your rim is already bare and ready to rock, you can move straight to the next step, but if you’re at the track there’s a good chance your wheel has a destroyed tyre still fitted from the last session.
Getting this off is relatively easy, the hardest part is de-beading it, and this can be done most efficiently with help from a trailer. Place the wheel under one side of the A-frame part of the trailer, then lower down the jockey wheel until the edge of the frame is sitting above the sidewall of the tyre.
Once in place, you can then stand/jump on the trailer to get the tyre to debead from the rim. From there, it’s a simple task to lever off the old tyre, preferably with a mate and a couple of pry bars. The key with this is to work section by section, slowly moving around and popping the tyre off the rim as you go using leverage and sliding.
The more destroyed the tyre is, the easier it will be to remove, as it’ll have less strength and rigidity. If you want to make the job 100 times easier, ensure you apply some kind of lubricant to the tyre and rim — go to the toilets and get some soapy water, that’s all the tyre shops use.
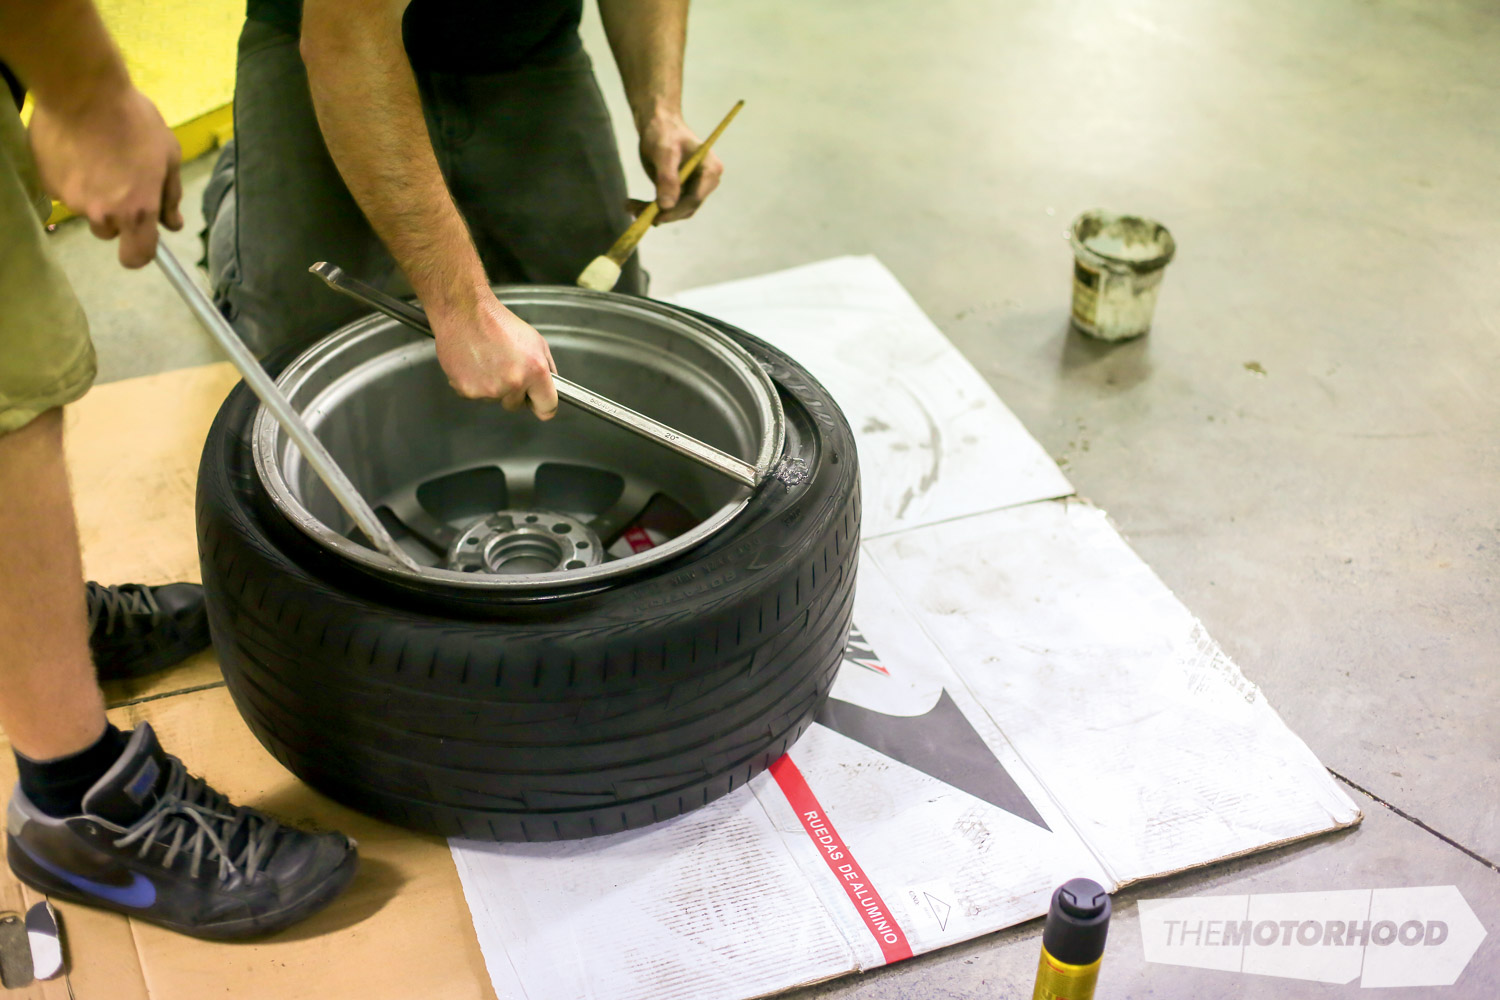
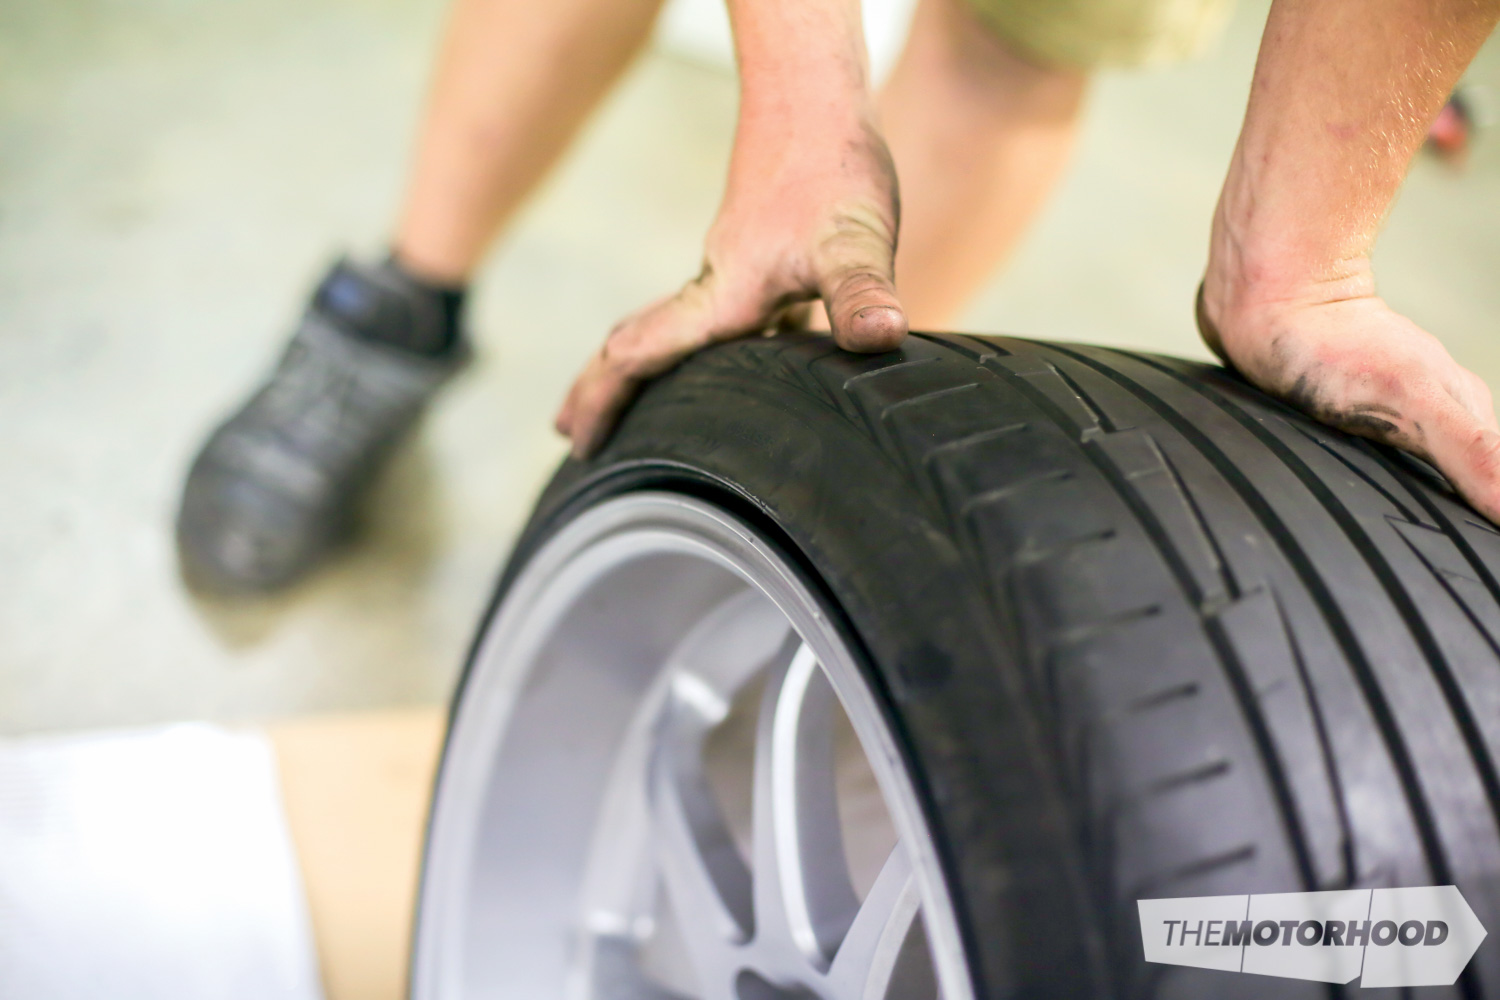
Step two: getting the first half on
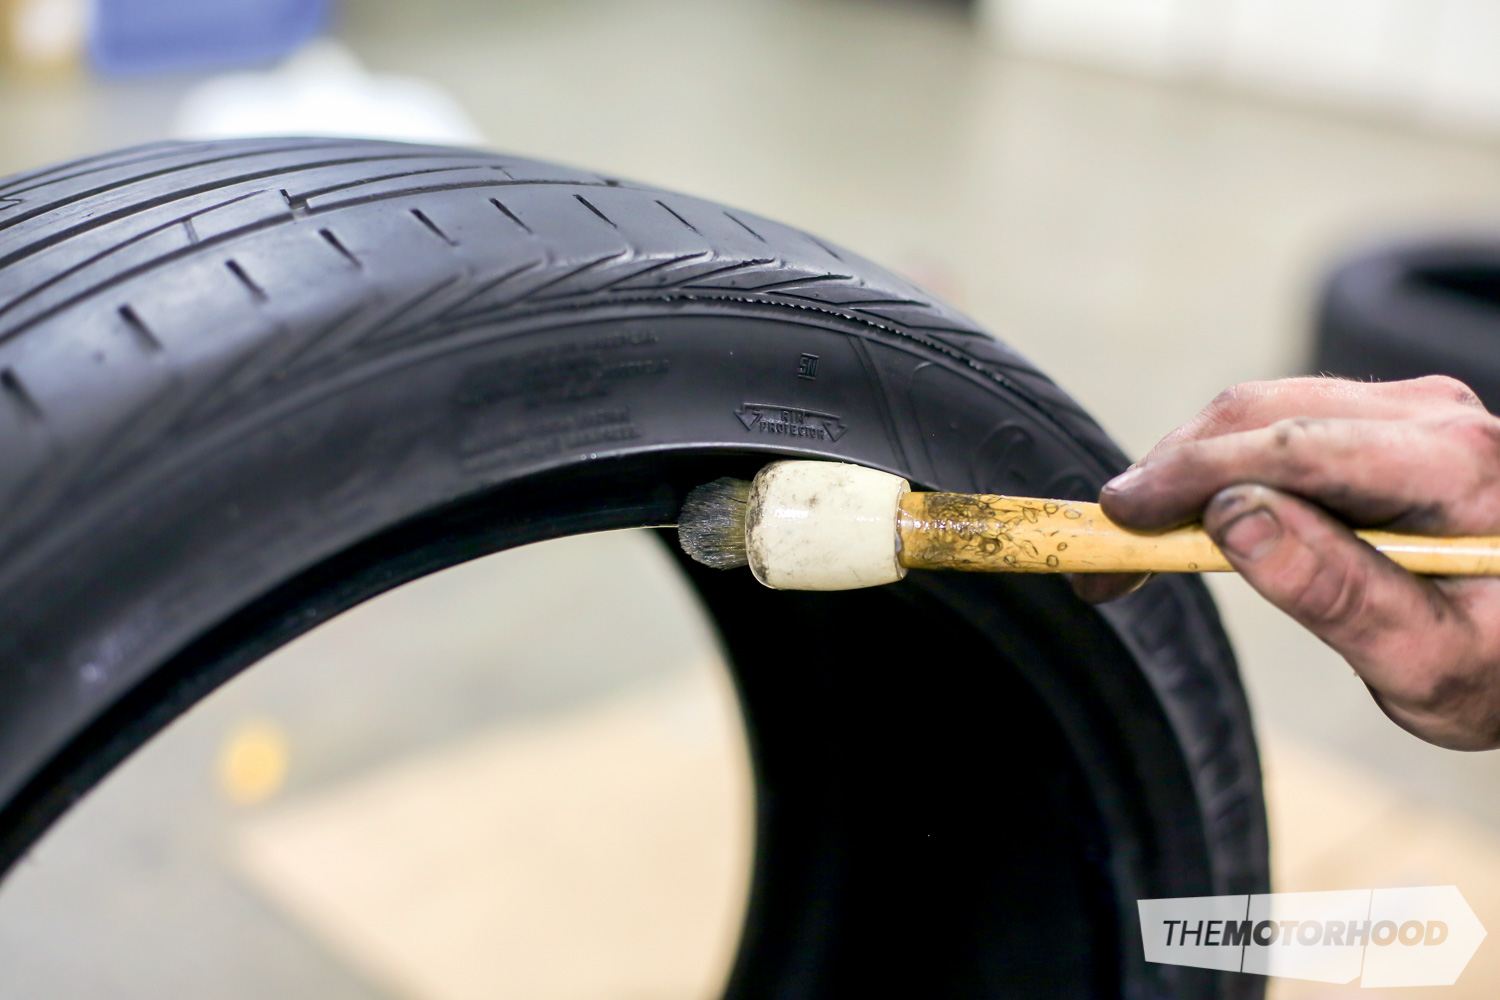
Like pretty much this entire job, getting the tyre onto the rim requires somewhat of a caveman-esque approach. First off, after applying more soapy water to both surfaces, check your new tyre will be the right direction (if it’s a directional, obviously) and lie the wheel flat on the ground.

From standing, bring the tyre down on a 45-degree angle to the rim and follow through with your bodyweight. This should jam the rubber halfway onto the wheel, then simply stand on the other half of the tyre that’s still sitting above the rim to force it over the lip.
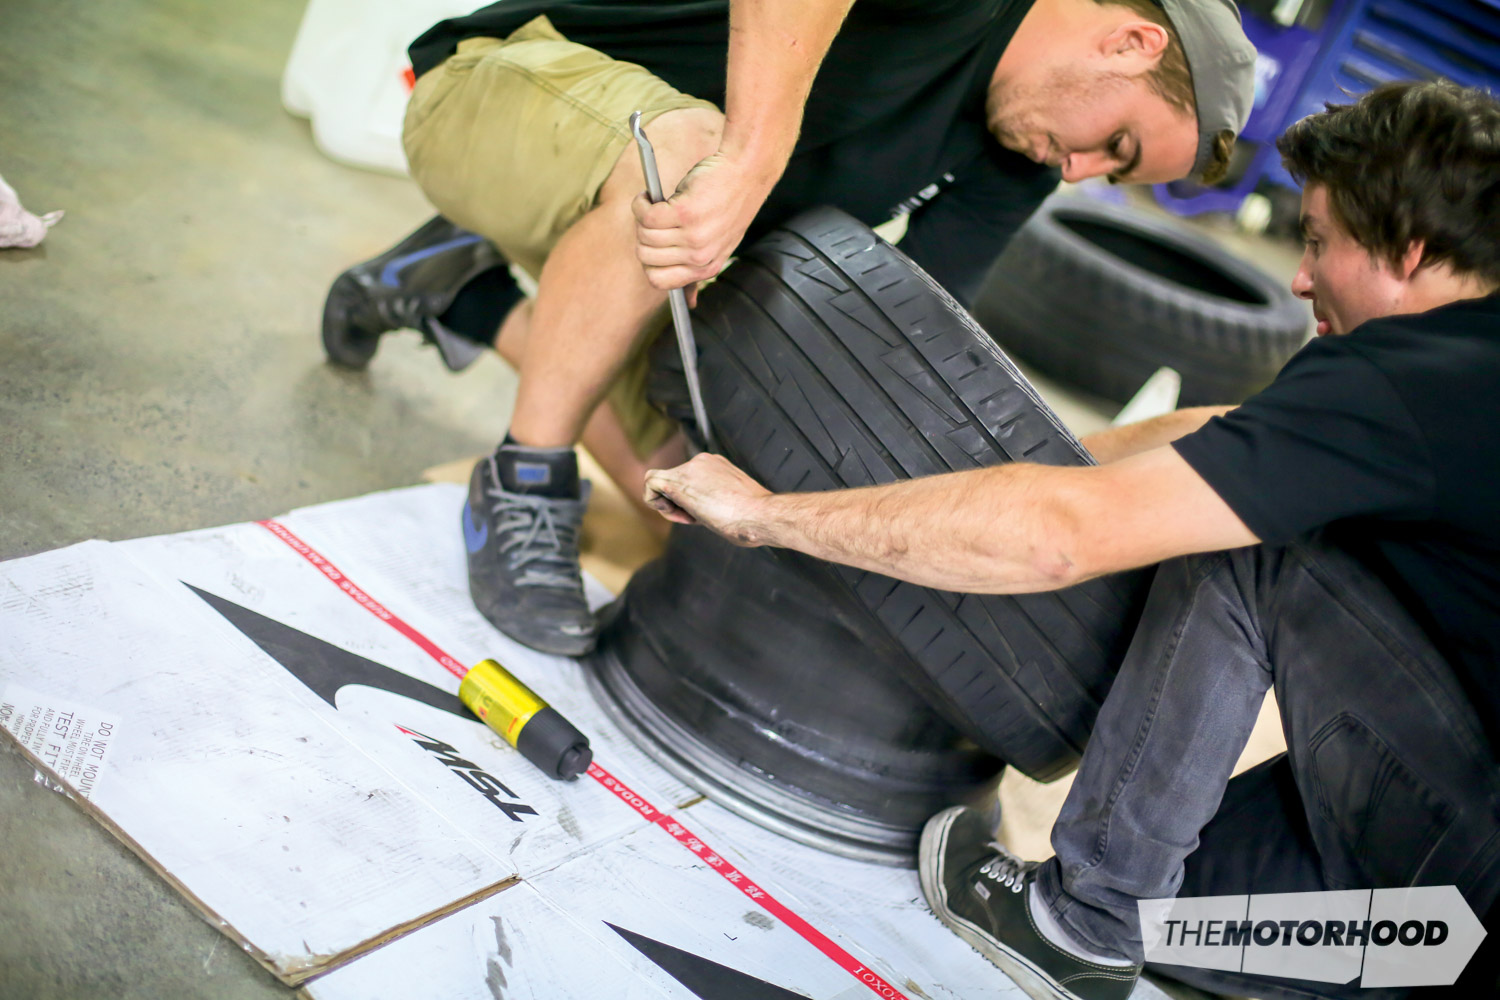
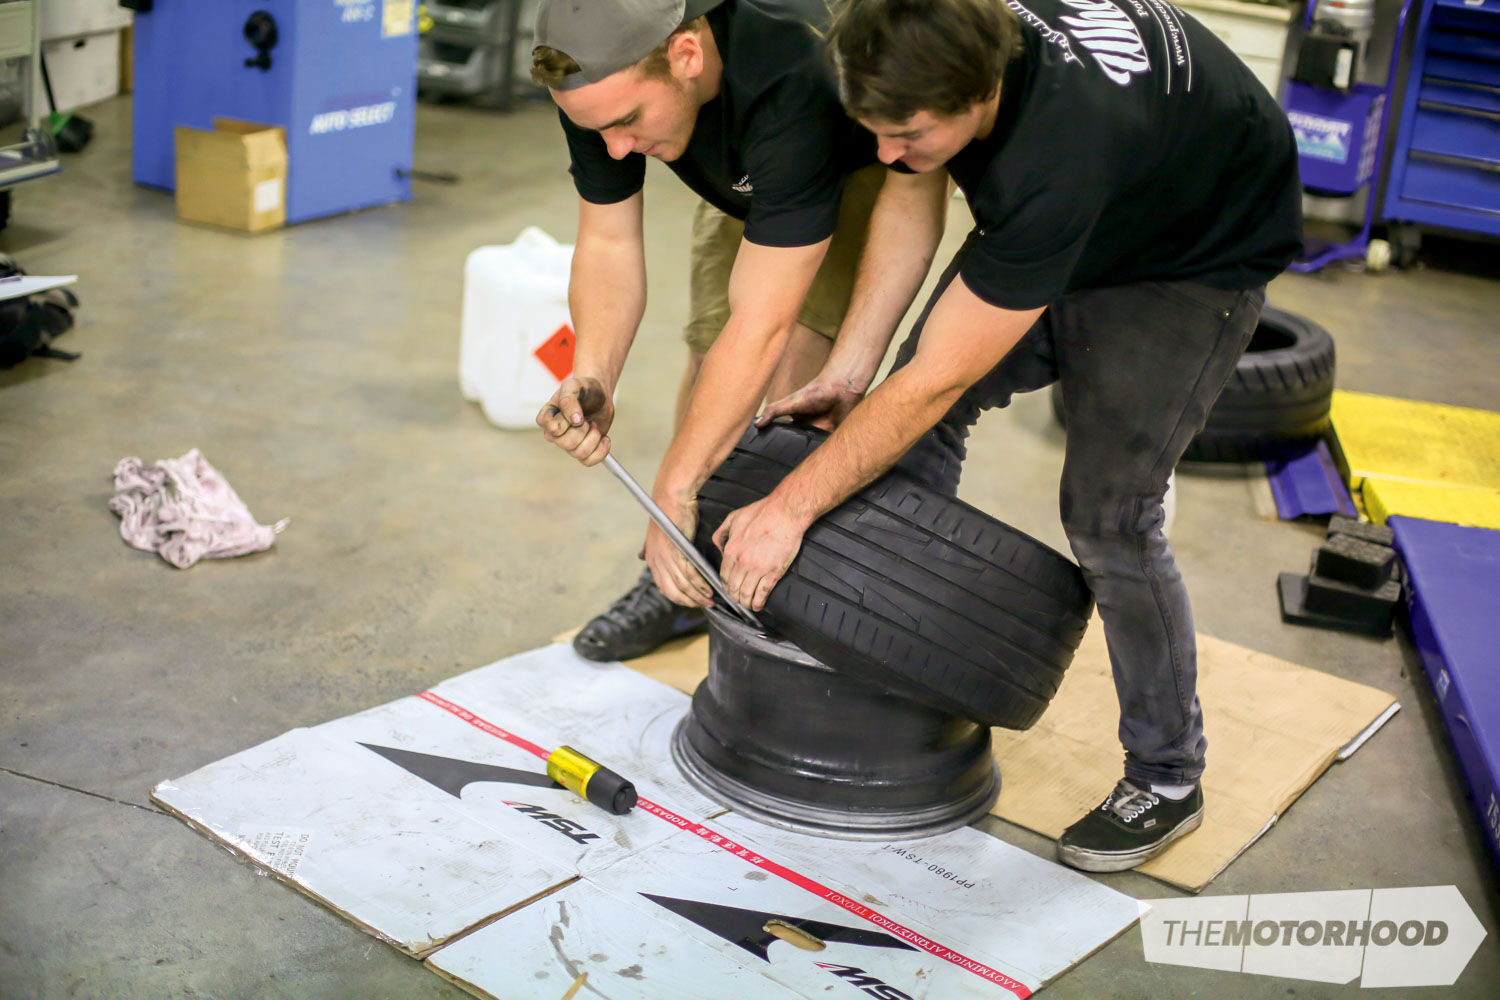
Step three: getting the second bead on
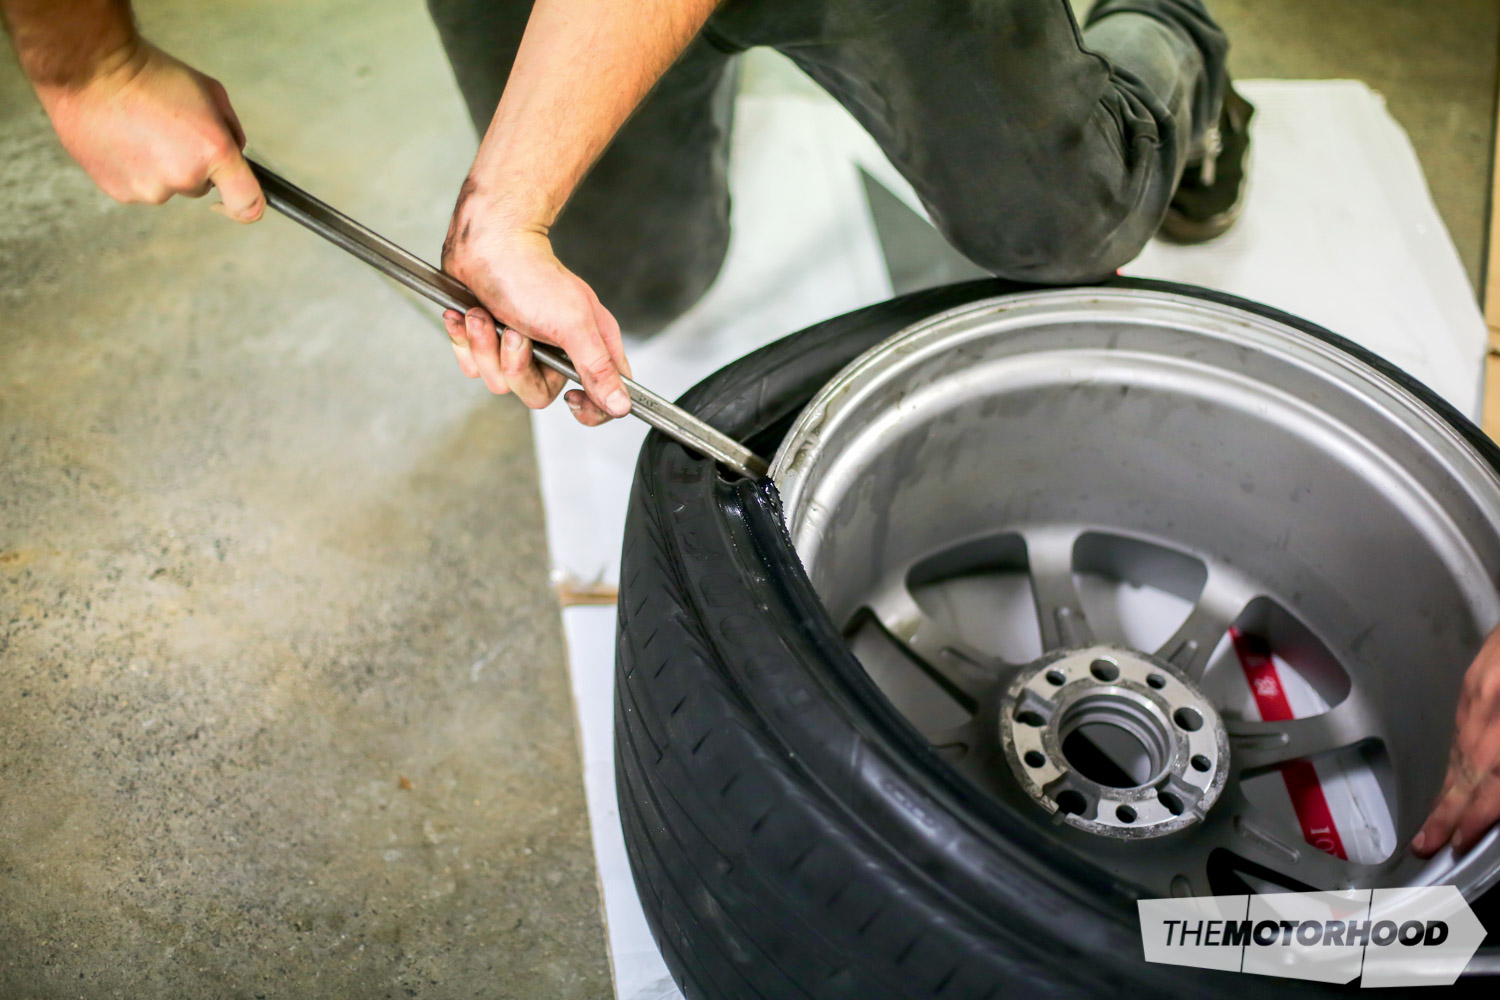
This stage is by far the trickiest, and requires plenty of elbow grease and a lot of patience.

Again, make sure everything is well-lubricated before starting. With a mate, or even two, grab a couple of pry bars and start slowly working your way around the tyre, popping the second bead over the lip of the wheel.
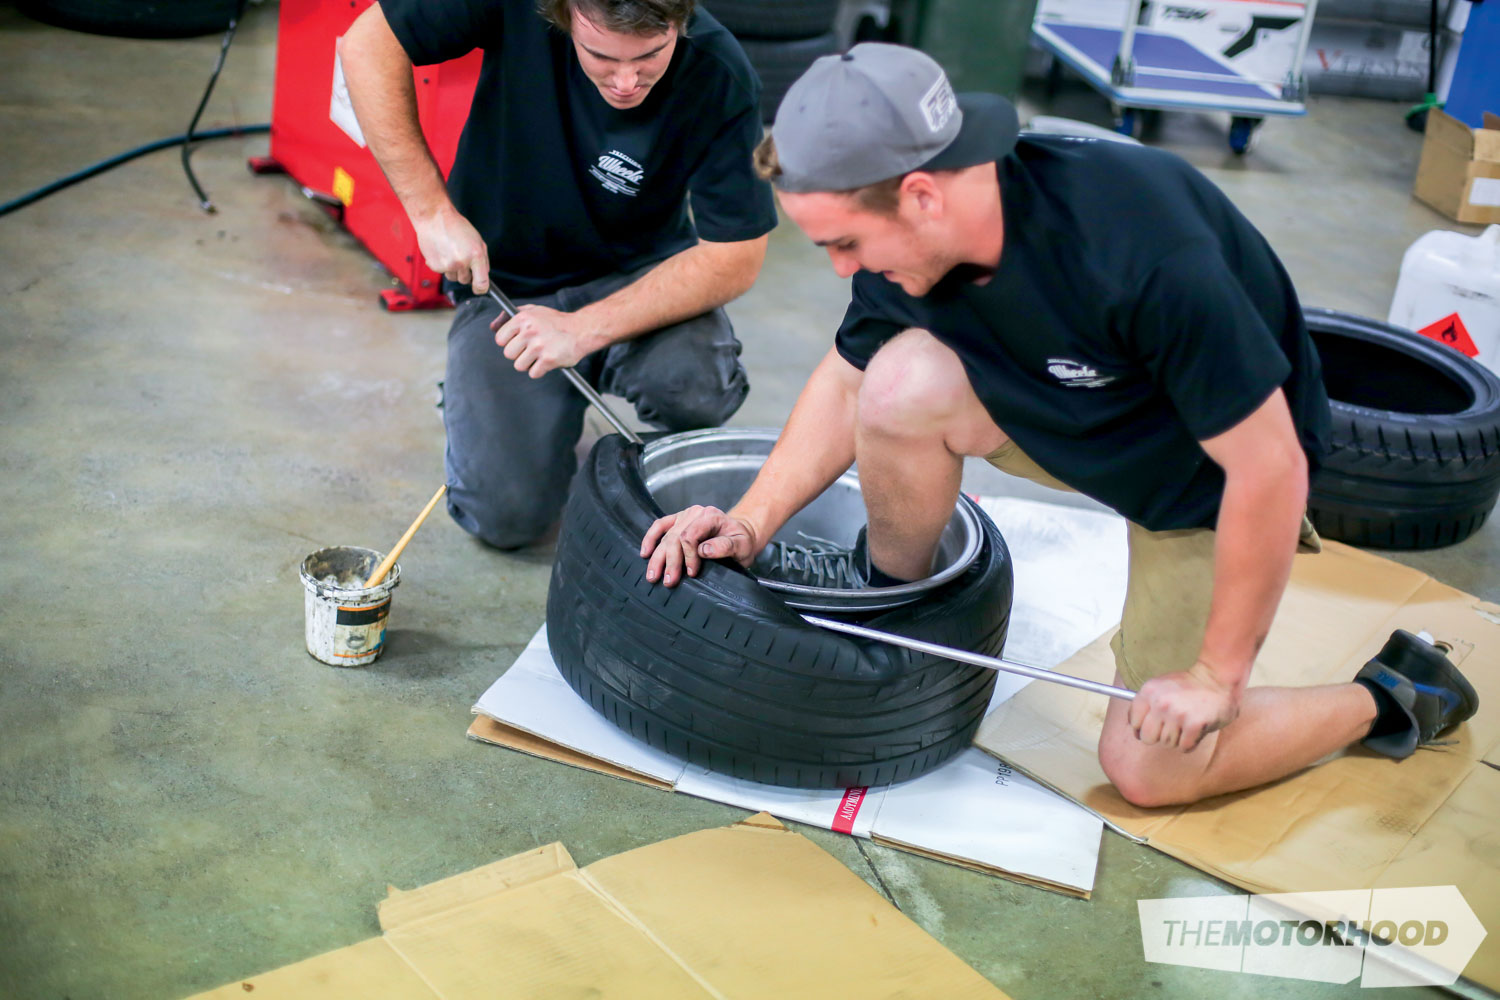
This is when you’ll potentially do the most damage to the wheel, so take as much care as you can when sliding and levering. After plenty of effort and some swearing, you should have been able to work your way around the rim, popping the tyre over the top, until one last yank on the pry bars gets the last bit — the toughest — over the verge, resulting in one tyre fully on the rim and ready to bead up.
Step four: spray and walk far, far away
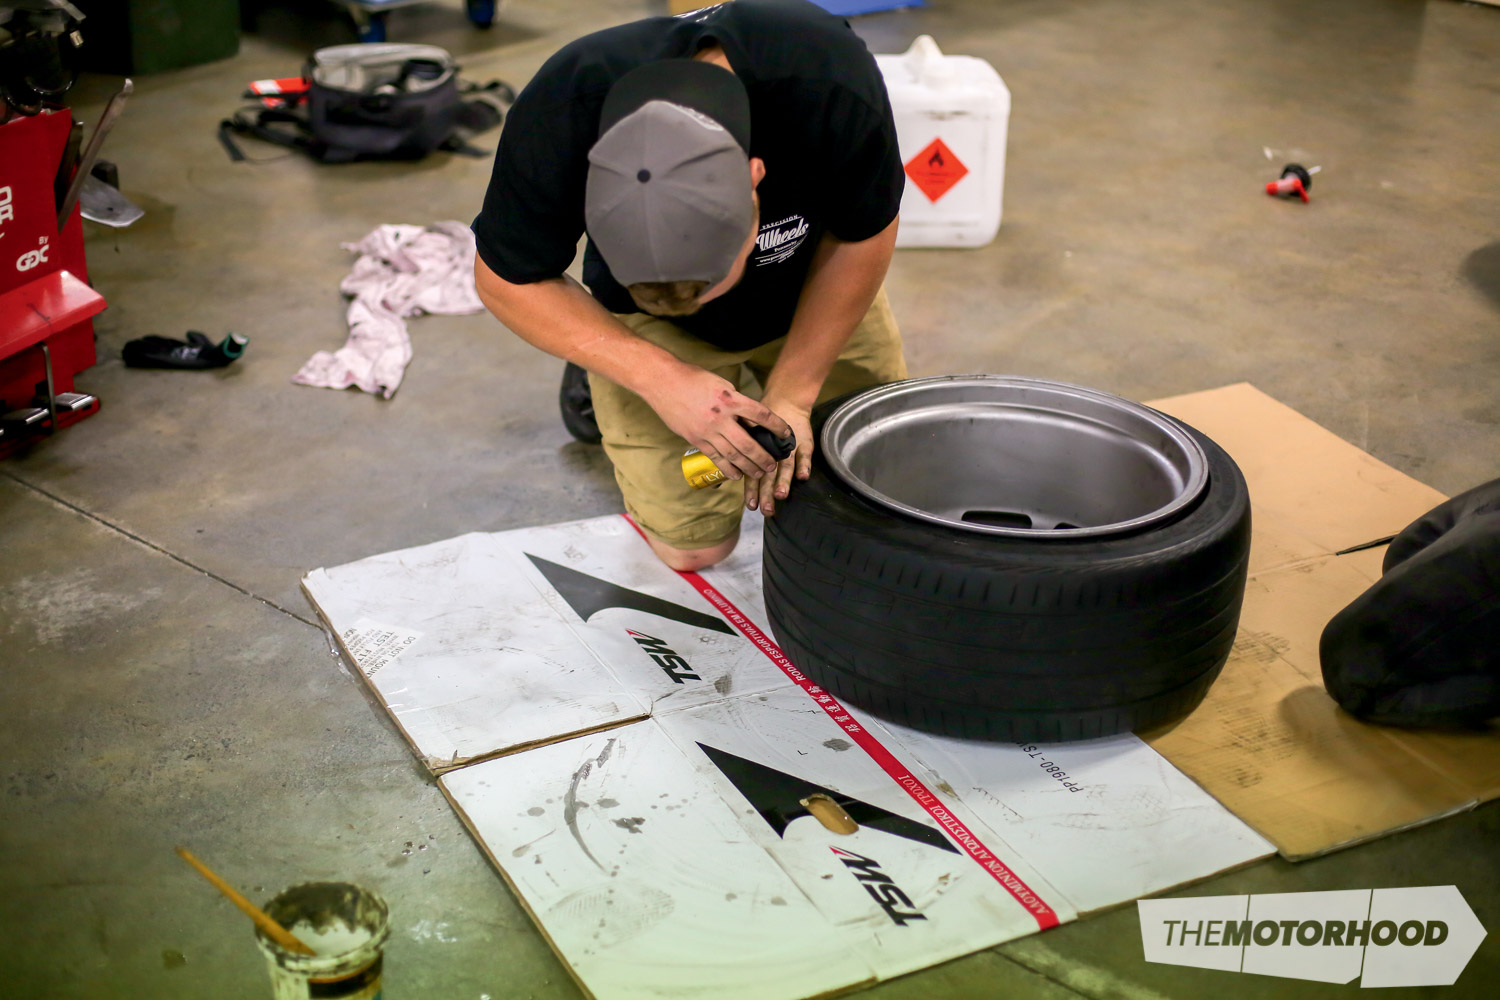
It’s almost time to light that candle! At this point, you’ll want to grab your aerosol of choice — we used a can of Lynx — and then quickly spray it into the gap between the tyre and the wheel, moving all the way around before finishing up by spraying a line from the rim, over the sidewall and preferably down the tread to the floor. This is done so when you come to light it, you’re lighting much further away from the explosion, reducing the risks.
Step five: KABOOM!
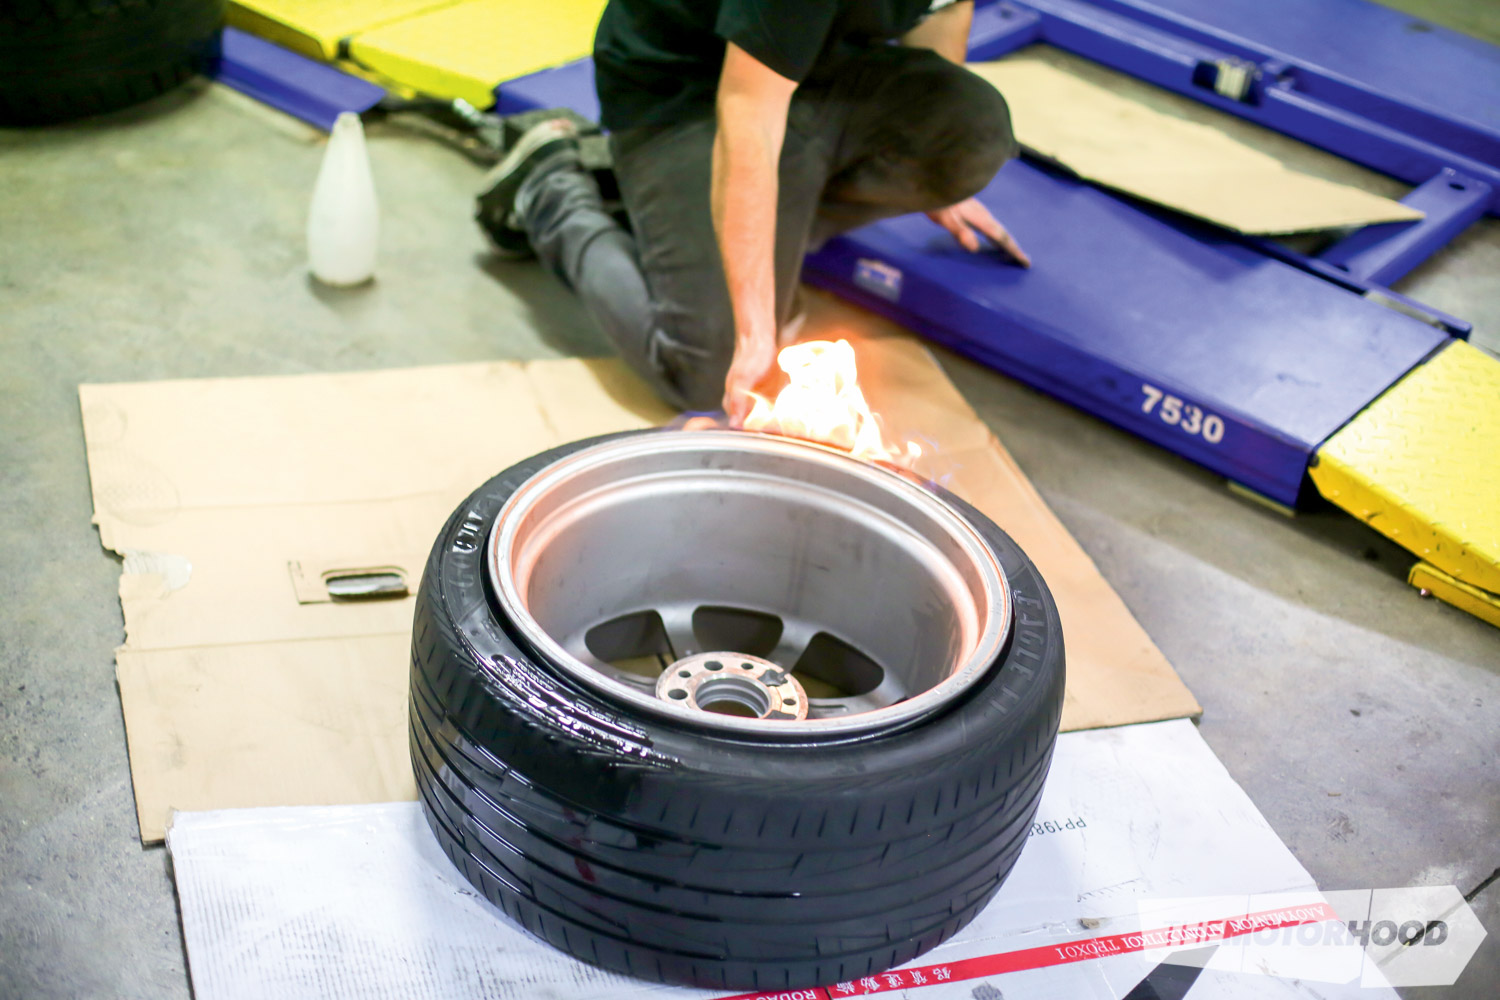
Basically, you want to be as far away from this bad boy as possible when it goes off. With that in mind, we recommend making yourself a wick by spraying the aerosol along the ground for a couple of meters and lighting that (also great for feeling like you’re in a Road Runner cartoon).
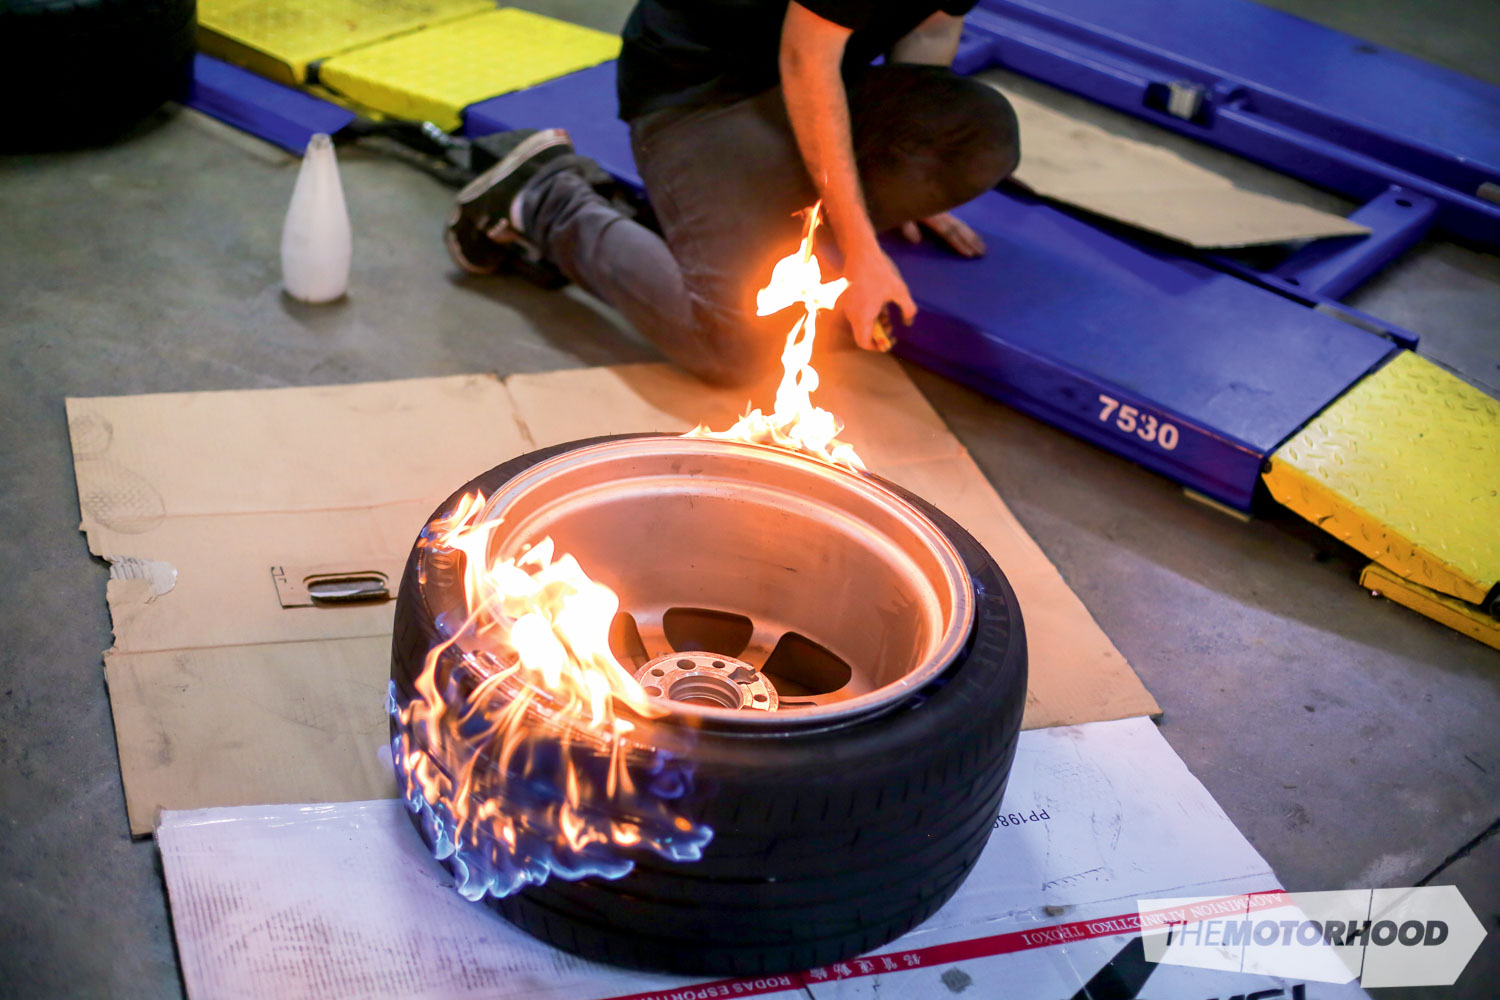
Otherwise, a BBQ lighter or something flammable on the end of a stick is a good move. Once it’s lit, it’s going to be all go — the tyre might not bead up straight away, if it seems to just be burning and not doing much else you can try giving it a good kick, which causes a rush of air, hopefully beading up the rim.
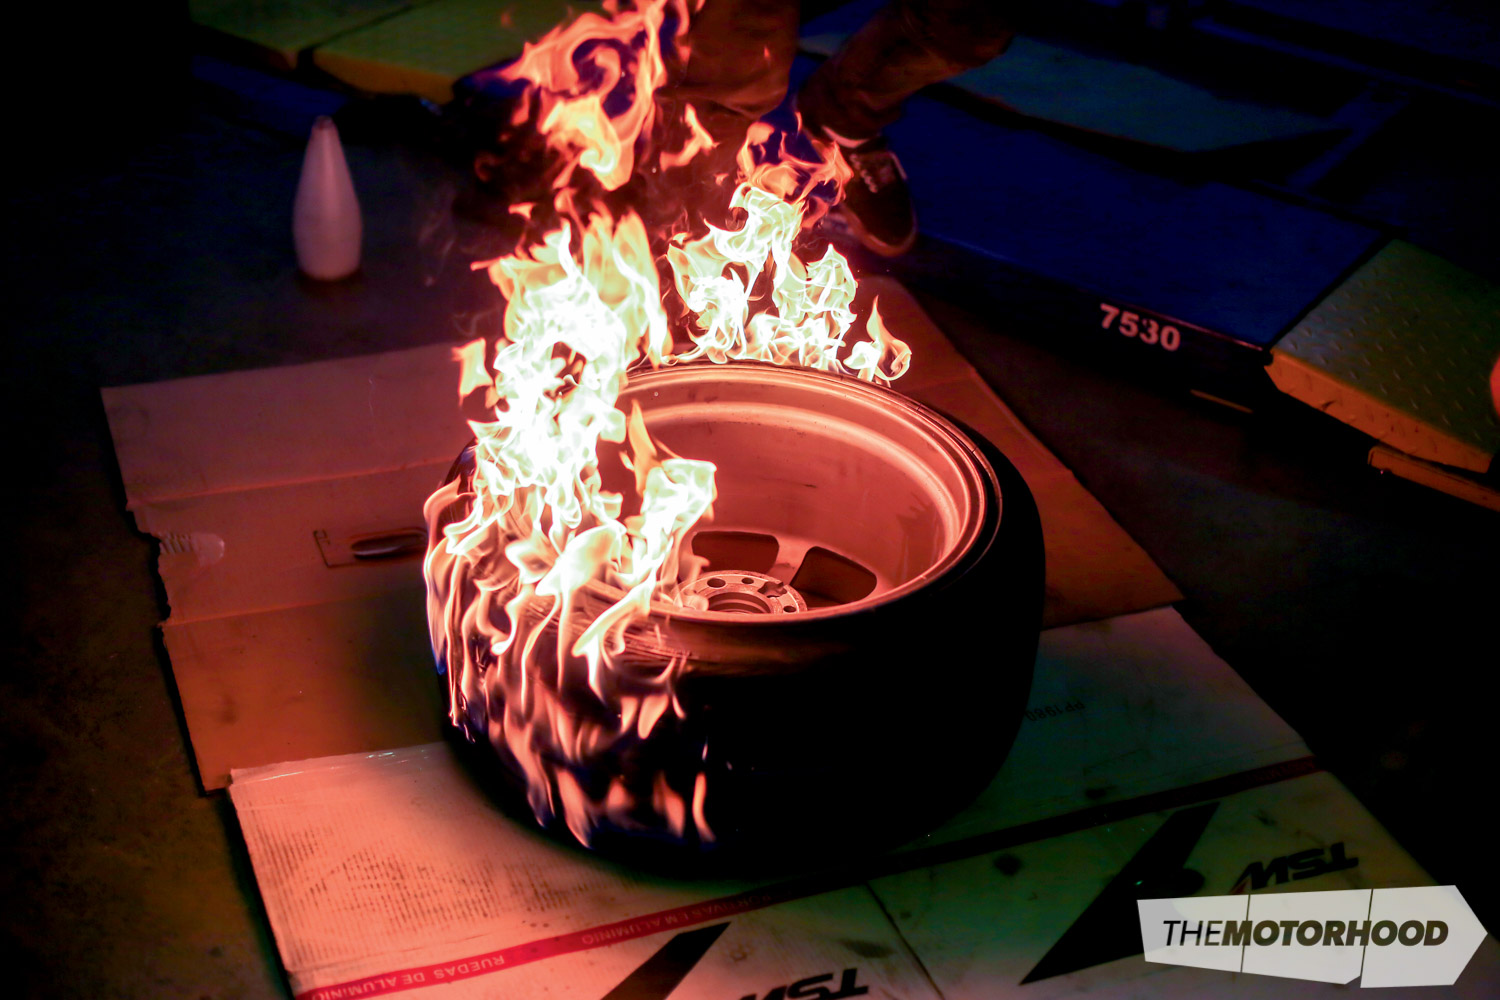
How do you know if it’s beaded up? Oh, you’ll know … The extremely loud bang will tell you. Once it’s all beaded up, the tyre will probably still be harbouring a few rogue flames, so put those out and then find yourself a compressor or a foot pump (someone usually has one at a track day) and chuck some pressure in that bad boy!
Step six: don’t blame us when you have to draw your eyebrows on with a vivid
Again, we can’t really state this enough. If you’re careless and dumb you can actually really hurt yourself, so if you choose to have a crack at this method, please take all the safety precautions possible — eye protection, gloves, and standing way the f*$k back is a good start. We’re most definitely not saying this is the preferred method for mounting up a tyre — but it works and it can be a real lifesaver if you’re in a bind.