We give you the lowdown on what it takes to turbocharge your RB20DE without it going kaboom!
Welcome to the Weekend Workshop — a place where you can save some cash by getting your hands dirty. These tech guides aim to arm you with the necessary information and knowledge to get out there and give it a go yourself, no professionals needed, and at a price that won’t break the bank.
This month we take a look at the single biggest reason why there are so many destroyed RB20DE engines lying around sheds all over the country — it’s due to the somewhat risky ‘plus T’ conversion. Kiwis have been bolting turbos to the side of non-turbo engines for as long as we can remember, but more often than not, the result is total disaster. Believe it or not, there actually is an art to turbocharging a naturally-aspirated engine, so we decided to talk to the experts, and set the record straight with an easy-to-follow guide. If you do not have a healthy motor to begin with, do not read on. Make sure you have compression tested your engine at the very least and have completed any servicing or maintenance where required, as there is potential for a 50 per cent increase in power in some applications, and you want to be sure your set-up will cope.
Tools of the trade
Believe it or not, this isn’t actually a job that demands many tools. According to the pros, you will need a basic spanner set, a socket set, a drill and drill bits, screwdrivers, a gasket scraper, a hole saw if you are installing a front-mount, a hydraulic jack and axle stands, and a ton of cleaning products and rags to keep things tidy.
Time
Pros like Joe Kyle from Joes Mechanical are capable of doing this conversion in-house in around five to seven hours, but they have use of a hoist and all the general workshop tools, so allow a full day or even a weekend.
Expert level
You must have a good understanding of the basic fundamentals of engine and turbocharger systems. The tuning should be left to the professionals.
Tips from the experts
There are a few key factors that will make or break the reliability of your plus T conversion. First off, do not use cheap gaskets. They may seem like a great idea at the time, but 5000km down the track you don’t want to have to pull off the turbo system to replace a leaking gasket.
If you’re installing a front-mounted intercooler, make sure to use a hole saw to cut the hole through the engine-bay steel. In the past many folk have used tools such as angle grinders and have cut off a lot more than needed, then come certification time it’s denied, and you are left welding up a steel plate to cover your mistake.
Another tip from Joe — when installing a front-mounted intercooler, do not cut the chassis rails to ensure your intercooler’s a nicer fit, this will most definitely make you fail the cert.
How to spot a plus T
Do you know somebody who has purchased what they thought was a genuine RB20DET, only to find after they began modifying it that it’s a plus T?
The first thing to do is check the head markings. The RB20DET head has ‘73L’ in the casting; the RB20DE has ‘72L’. If you have an R32 Skyline with an RB25 you suspect isn’t a factory turbo engine, check the head markings, which are ‘08U’ on the RB25DE. The second thing to look at on the RB engine is the rear of the intake manifold. The RB20DET engine has two vacuum pipes at the back; the RB20DE only has one because it doesn’t need to allow for the blow-off valve.
R32/A31/C33 RB20DE and RB25DE
Nowadays, Skyline R32s, Laurel C33s and Cefiro A31s can be purchased for stupidly low money, which makes them the most popular cars to do a plus T conversion on. Not only are they the cheapest to buy, they are the easiest out of all of the cars we feature to turbocharge, and some would argue they also have the sturdiest engines.
The first thing you need to do when planning to go down this route is think about your goals for the car. Do you want a small increase in power with a completely stock look, or do you want a safe and reliable 200kW at the wheels? This needs to be decided early on, because when you search for parts, you don’t want to purchase gear only to waste your hard-earned dosh on something that won’t get you the numbers you’re after. We have included a shopping list for both factory and aftermarket components, so take your pick, depending on your goals.
Once you have purchased everything you need to complete the conversion, it’s time to get into it. First off, you will want to focus on the largest and most time-consuming part of the swap.
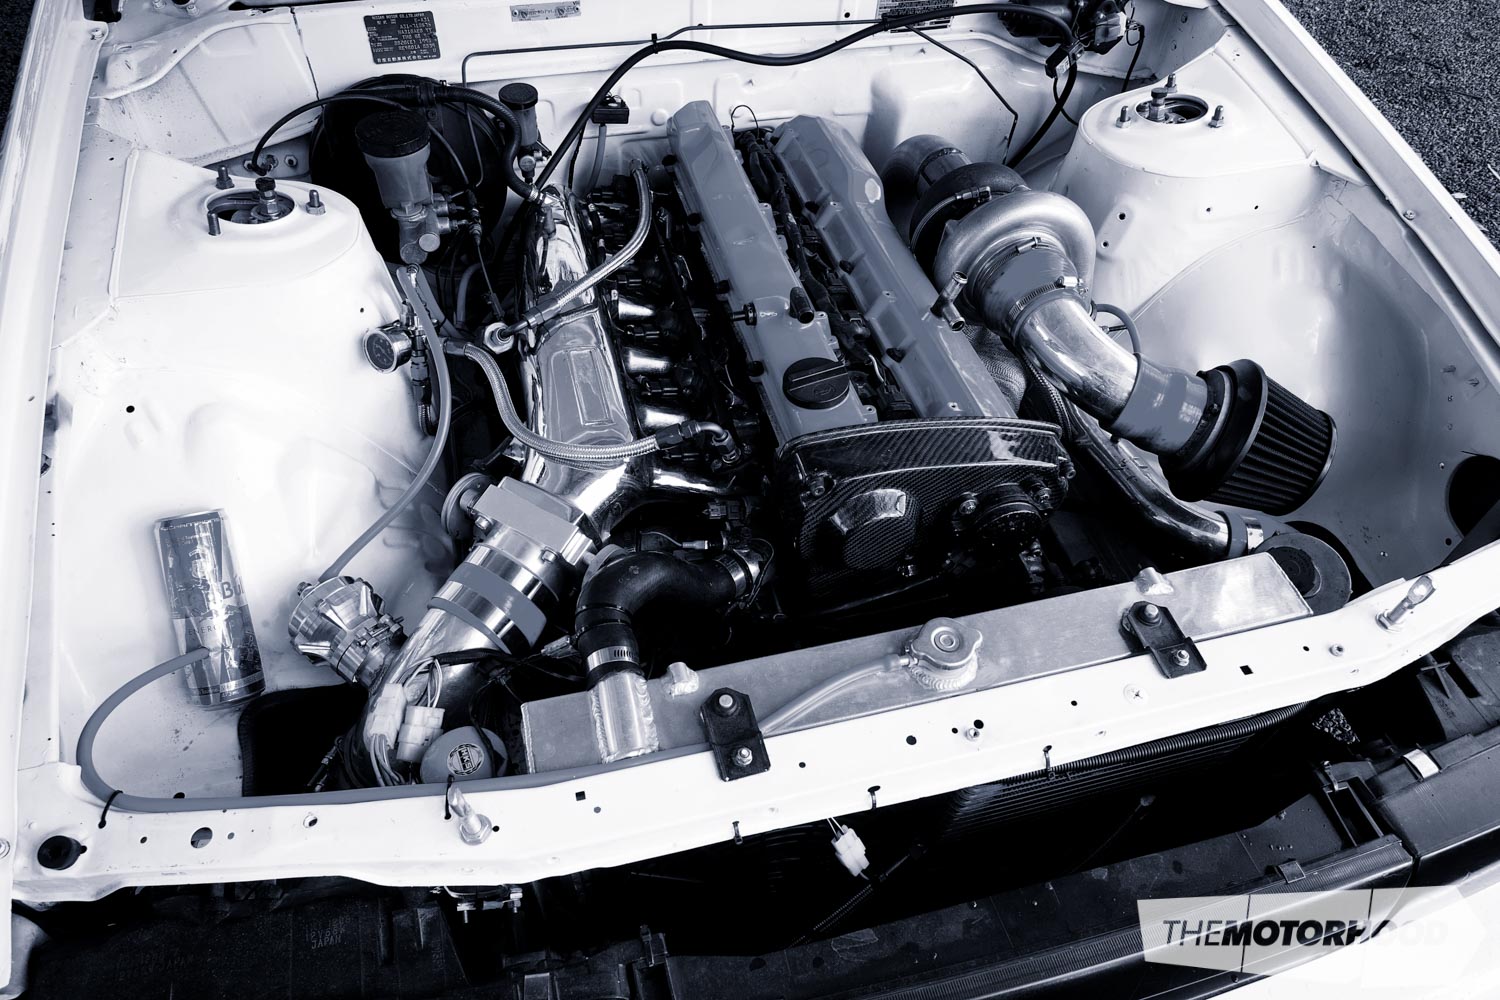
Turbo
Time to get your hands dirty. Start stripping off all the NA parts, including the standard exhaust manifold, intake piping and airbox. Coat the exhaust manifold studs in CRC or a similar penetrating product and let it soak in overnight — this will free the bolts up, break down the rust and ensure you don’t go snapping any studs.
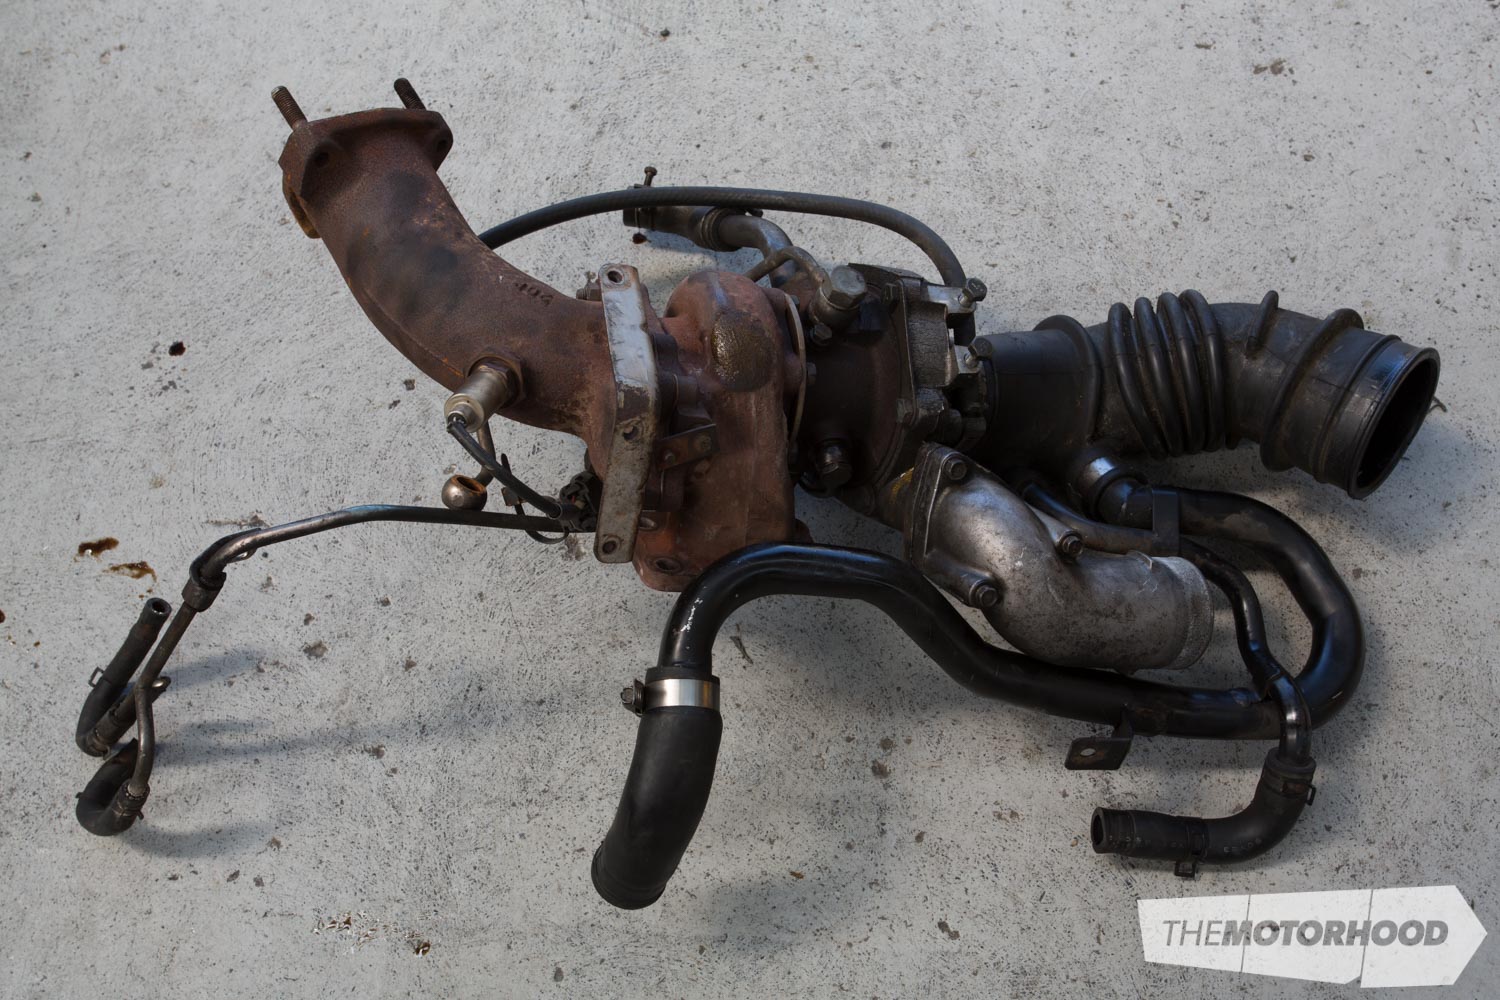
Once everything large is out of the way, we recommend you drain the coolant and oil to avoid contamination of any kind, and spillage. Install the new manifold and turbo, taking extra care not to get any dirt or debris into the compressor wheel/housing. Where there would be oil and water feeds, and return lines on the RB20DET, there are blanking bungs which are threaded in. Simply remove these and install the appropriate oil feed and oil return lines to and from the turbo, and don’t forget the vital copper washers. The factory turbo is both oil-and water-cooled and, according to Joe, the factory turbo on stock boost will last for a very long time without the extra water cooling. However, he did recommend it be done for peace of mind, so you will need to ‘T’ into a coolant line on the inlet side of the engine.
If you decided to go with a large high-mounted T3/T4 turbo, a few things need to be done differently. The first thing you will need is a high-mounted manifold, most of which are cheap imported items nowadays, so ensure the welds aren’t cracked and the manifold’s flanges are straight. An aftermarket downpipe is required for this application; make sure you know if your turbo is a V-band style, or five-bolt flange, as these will need to be purchased before fabrication of the downpipe can commence.
Intake and intercooler
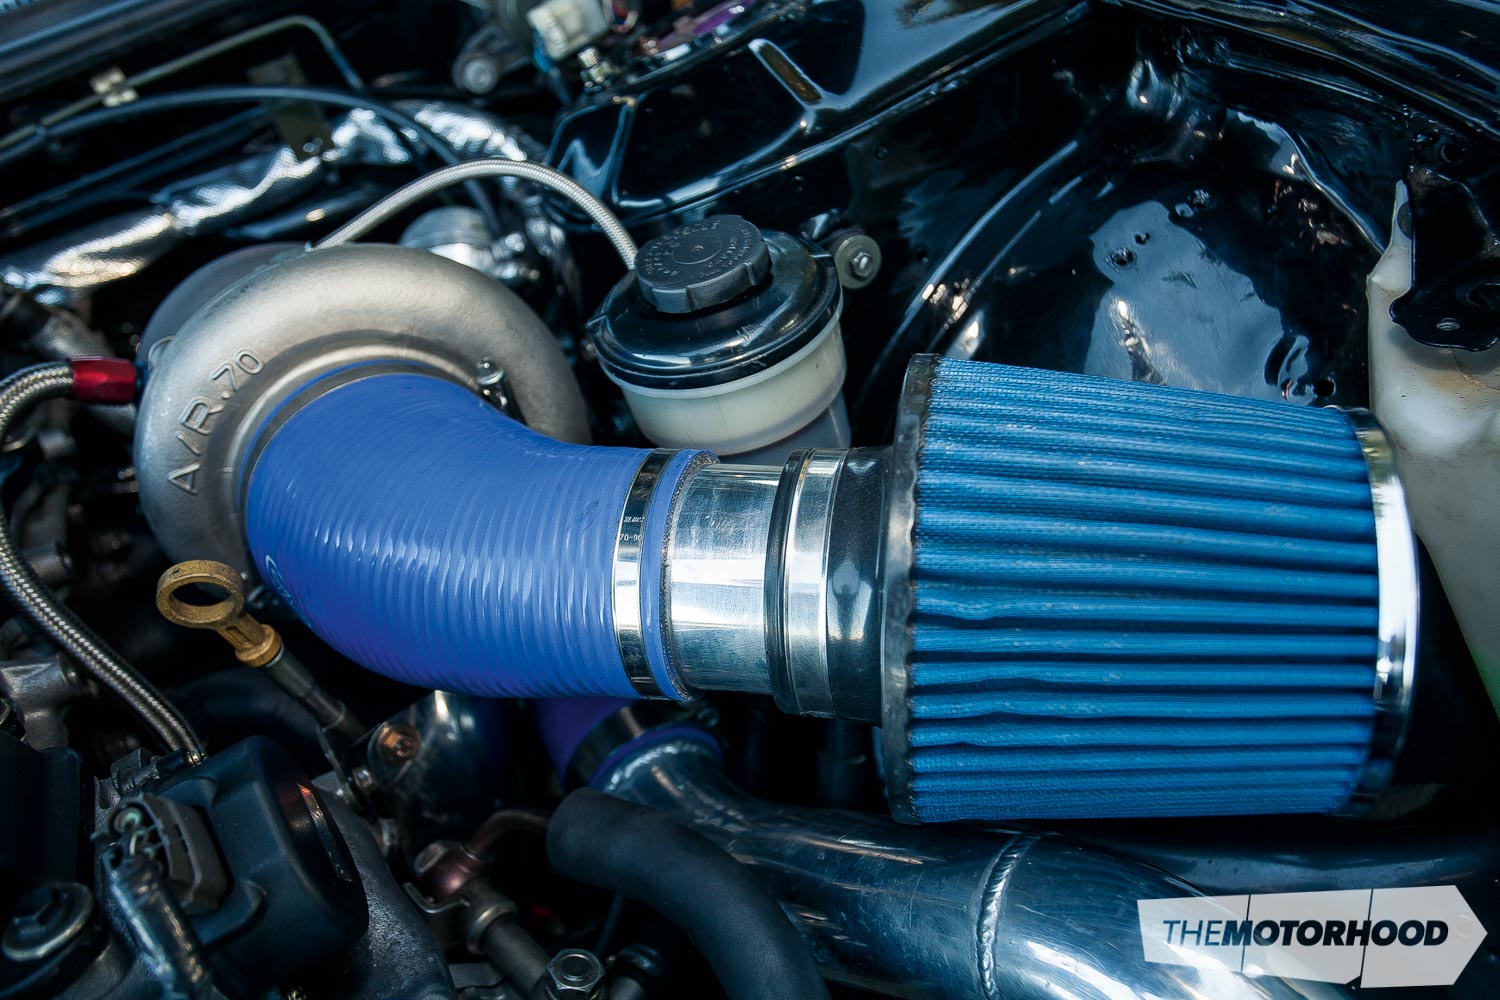
You will need a different intake pipe as the factory rubber one won’t work. A three-inch stainless or aluminum pipe will suffice, with the appropriate silicone joiners to attach it to the turbo and to the air-flow meter. Once you have completed the turbo installation, make a start on the intercooler set-up. If you’re going aftermarket with an off-the-shelf kit (which we highly recommend, to keep intake temps down), make sure the holes you cut are done with a hole saw, not an angle grinder.
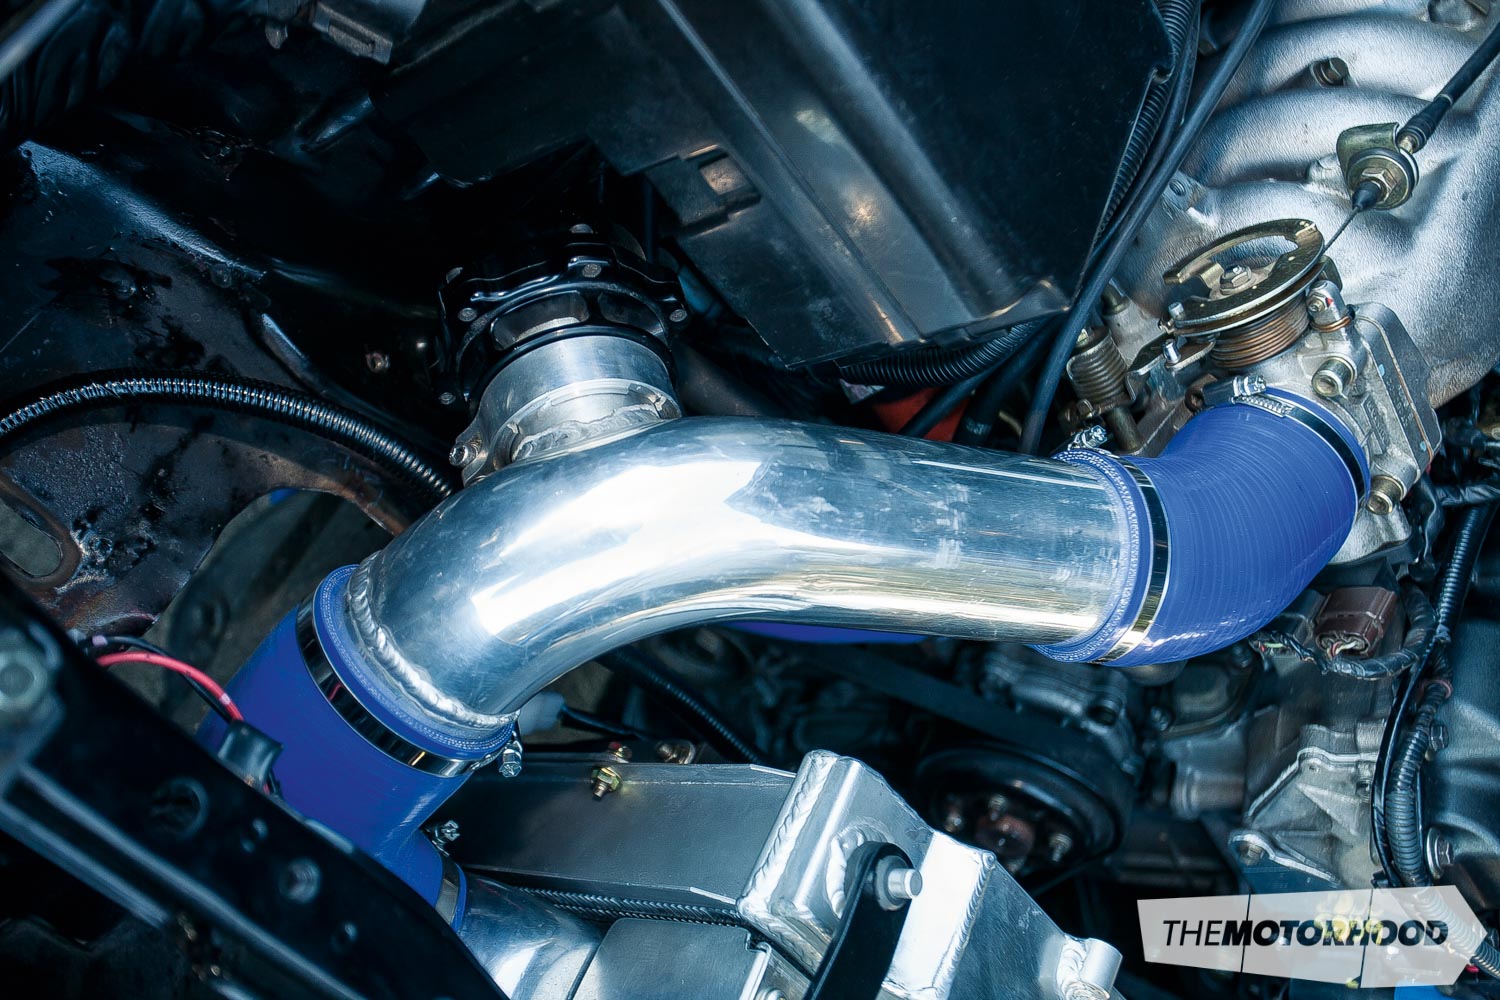
We would also recommend getting some rubber trim and installing it on the internal diameter of the hole, to prevent the piping being cut by sharp edges. When cutting any steel on your car, file it smooth and make sure you have used a rust-preventing paint on it. The factory intercooler location is in front of the passenger side wheel; ensure the factory intercooler you have purchased comes with the brackets and joiners. Installation of the blow-off valve, blow-off valve recirculation piping and J-pipe can now be completed. You’re nearly there!
Fuelling
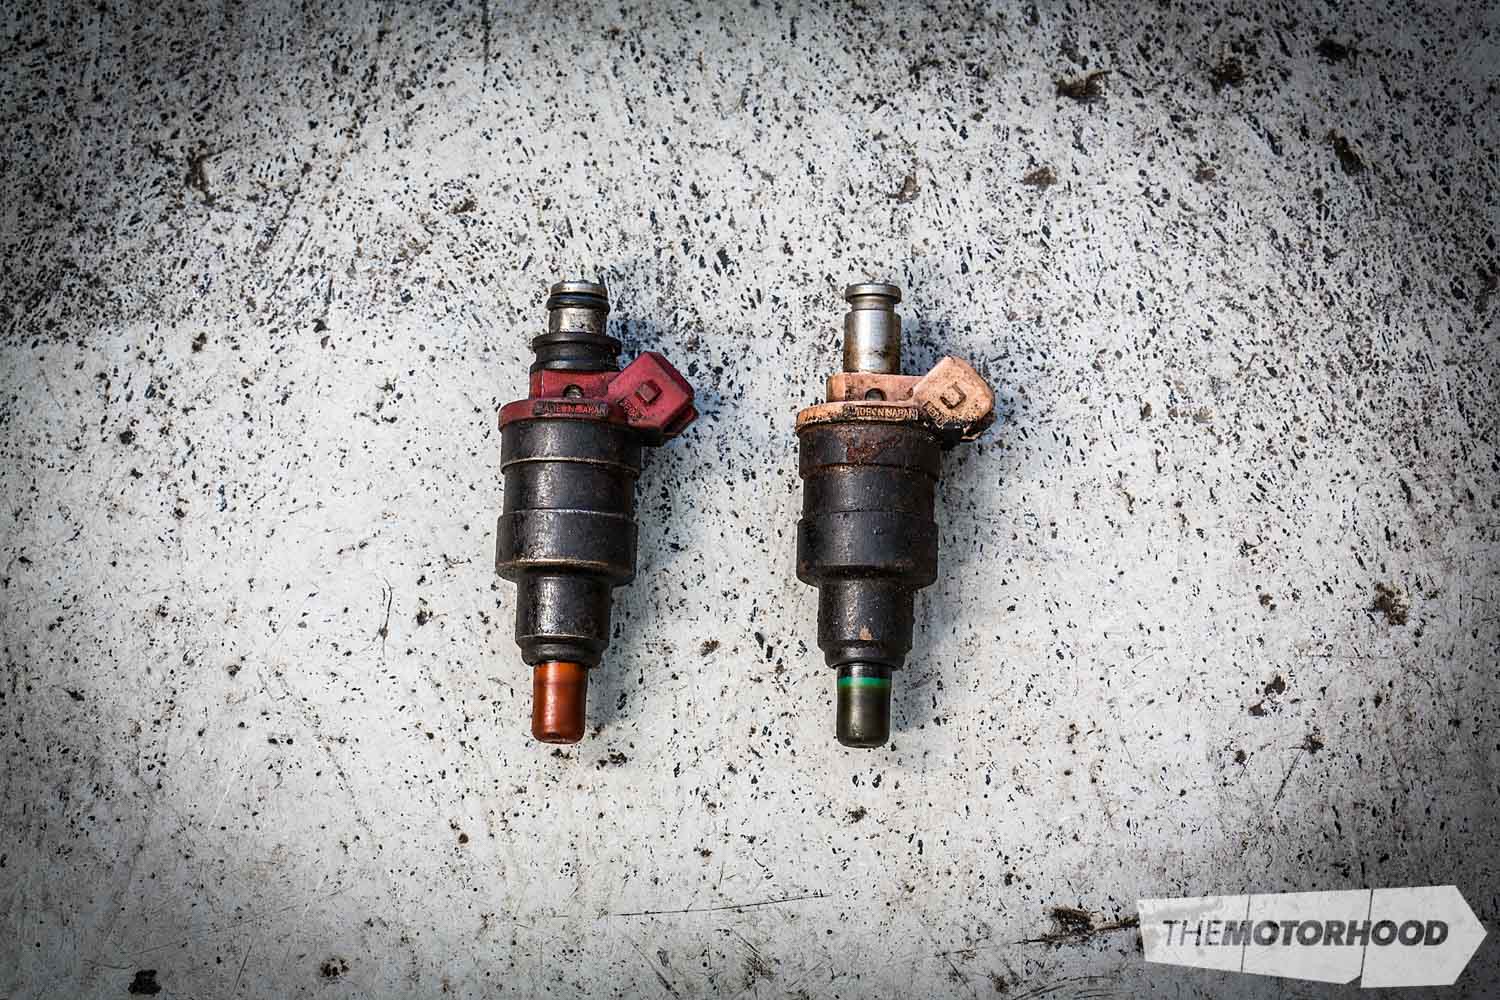
Many people that do the conversion install the RB20DET fuel pump as an upgrade, but though this pump is considered an upgrade, it is more than likely 20 years old, or more. At the minimum you should make sure to purchase a Walbro in-tank fuel pump, as they are very affordable and will easily flow the required fuel. As for injectors, the factory pink injectors need to be removed. RB20DET red injectors are 270cc, top-feed high-impedance items, and will flow the required fuel for a plus-T set-up close to a factory RB20DET engine. If you’re going for a larger turbo set-up similar to the ones we have listed in the aftermarket shopping list, you will need to go bigger again. To keep things in the Nissan family, 444cc injectors out of the R32 GT-R can be used, but as they are low impedance, you will need to run a resistor pack. The GT-R injectors will allow you to run an easy 210kW without any troubles. Please note that if you are running a larger injector set-up, you need the tunable ECU.
Clutch and driveline
As power output has increased around 10 to 60 per cent, some simple upgrades can be made to ensure your transmission or gearbox don’t give up the ghost. If you are still running the automatic transmission and would like to keep it that way for whatever reason, then you will need to upgrade to a racing-style trans fluid or similar. To keep fluid temperatures down the best thing you can do is install a trans cooler. Identical in construction to a generic oil cooler, it carries out the same function of reducing trans-oil temperature, which in turn will increase transmission longevity. If you have a five-speed manual gearbox then you will want to follow a few rules that also apply to the automatic. First off, changing your fluid is a good start. Red Line shockproof oils are a great upgrade and offer more protection, while OEM stuff does the job just fine, too. The factory clutch won’t be able to handle the big increase in torque for long, so upgrade to one with an uprated pressure plate at the very least. To get the power to the ground, an R200 LSD out of the GTS-T Skyline is a very cheap upgrade. In Issue No. 213, Weekend Workshop taught you how to tighten your LSD on the cheap, and we highly recommend doing this before it goes in.

Ignition
Many RB engines this old experience coil-pack failure when the power is increased. There are two options to remedy this. The first, and in our opinion the best, is to replace the factory coils with aftermarket items, to retain a nice, clean, factory appearance. The second option is going external coil with a wasted spark set-up, which is the cheaper option, but doesn’t look anywhere near as nice. Seeing as boost is now in the mix, you won’t be able to skimp and use 91-octane fuel any more; 95 or 98 is what you need to keep things safe and knock free.
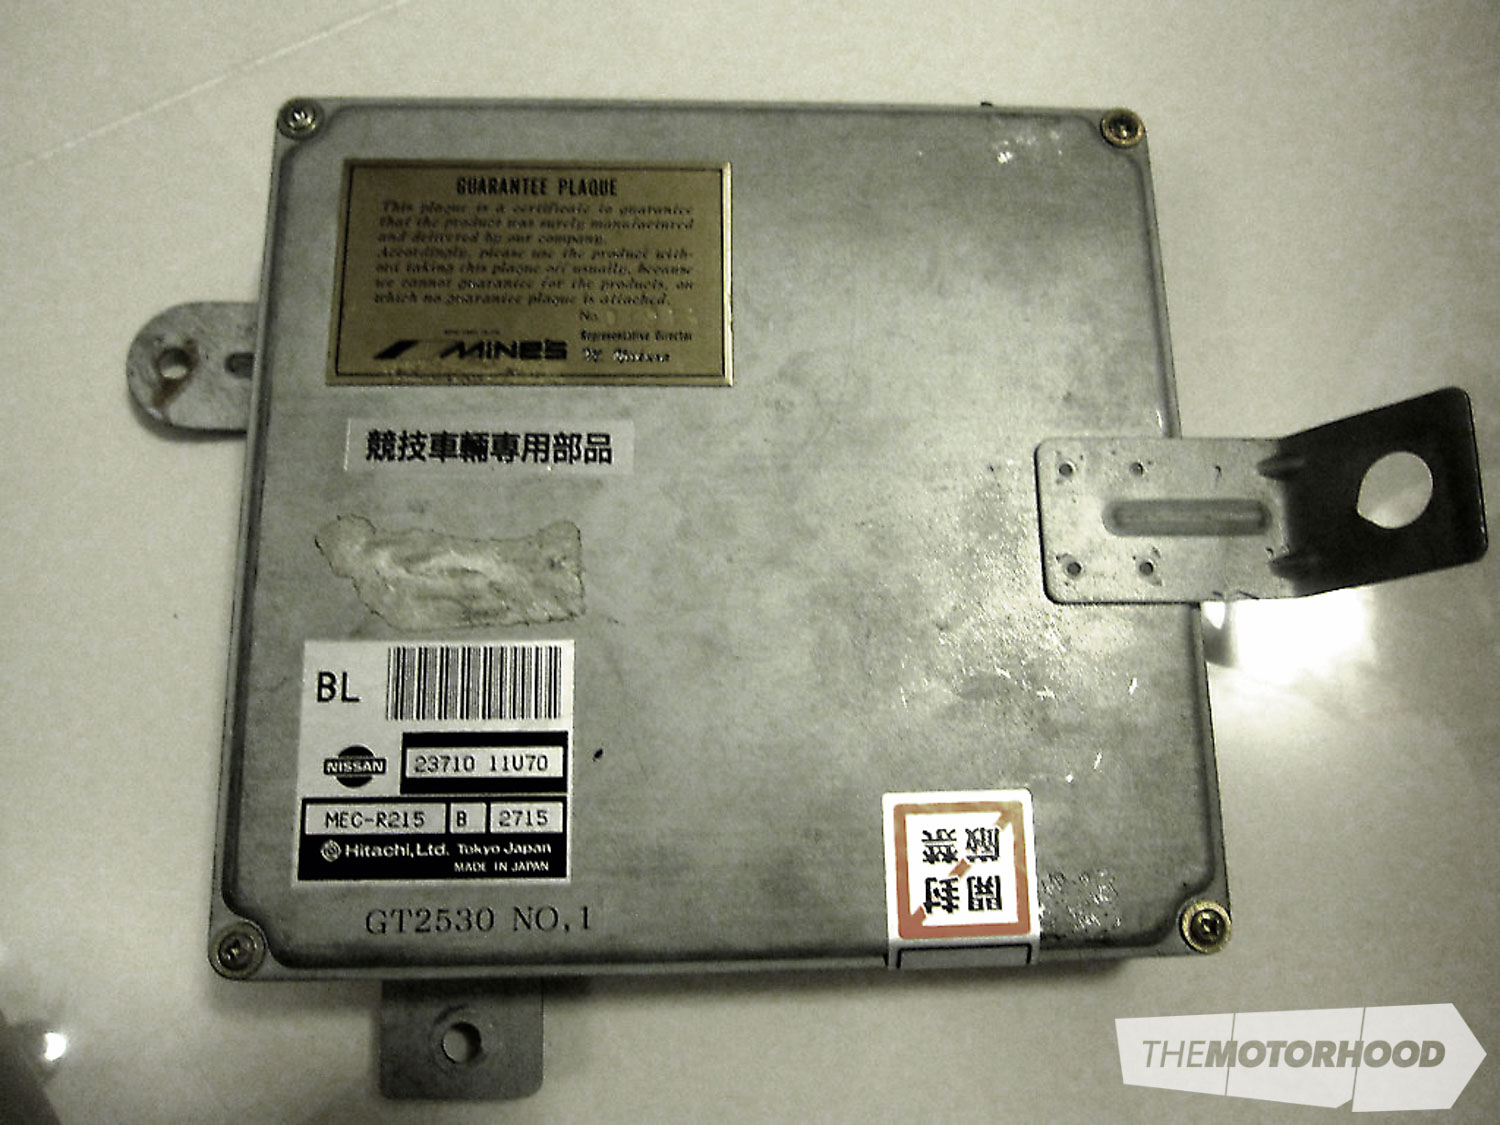
ECU
Probably the most vital component to turbocharging your RB20DE and ensuring it runs correctly, is the ECU and fuelling. For any plus T conversion we would recommend using a factory ECU with a chipped EPROM. The chip allows a tuner to fully tune both fuel and ignition timing that’s accurate for your set-up, to impart the biggest gains and reliability.
Take it for a spin
Now that you have a boosted RB, it’s time to take it for a spin. Don’t go hard on it until you have checked for oil leaks, vacuum/boost leaks and safe air-fuel ratios. Once you are certain it isn’t over boosting or leaking water and oil, go have some fun — you’ve earned it!
A huge thanks goes to Joe Kyle from Joe’s Mechanical and Daniel and Candice from RB Parts for sharing their wealth of knowledge.