Welcome to the Weekend Workshop — a place where you can save some cash by getting your hands dirty. These tech guides aim to arm you with the necessary information and knowledge to get out there and give it a go yourself, no professionals needed, and at a price that won’t break the bank.
This month we want to take on a task that’s guaranteed to make your car stand out this summer. So we cruised on down to Smits Group to get the low-down on how to cut, polish and wax your car properly. This is guaranteed to restore a paint job to its former glory, or if it is already in good condition, it will add a great layer of wax, which will keep it shining for years to come. We also included a few other easy-to-do tasks that will enhance the impact of your new clean ride, including cleaning mag wheels, restoring the headlights and polishing metal trim.
Tools of the trade
Meguiar’s DA Power System, Quik Clay Detailing System, Meguiar’s Ultimate Compound, Meguiar’s Ultimate Polish, Meguiar’s Ultimate Wax, Hot Rims All Wheel Cleaner, Meguiar’s All Metal Polish, Meguiar’s Headlight Restoration Kit.
Time
Allow a full day.
Expert level
You don’t need to have magic powers to get a good result when doing this. The pros really do make it look easy, but if you have patience and the right products you can achieve the same results.
Tips from the experts
Take your time and complete the work in a shaded area. Never cut paint in direct sunlight.
Clay, compound polish and wax.
Step one:
Wash and dry
You need a clean car before you can carry on to step two. It is important all loose dirt is removed to prevent scratching, which will also ensure you don’t damage or contaminate any polishing pads or microfibre cloths. Once the car is all clean, grab your chamois and make sure it is completely dry to the touch. If you’re in a hurry, compressed air is great for pushing water from all the spots you can’t reach.
Step two:
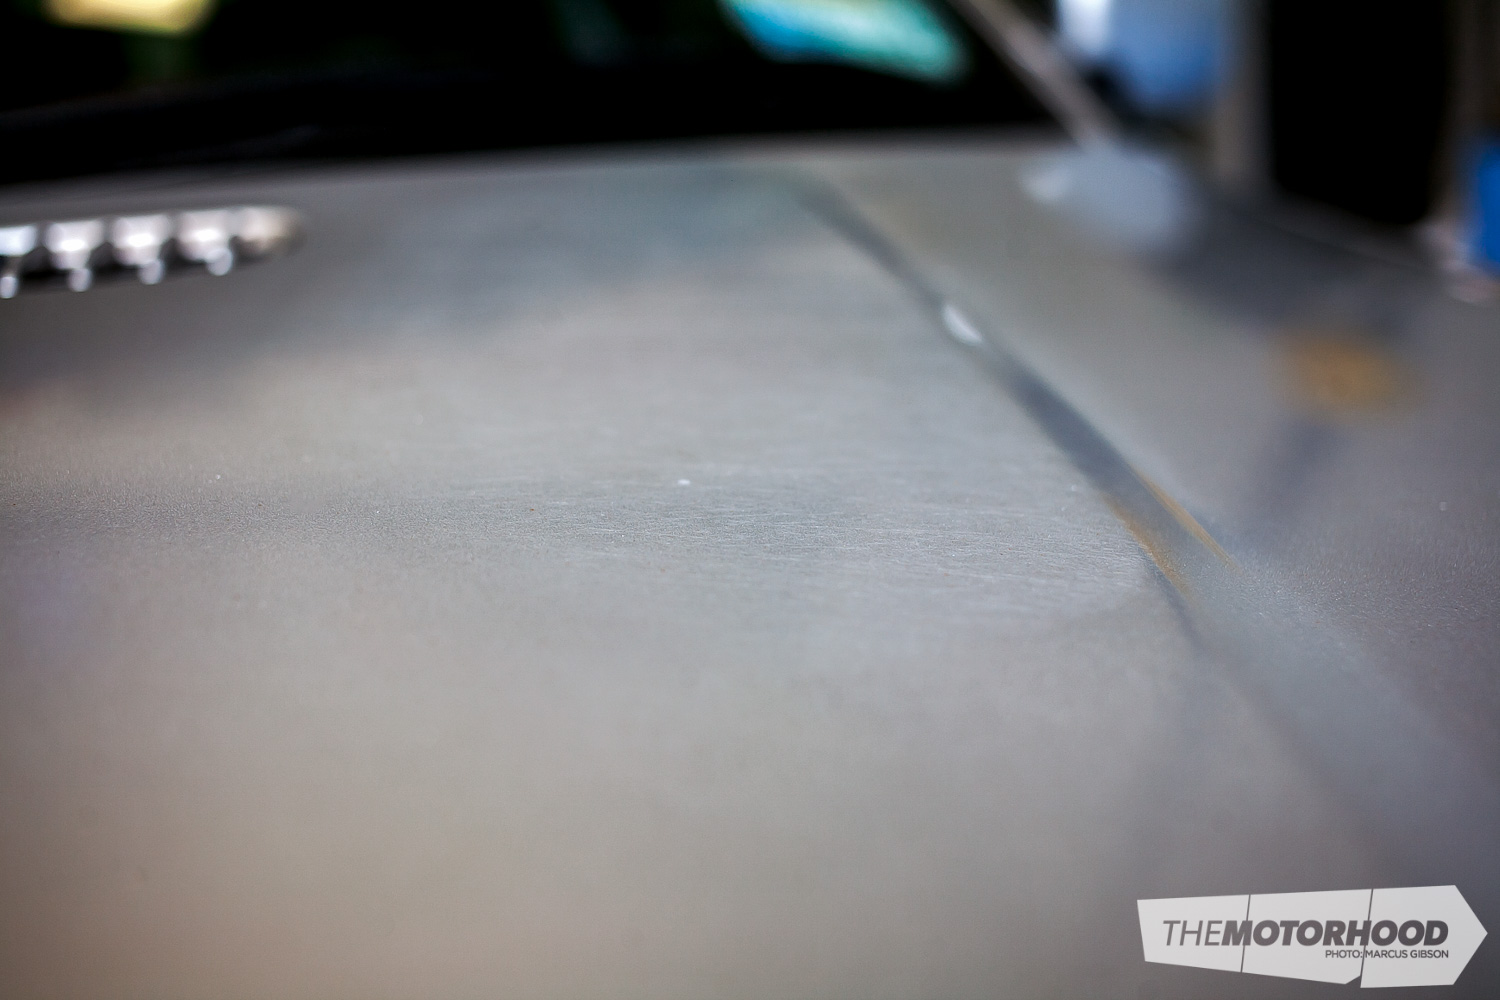
Evaluation
This step is essential before you dive into completing the work. If the paint has been neglected for some time, the surface will be rough and covered in all types of contaminants, which dull the finish. Run your hand over the surface, and if it’s not as smooth as a baby’s bum, you would choose to clay bar the surface first. If you regularly polish the paint, and the surface is smooth, you will only need a quick wax, so skip step three.
Step three:
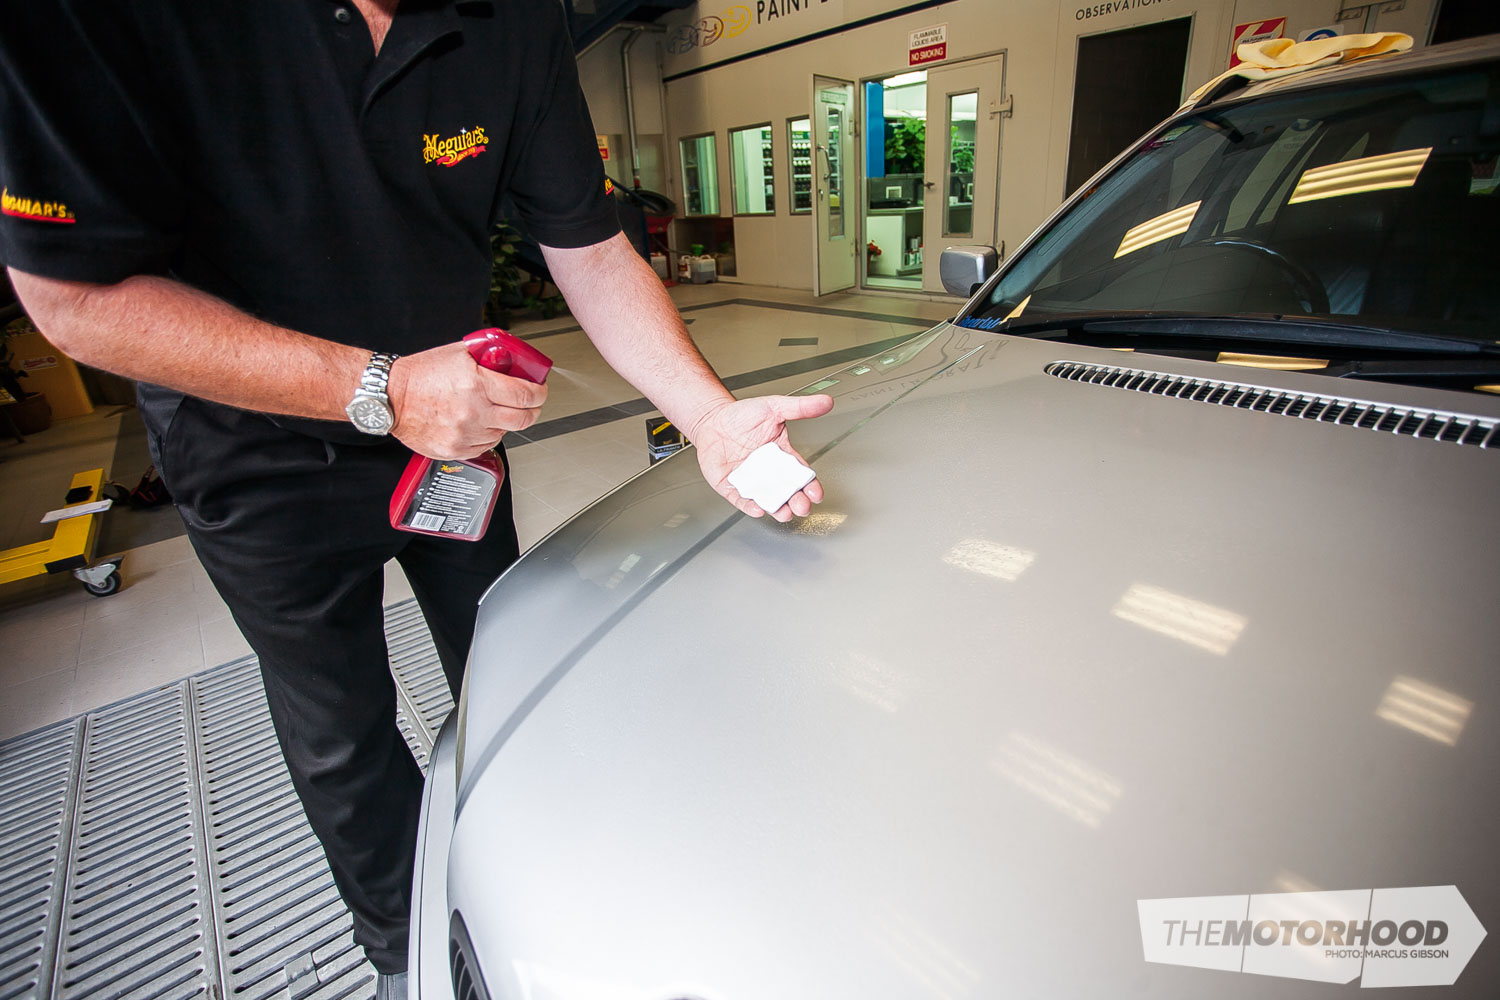
Clay time
Remove the clay from the packaging and flatten it out with your hand. The clay bar removes baked-on contaminants such as tree sap, overspray and industrial fallout. A lubricant of some sort is needed with the clay, so Quik Detailer is provided with this kit from Meguiar’s. It provides great lubrication, and also smells amazing. Spray the surface, then rub the clay bar over the paintwork in a circular motion. Work only about a half a metre at a time. Once you have finished with an area, wipe it down with a microfibre cloth and run your hand over it to check the results, if it’s still a bit rough, apply the lubricant and go over it again. Don’t forget to work the clay in your hands to give you a fresh surface, and if you drop it on the ground, do not use it until you have cut off and discarded the contaminated area.
Step four:
Compound
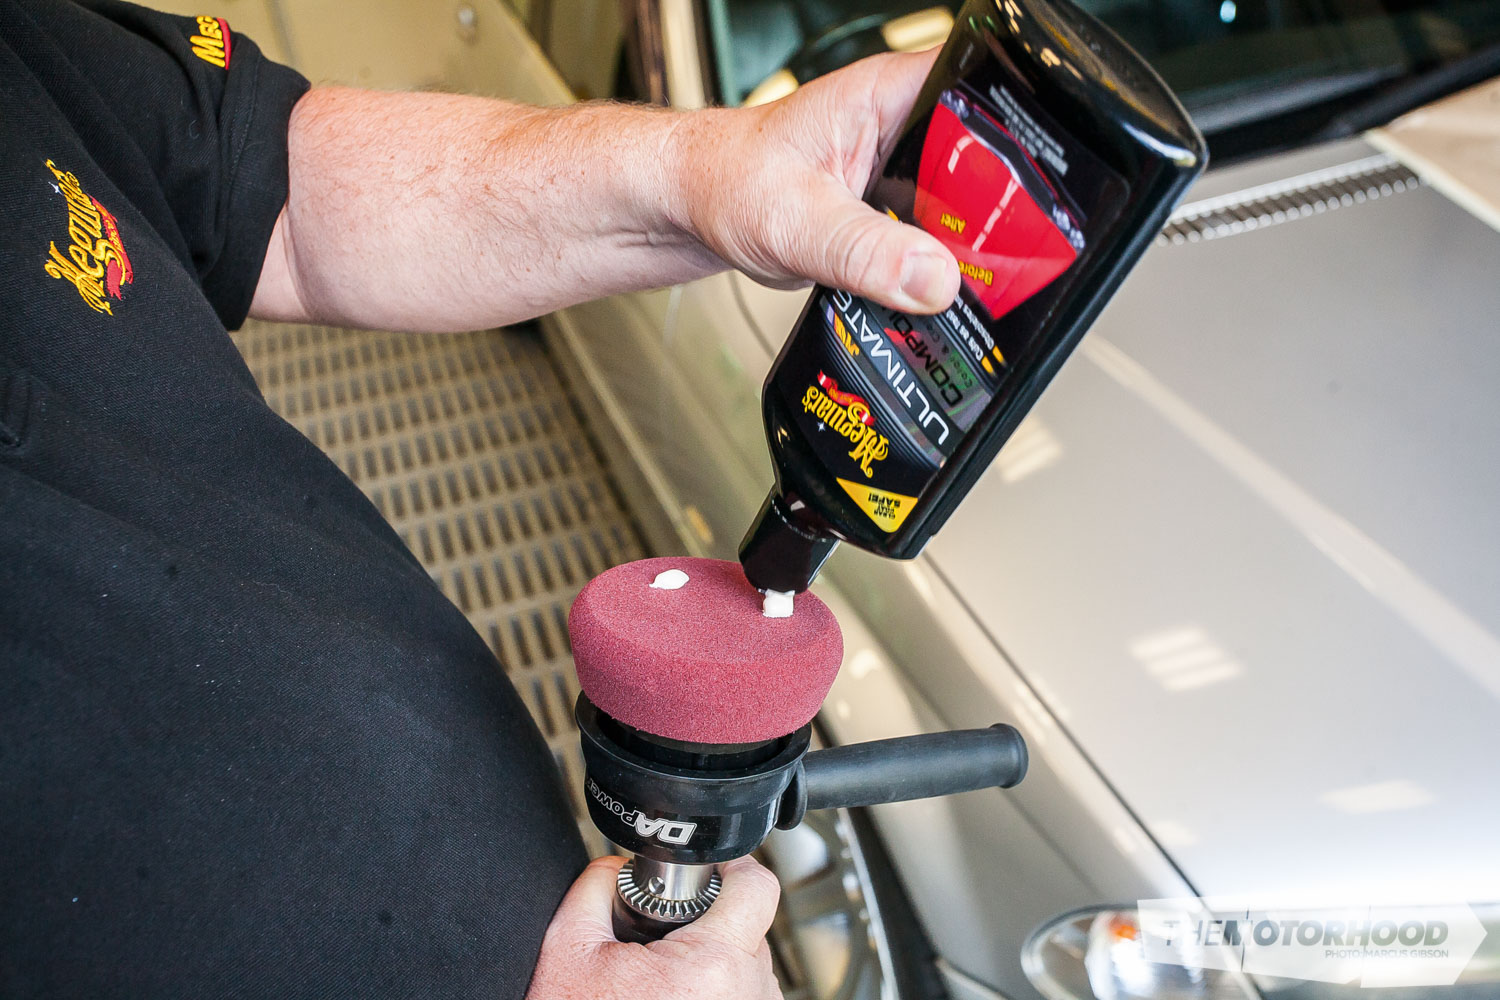
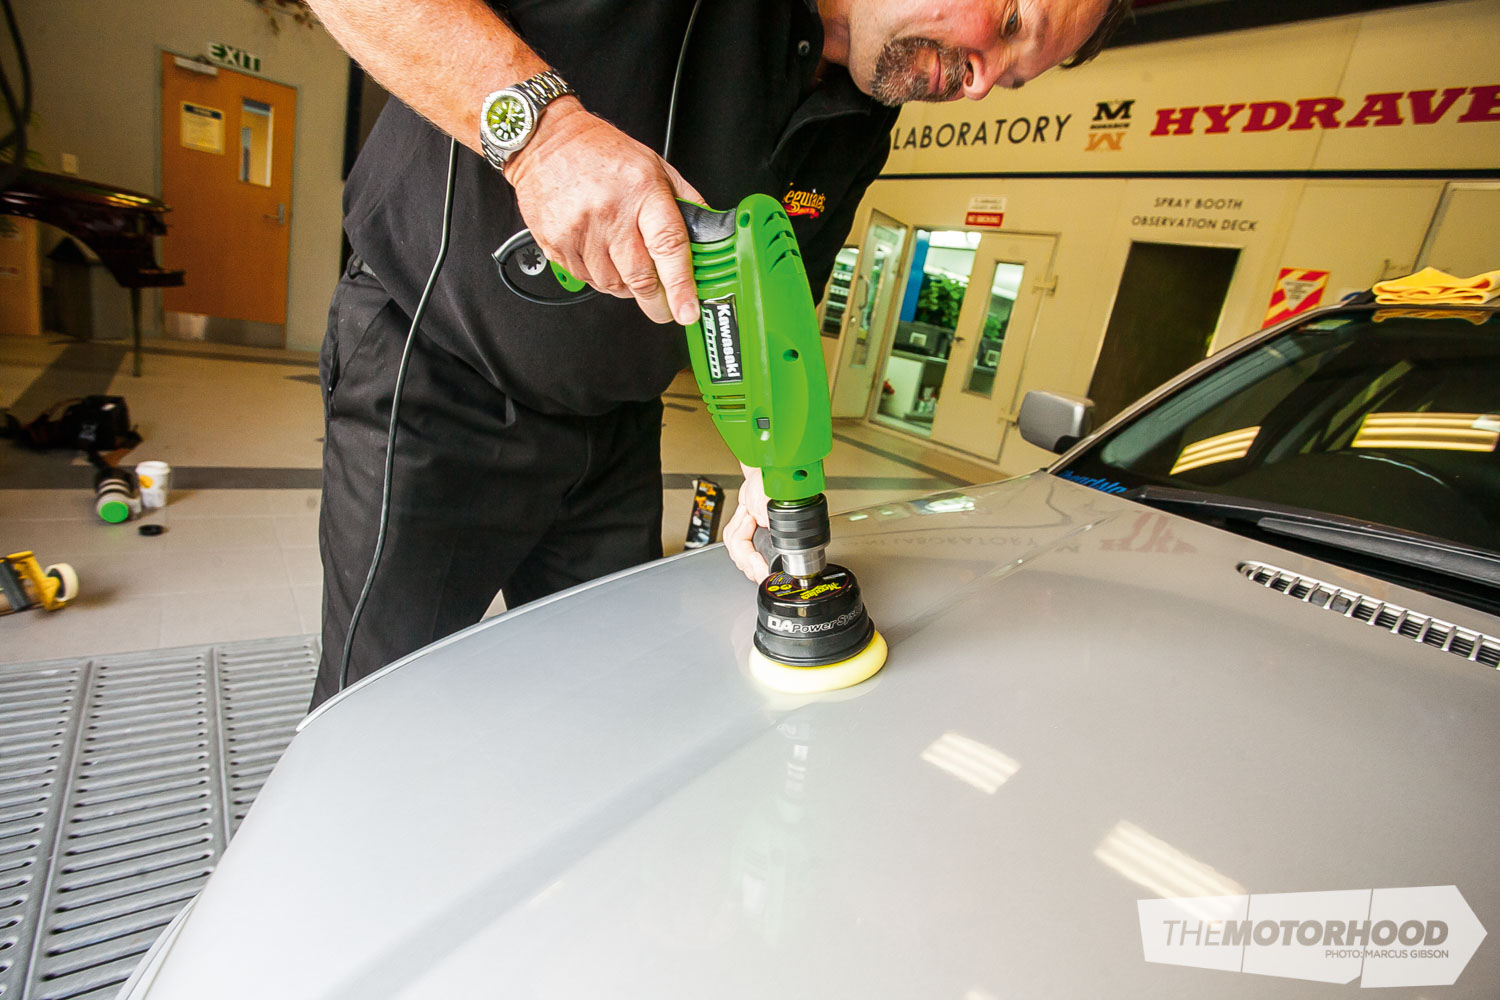
The next product we are going to use is Meguiar’s Ultimate Compound. This product quickly removes stubborn oxidations, stains and bird droppings. It is clear-coat safe, so get stuck in with some elbow grease. There are two different methods to apply it, either by hand or using the DA Power System, which attaches to your household drill. We opted for the DA Power System, as we are lazy. Apply the compound to the pad in small dabs. Holding the drill, we pressed the pad firmly against the paint and worked it in a little, so when we hit the power it wouldn’t flick everywhere. Work the DA around in a circular motion and only cover a small area at a time, we chose around half a metre squared, working it in until the product goes glossy then all but disappears. This isn’t a product that should be left on the paint, so grab your microfibre cloth and wipe off the excess dry polish. Repeat the process until you are satisfied that you have covered every inch.
Step five:
Polish
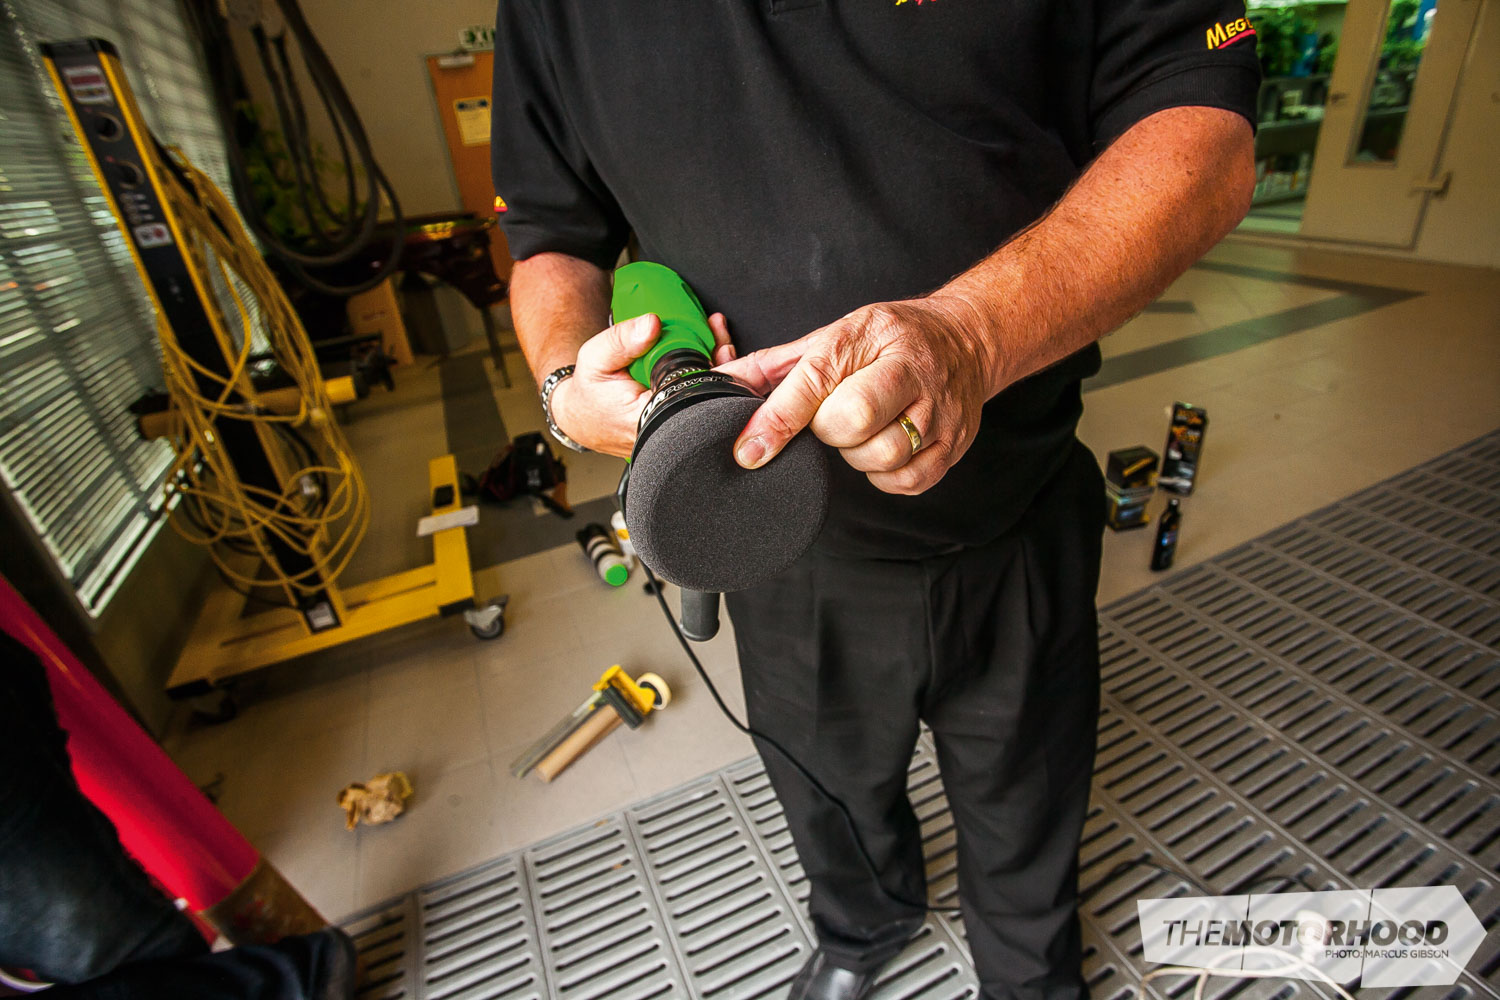
This is the final step before we can wax the paint for the ultimate glossy depth. The purpose of the polish is to eliminate fine swirls, perfecting the paint prior to waxing. We now switch over to the polishing pad for this step, it is slightly less abrasive and more suited to this product. The same methods as step four are used. Apply the product to the polishing pad in small dabs, press firmly against the paintwork and start working the drill. The polish can’t be left on the paint once it has dried, so ensure you wipe this off with a NEW microfibre cloth soon after application.
Step six:
Wax on Wax off
Waxing a vehicle’s paintwork adds a layer of protection from exposure to harmful UV rays and road contaminants similar to those removed with the clay bar in step three. Meguiar’s Ultimate Wax is its most advanced wax product, it is synthetic-based instead of carnauba. This product doesn’t dry white, which is particularly good for black cars where white residue can sometimes be left from waxing. We used our third and final pad for this step, the waxing pad, which is softer than the previous two and should only be used with a wax product. Apply the product to the wax pad in small dabs, press firmly against the paintwork and start applying the product, covering half-square-metre sections at one time. This product, unlike the others, actually needs to be left on for a couple of minutes to dry, so by the time you have waxed the entire vehicle, it will be ready for you to wipe off with a NEW microfibre cloth.
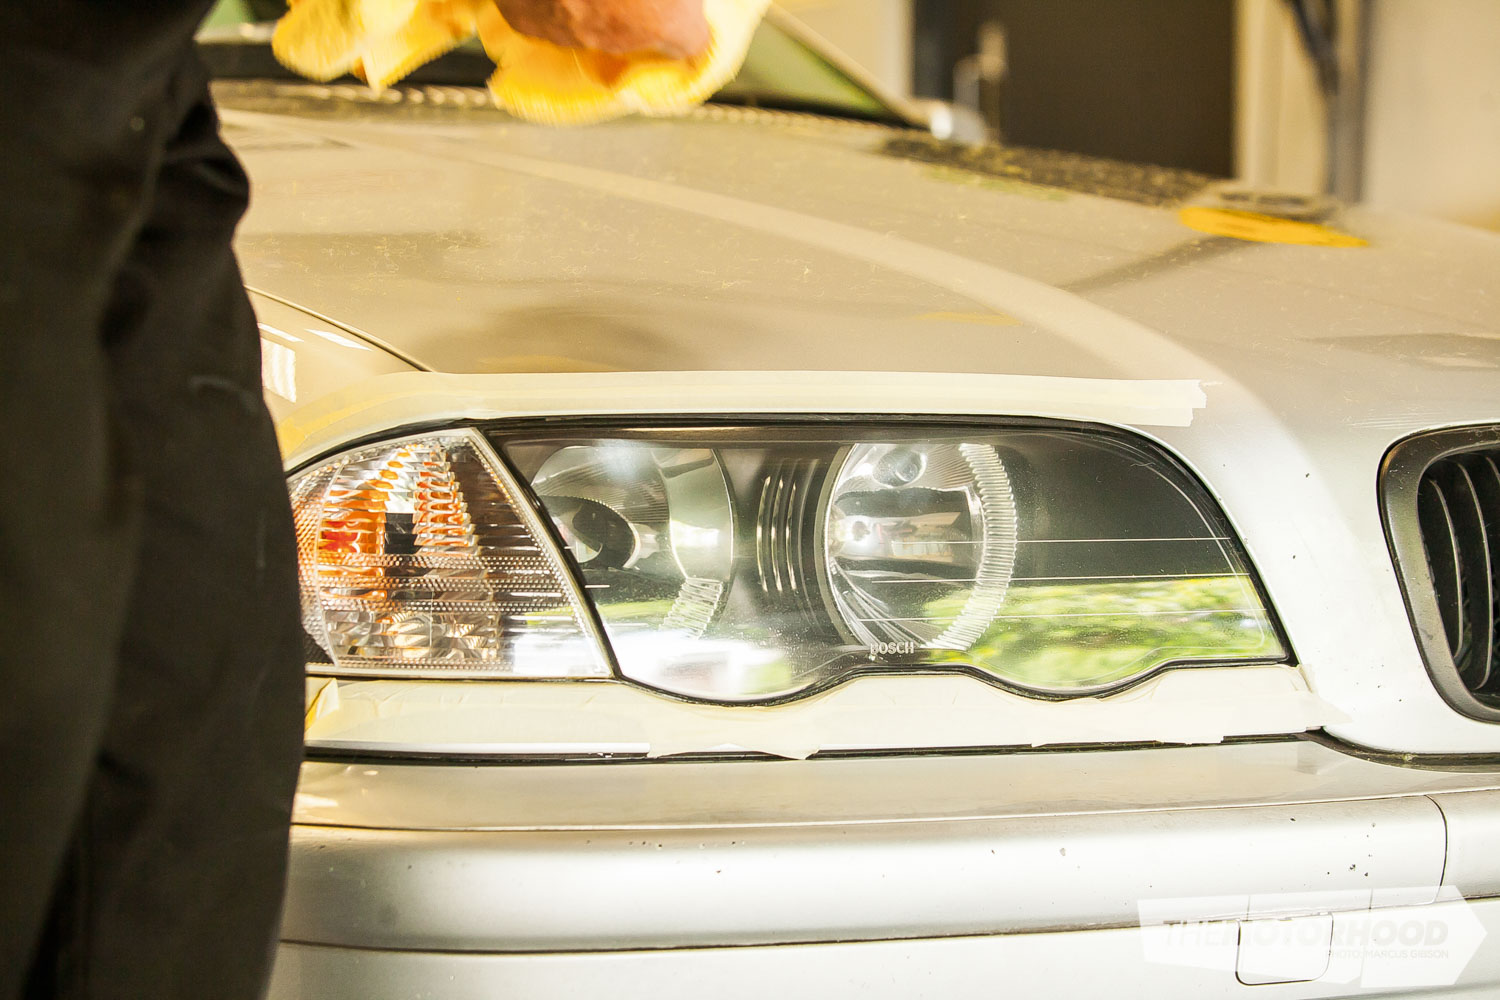
Headlights
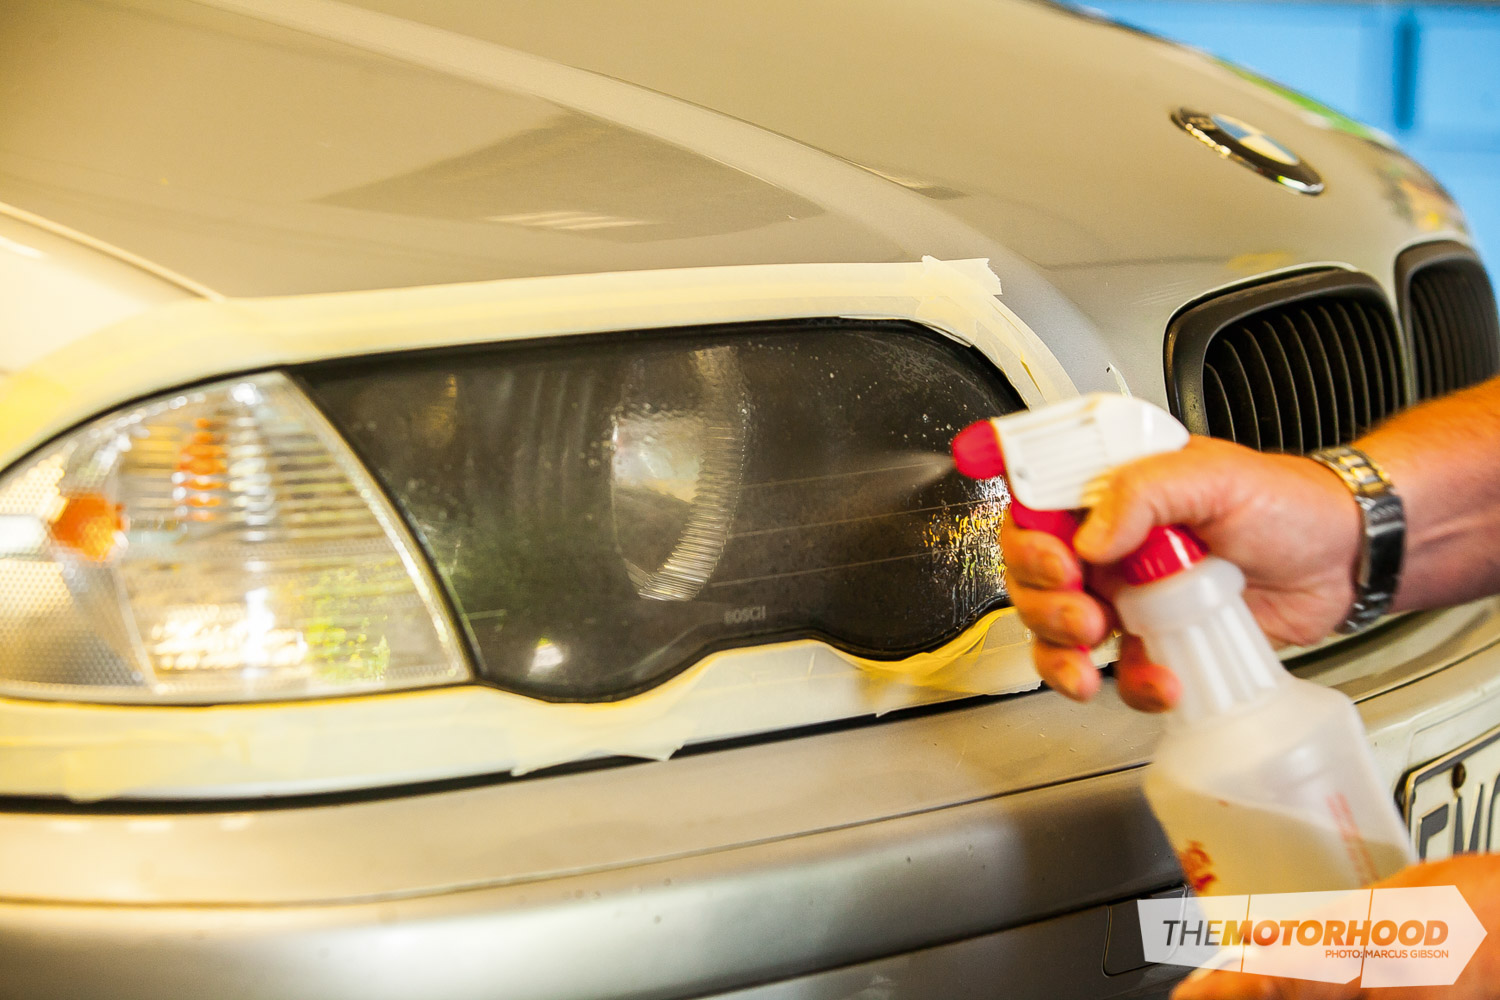
Many common vehicles in New Zealand have plastic-lens headlights, which manufacturers used to bring costs down during production. In many cases, due to UV damage or salt on Japanese roads prior to importing, the headlights have tarnished to a yellow hue, which isn’t just an eyesore, it actually reduces the range of your headlights and can see you fail your next WOF check. We ran through another of Meguiar’s products, one which should see your headlights looking new again.
Step one:
Masking
Before you make a start with the Meguiar’s Headlight Restoration kit, you will want to get some masking tape and mask off the headlight to prevent the abrasive materials contacting the paintwork. Make sure to use a low-adhesive masking tape to prevent paint damage upon removal.

Step two:
Sanding pads
Remove the four sanding pads from the kit, labelled one, two, three and four. Ensure you have a spray bottle filled with water to act as a lubricant for the wet and dry sandpaper pads, and add a drop of dishwashing liquid for extra lubrication. Apply copious amounts of water to the headlight while you work your way through the four sanding pads, which begin with 1200- and work up to 3000-grit. Each time you swap pads you should apply more water, and switch the direction of your sanding movements to ensure you don’t leave scratch marks. Take the microfibre cloth and dry the headlight completely.
Step three:
Buffing wheel
The most effective part of this kit is the buffing wheel combined with the Plastic X compound. This compound is an abrasive polish compound designed for use on plastic. Apply the plastic polish to the buffing wheel, and just like polishing the vehicle, press the buffing wheel against the headlight to prevent splatter. Make sure to use a medium speed during this process. Once the polish dries on the pad, apply more to keep it moist. This will take a good couple of times going over the light with the buffing wheel to achieve the best results. Wipe off the dried compound with a microfibre cloth, and check out the result. You’re now ready to remove the tape. Some cars have a clear coat over the plastic headlight which can only be restored to a certain level, if this is your car, then you need to take it to a panel beater to have it done properly.
With this buffing method, most plastic headlights should come up looking like glass.
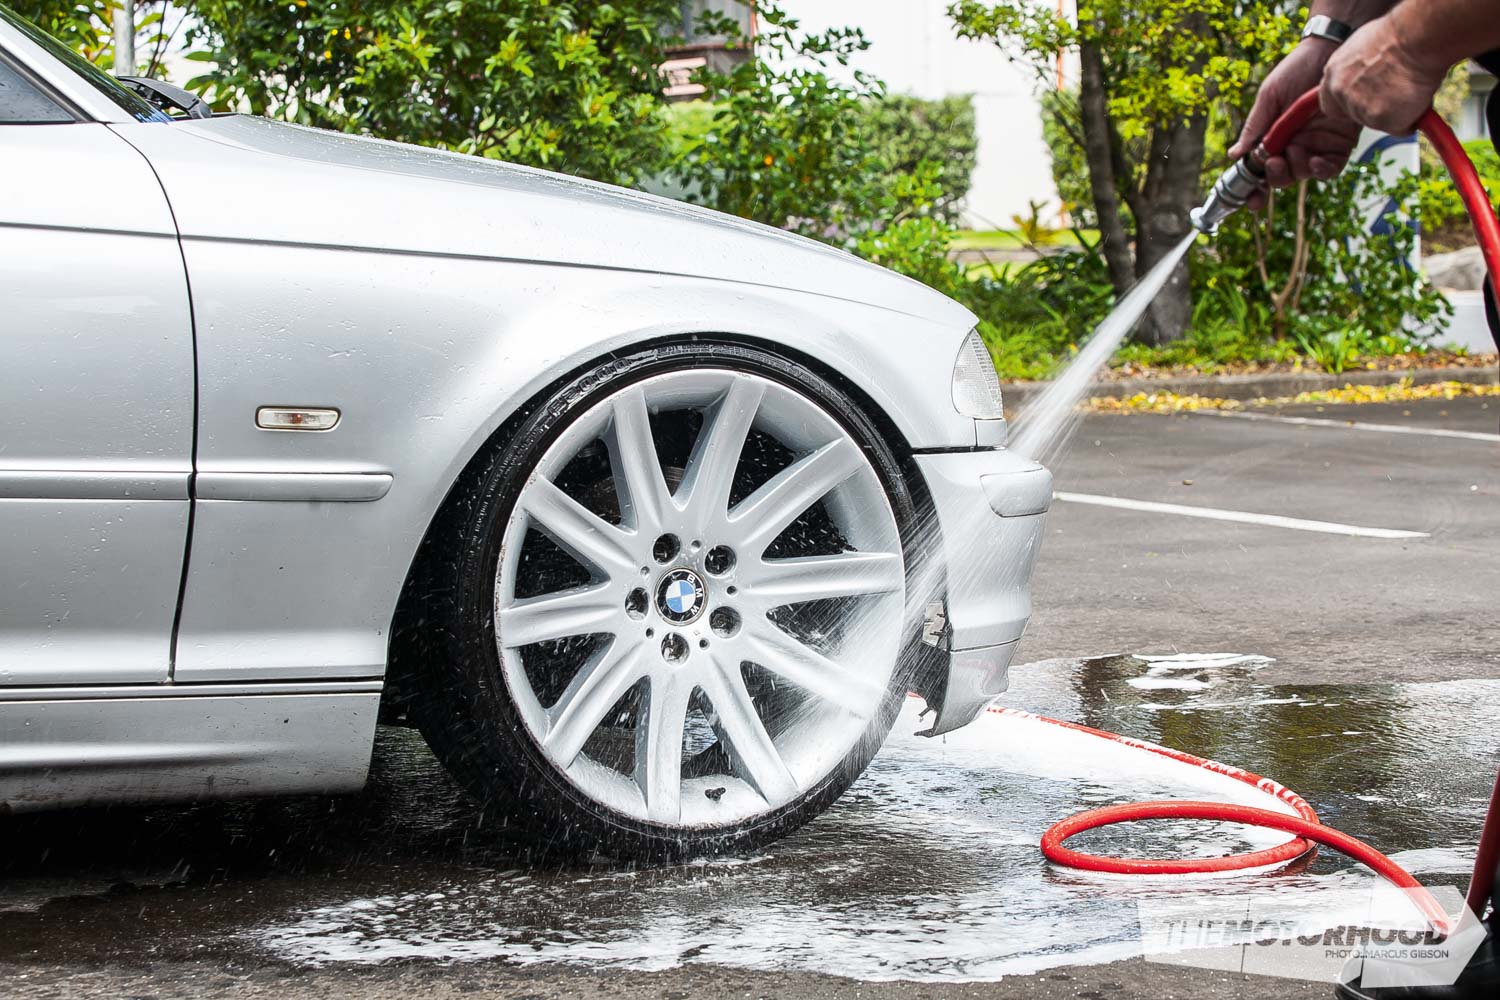
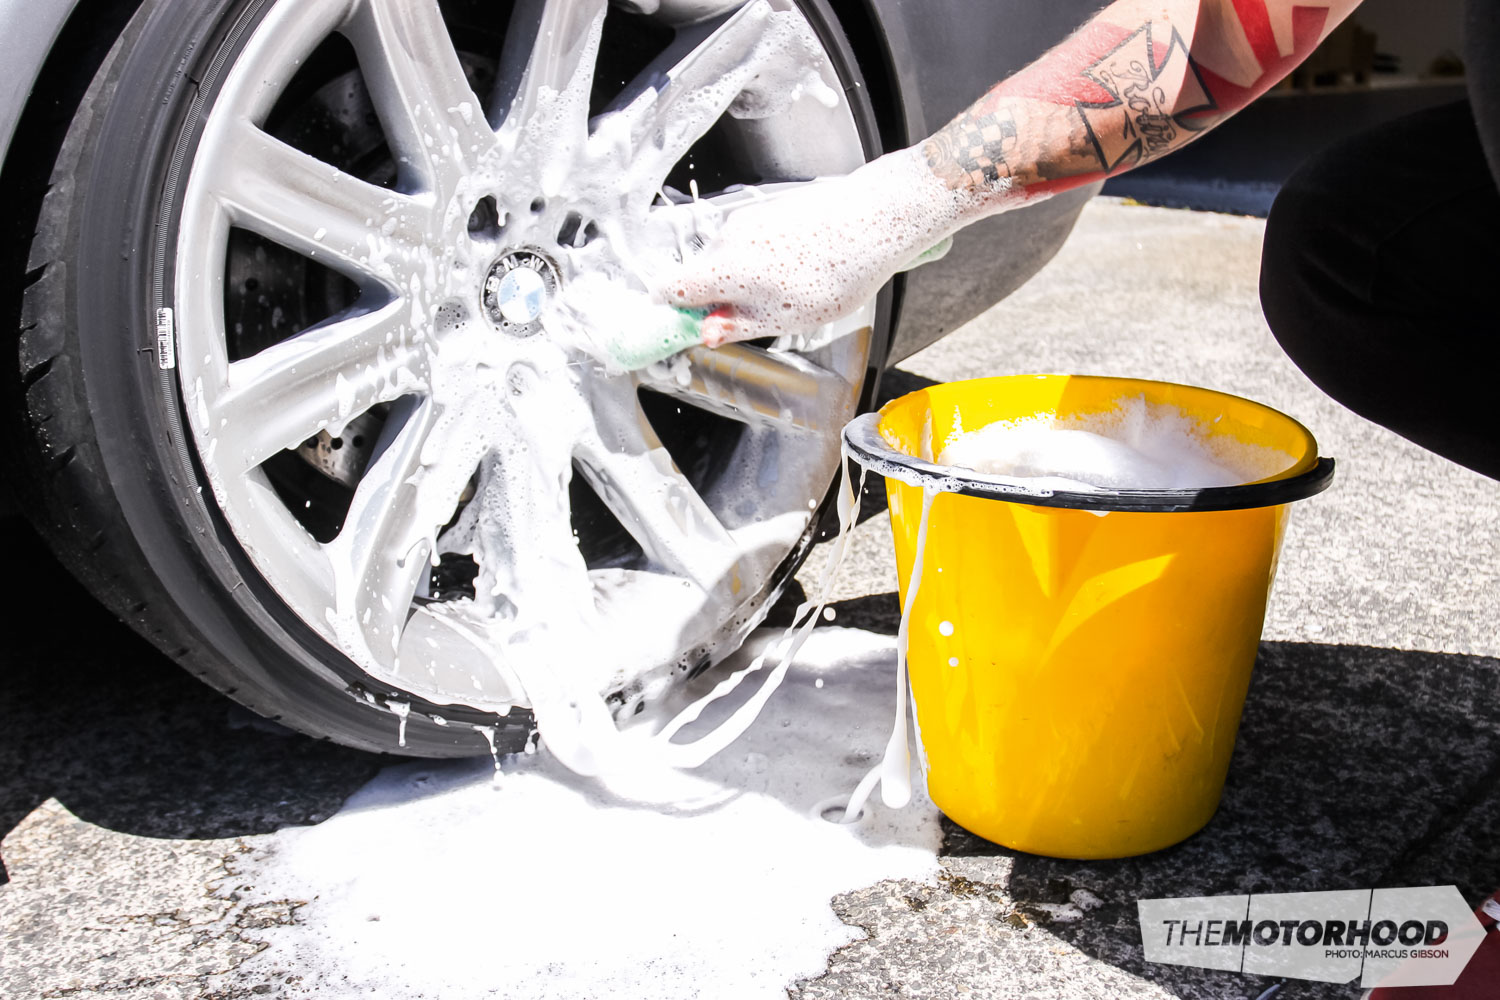
Mag wheel cleaner
When the Ed purchased these alloys their previous owner had seriously neglected them, and allowed a large build-up of brake dust. He tried many products to no avail, so we decided to see what Meguiar’s offered. The Meguiar’s Hot Rimz All Wheel and Tyre Cleaner, combined with a Gold Class Wheel brush, achieved great results for us. We let the product soak in for a couple of minutes before scrubbing, then hosed it all off. Instantly the shine from the alloys was astounding, it was night and day compared to the rear wheel. It successfully removed most of the brake dust on the face of the alloys. Be sure to rinse off any of the product that splashes onto the paint.
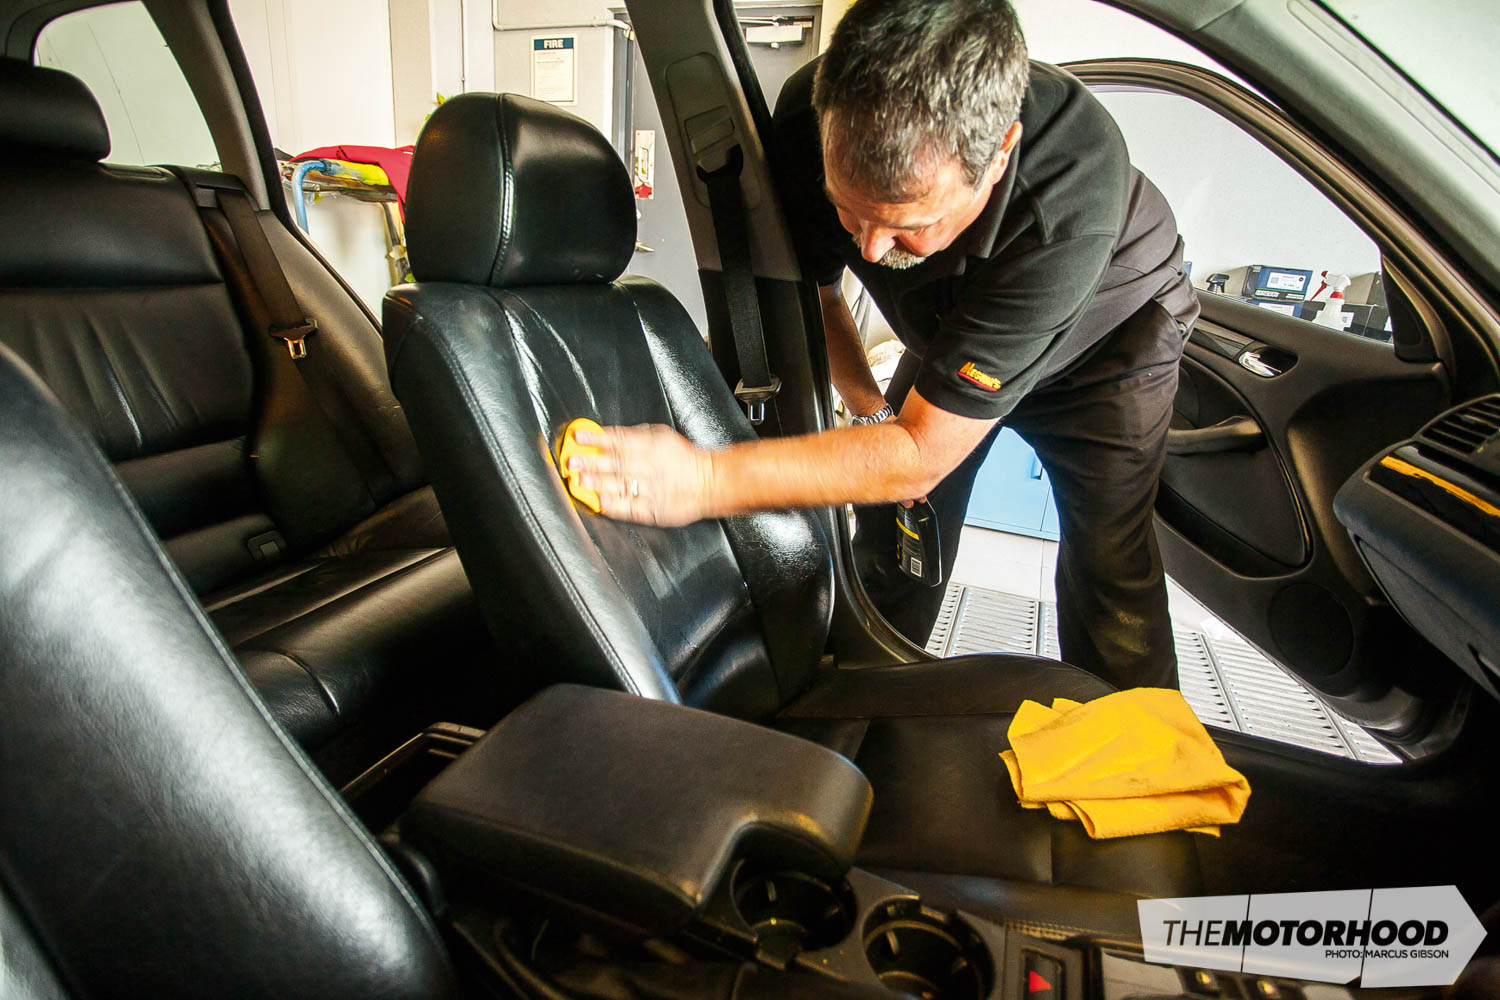
Leather cleaner and conditioner
Vacuum out the car’s interior to remove dust particles before starting this process. Meguiar’s has a great leather cleaner and restorer, and as our demo car has leather seats we took the opportunity to try it. The kit is quite comprehensive, and comes with all the necessary things to get the job done.
Grab one of the supplied applicator pads and apply some of the leather-cleaning product to the pad. Work the cleaner into the leather in circular motions. If the pad starts getting dirty, you will see how badly the surface was in need of a clean. Once you have wiped down the entire seat with the cleaner, wipe off any excess with a fresh microfibre. Once it’s clean, there is a fantastic conditioning product which not only protects the leather, but helps restore colour. Apply the conditioning product to the other supplied applicator pad, and work it in the same as you did with the cleaner. Wipe off any remaining excess product and enjoy the results.